Category Archives: recipes

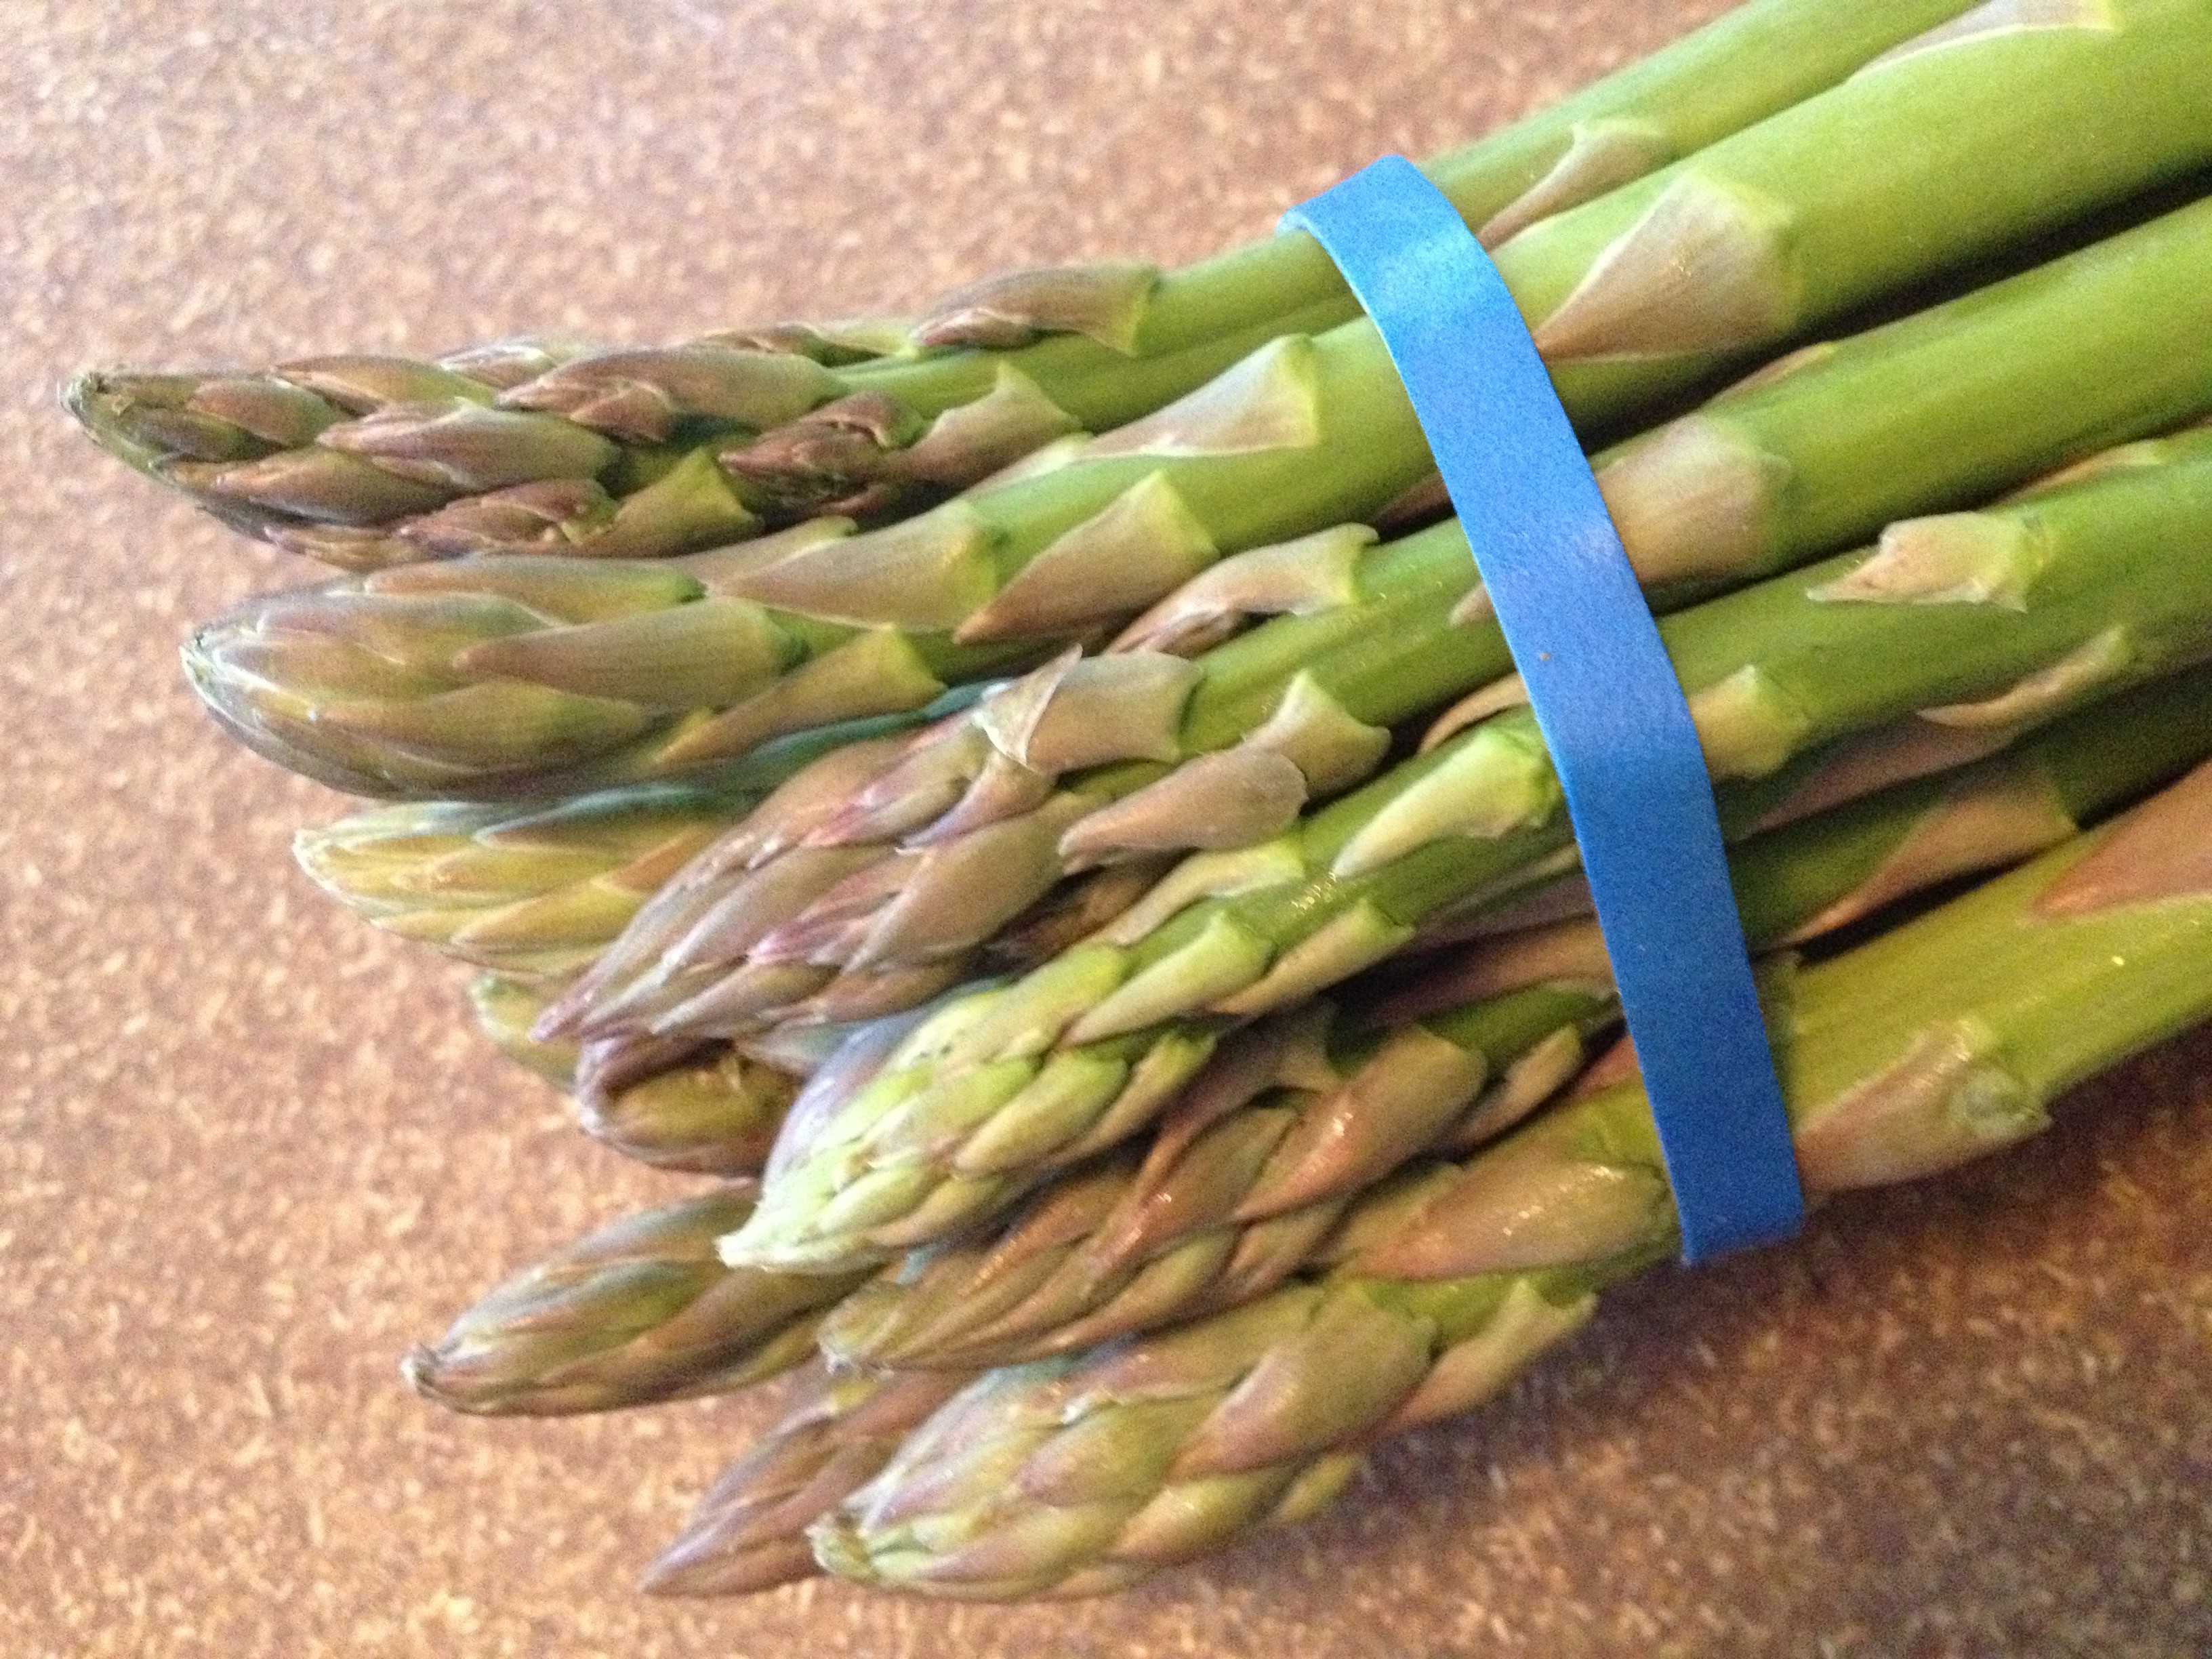
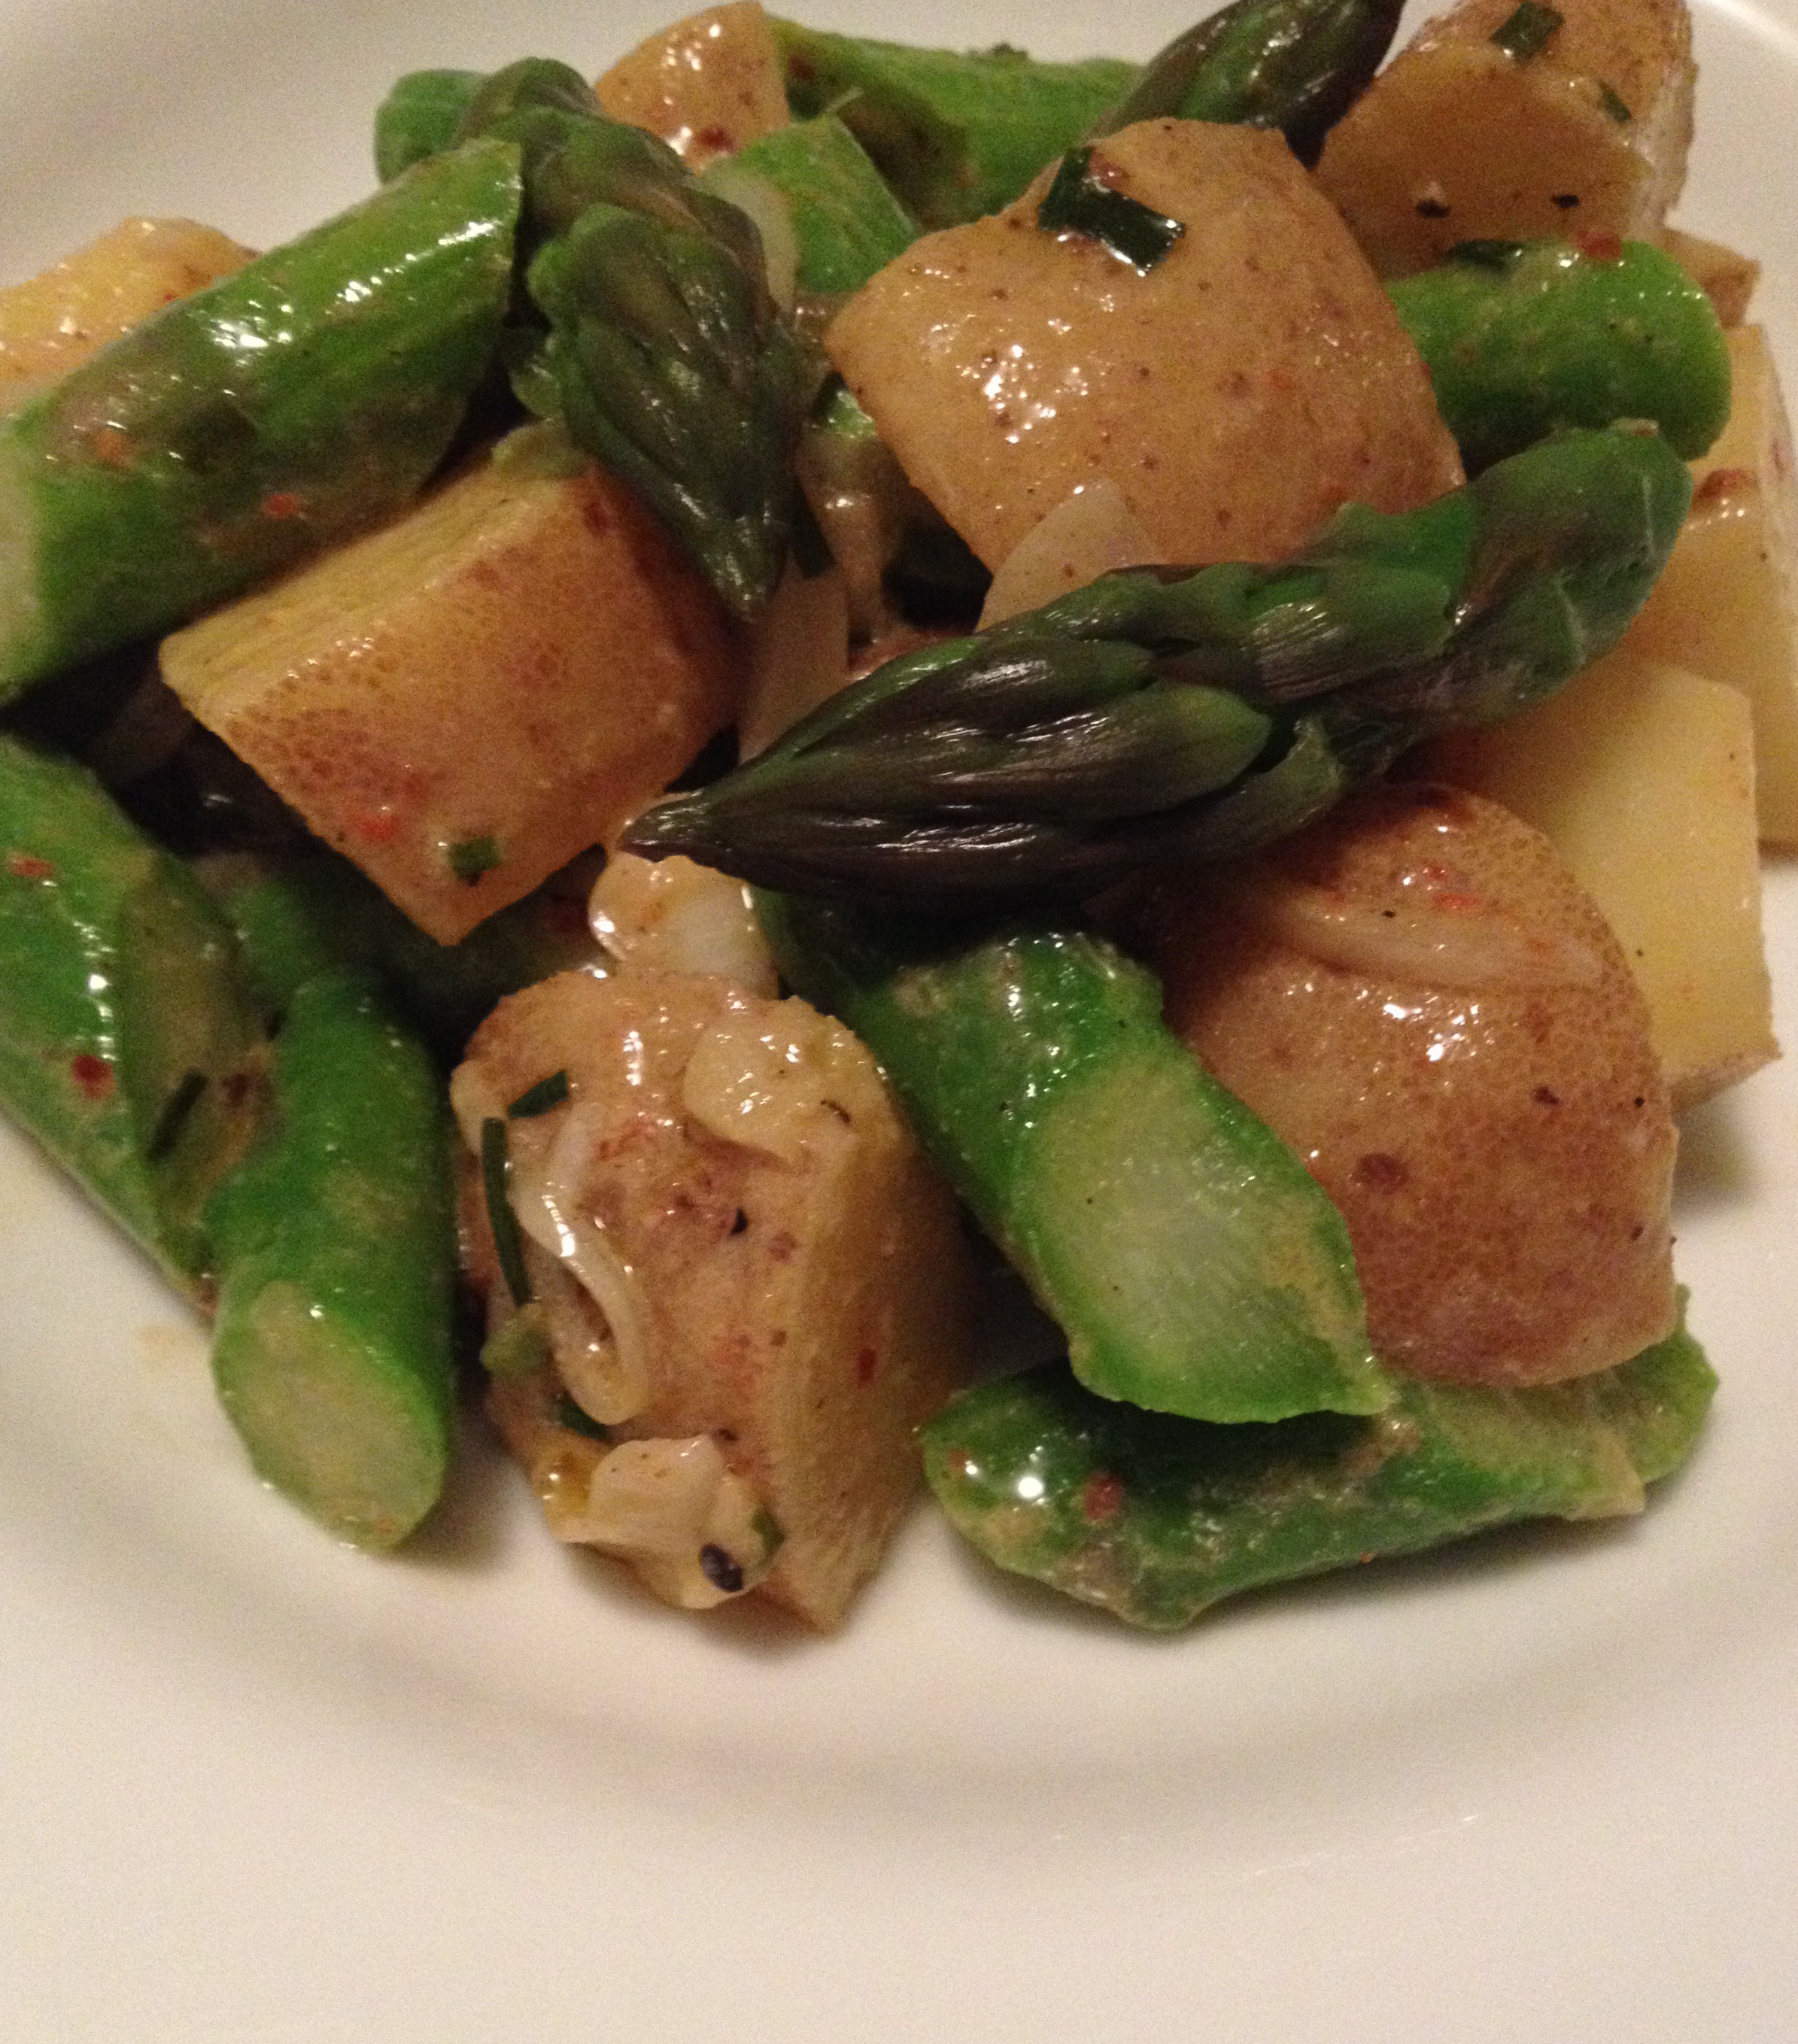
Asparagus Potato Salad
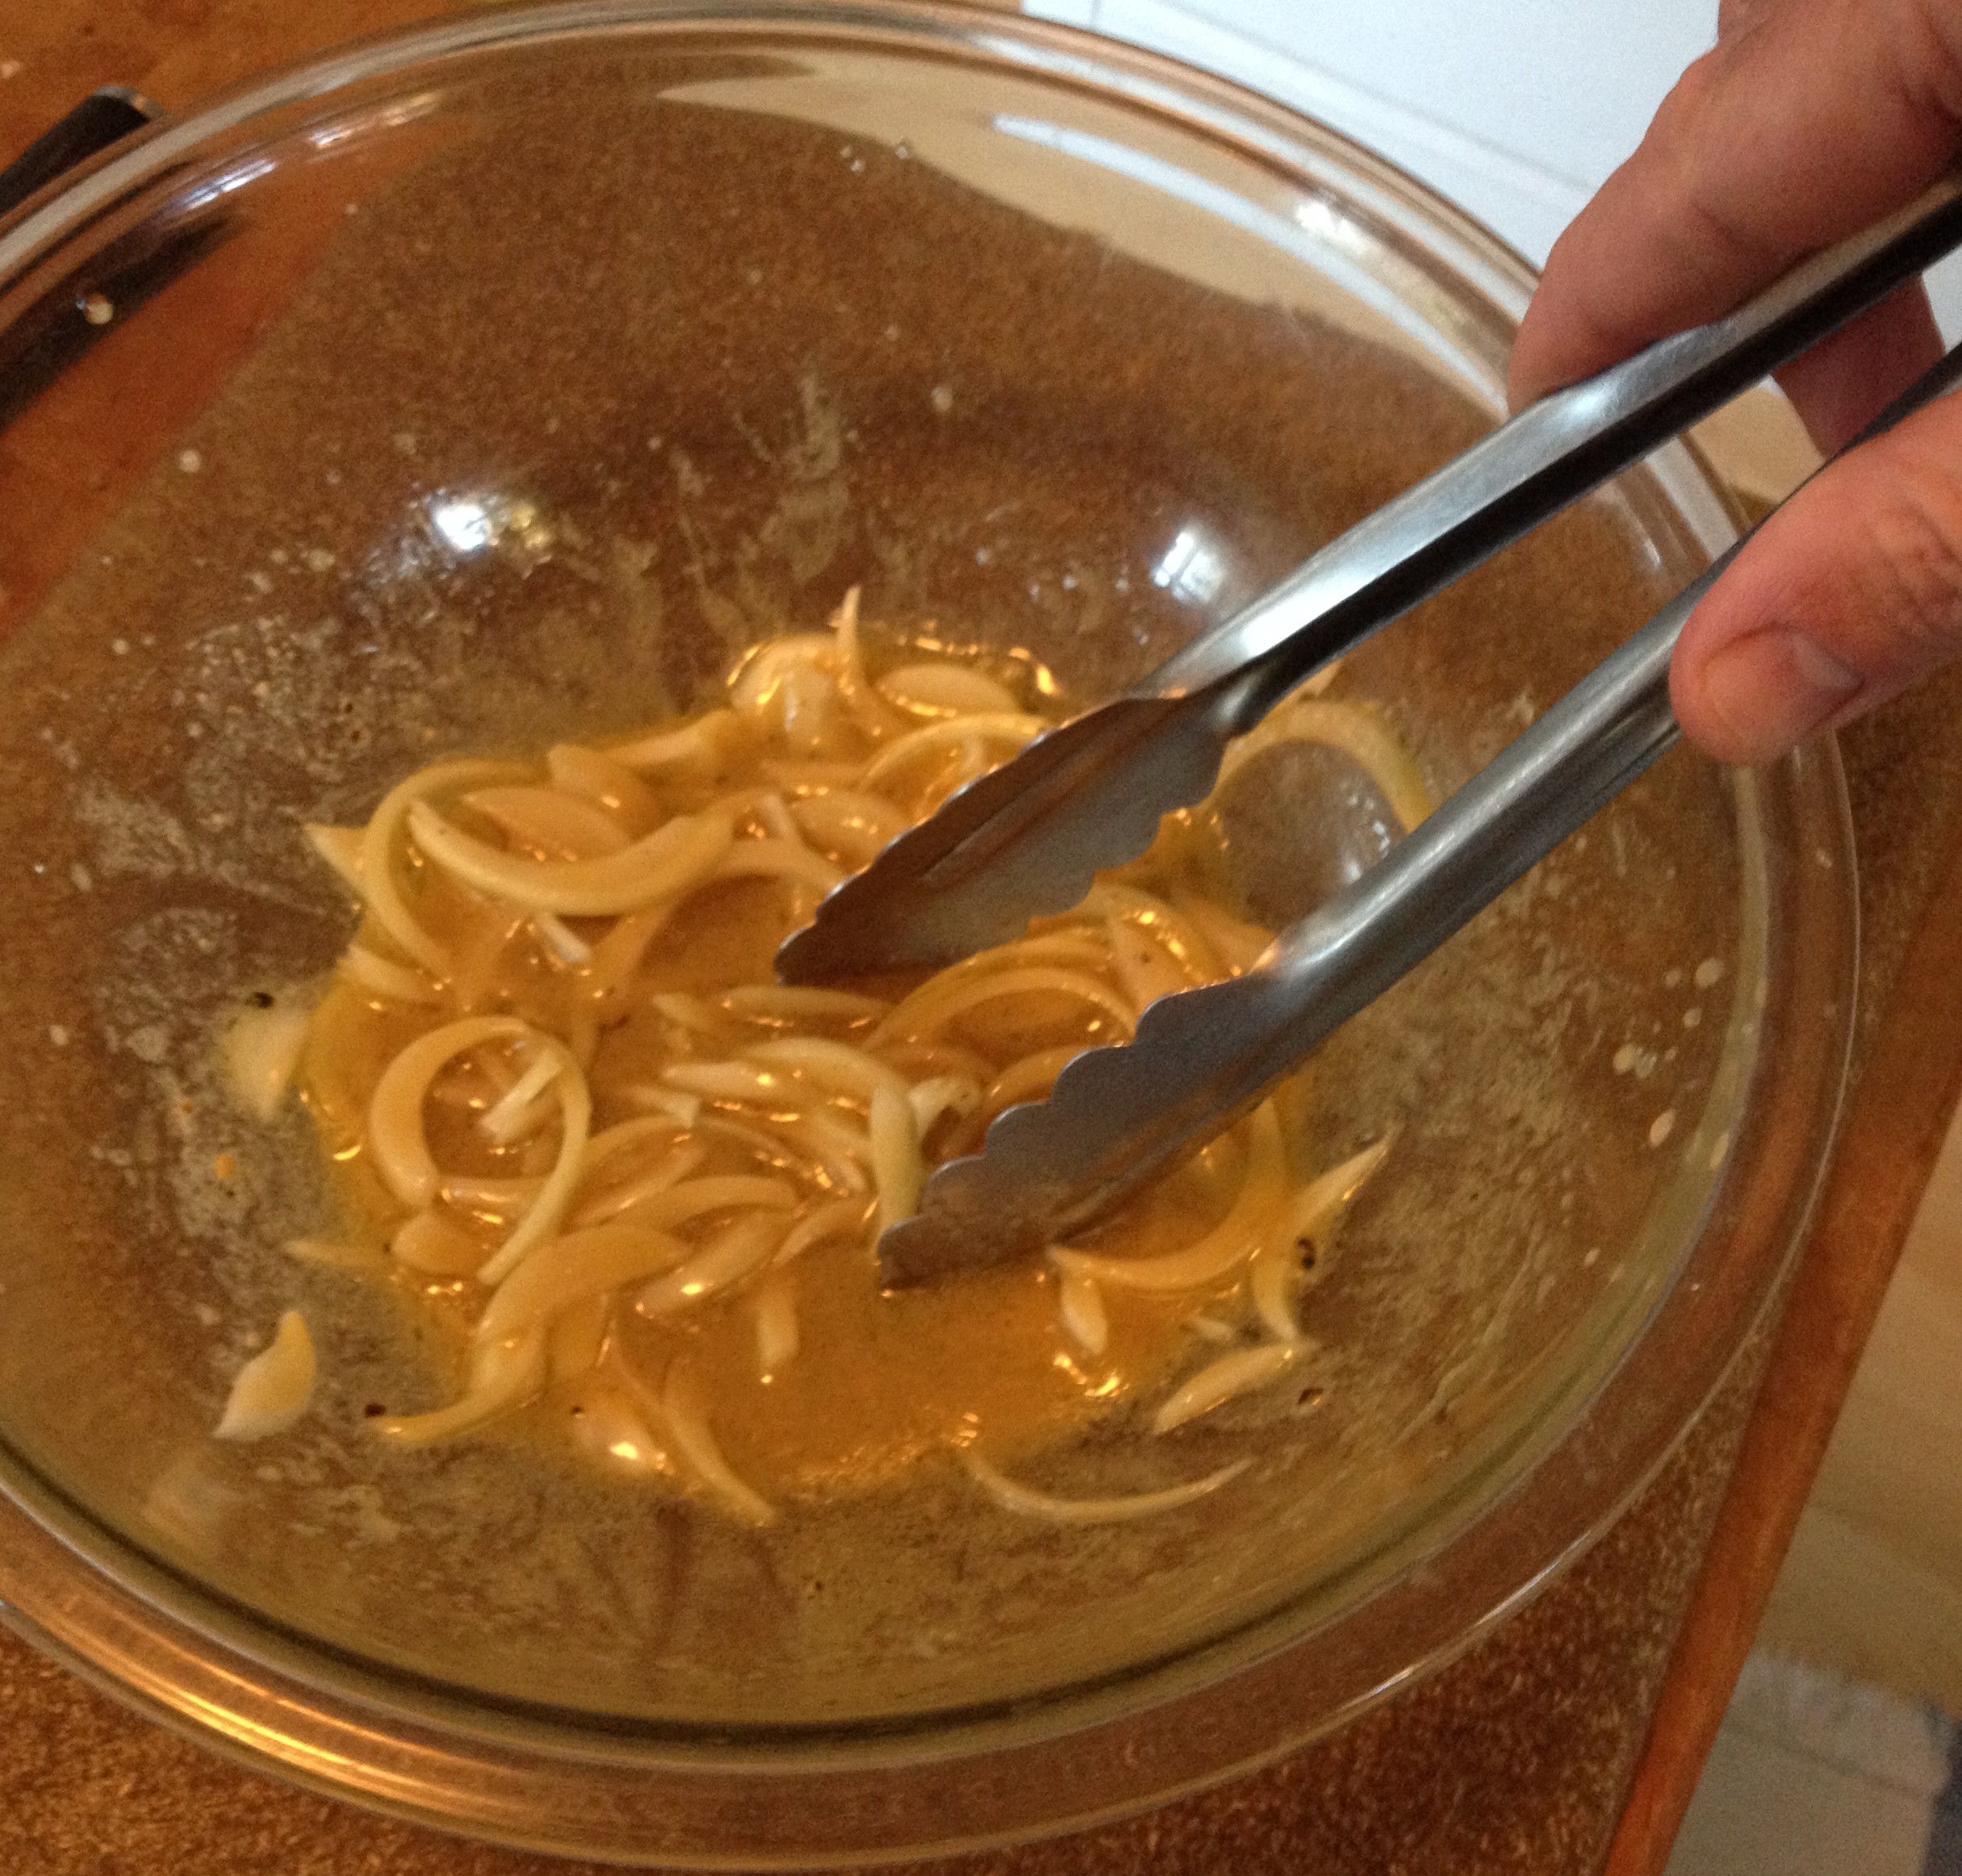
It’s springtime and local asparagus is back in stores and at the farmers’ markets. Here’s an easy recipe for potato salad that includes delicious, fresh asparagus. I like this vinaigrette based version better than mayo for letting the flavor of the asparagus shine through. By following the method in the recipe (letting the onions marinate in the vinaigrette, then adding the hot potatoes) the onions are “cooked” to make them milder than raw onions added at the end would be.
This recipe is extremely adaptable. If asparagus is out of season, you can use blanched green beans, snap peas or any other green vegetable that you like. Or you can skip the green vegetable all together and add chopped olives and capers. You could also substitute thinly sliced fennel for the onions. A garnish of chopped boiled egg or bacon crumbled on top would also be nice
ASPARAGUS POTATO SALAD
Ingredients:
½ pound Asparagus
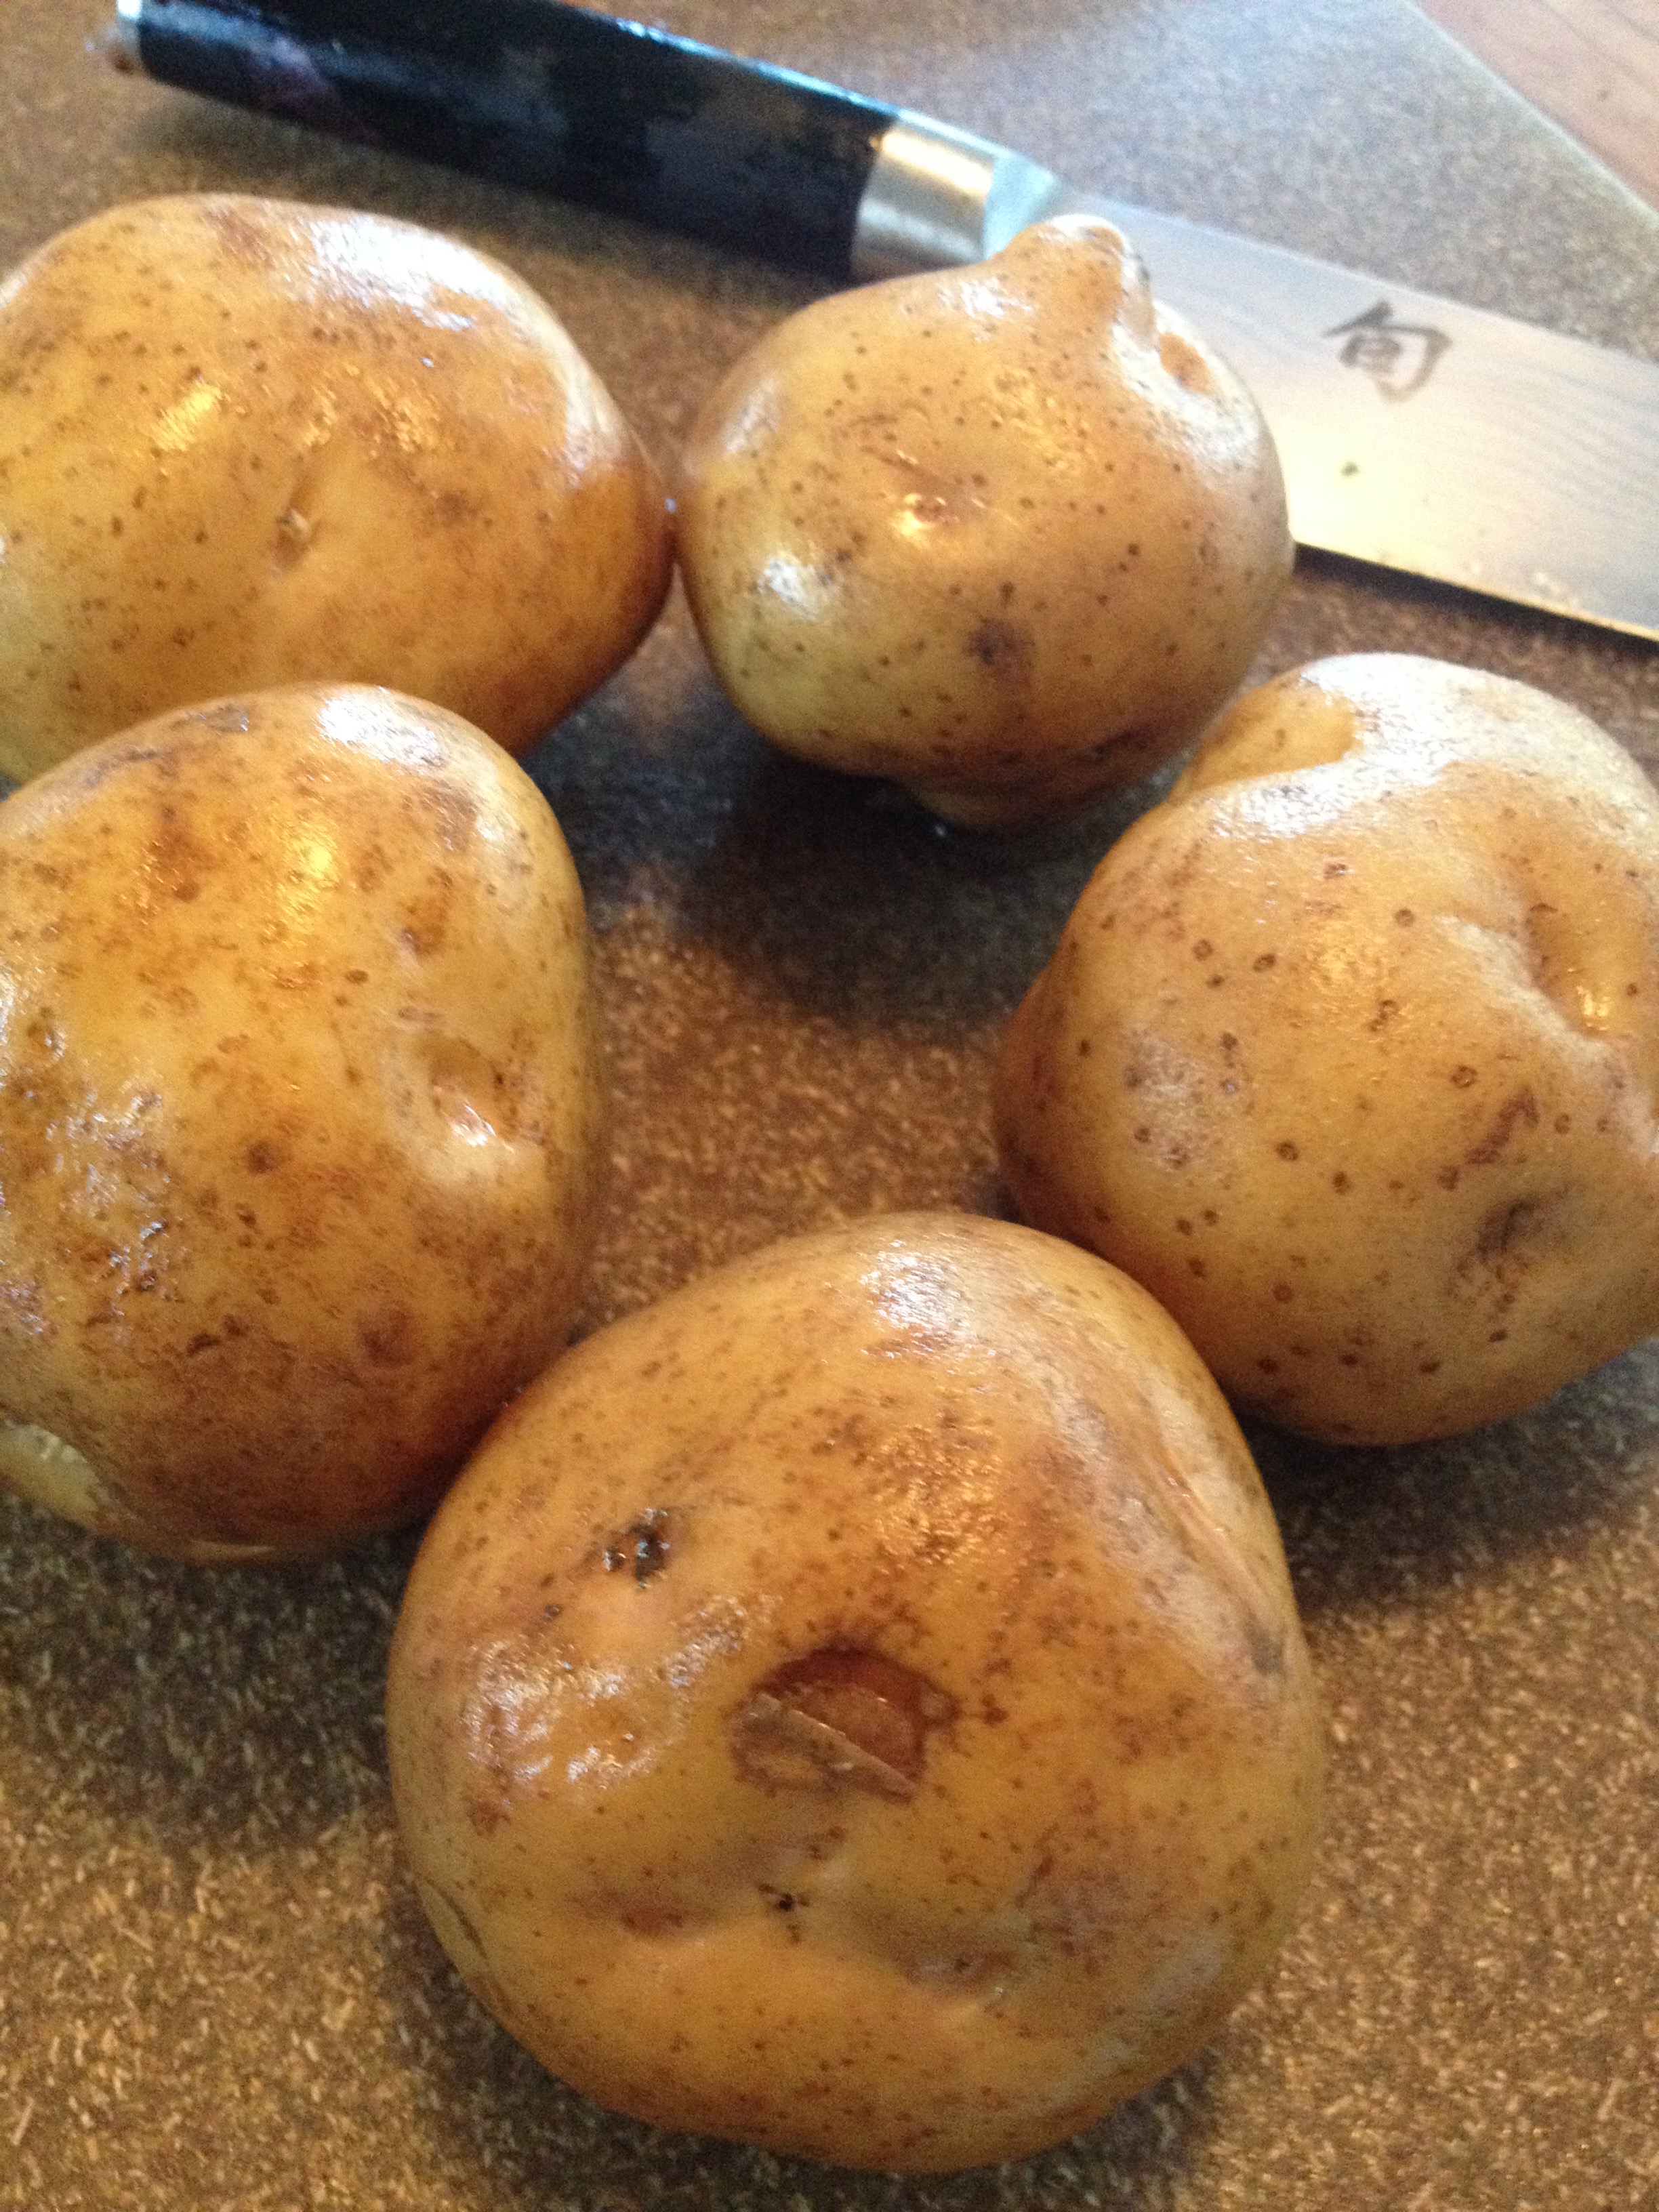
1 pound Yukon Gold Potatoes–small
2 tspns Dijon Mustard
1 tspn Salt
¼ tspn Black Pepper
2 Tblspns Sherry Vinegar
6 Tblspns Olive Oil
½ medium Yellow Onion—julienne
¼ cup Parsley, Chives or Dill—chopped (optional)
• Cook asparagus by your preferred method—steamed, broiled or grilled. Just be sure not to overcook it. Cut into 1” lengths.
• Scrub potatoes and cut into ½” pieces. Place in a medium saucepan and cover with cold water. Add 2 Tblspns salt. Bring to a gentle boil and cook until just cooked through—about 15 minutes. Drain.
• Meanwhile, make vinaigrette in a medium mixing bowl. Whisk together mustard, salt, pepper and vinegar until combined. Continue to whisk while drizzling in oil. Stir in onions to thoroughly combine.
• While potatoes are still warm, mix with dressing and onions. Gently stir every 10 minutes or so until cooled to room temperature.
• Stir in asparagus and herbs.

Continuing to Dress Better
As promised, a follow up to my last post about DIY salad dressings. In the midst of winter, flavorful tomatoes are in short supply. Sun-dried tomatoes are a good way to bring tomato flavor into the depths of winter.
Here’s a creamy, flavorful dressing that goes beyond the basic vinaigrette, but is still quick and easy to make.
SUN-DRIED TOMATO FETA DRESSING
(makes 2 cups)
Equipment:
• Immersion (or “stick”) blender, food processor or blender.
Ingredients:
4 each Sun-dried tomatoes (not in oil)
2 cloves Garlic – roughly chopped
1 small Shallot – roughly chopped
2 Tblspns Capers (optional)
⅓ cup Water
¼ cup Basil Leaves
1 Tblspn Maple Syrup or Brown Sugar
1/3 cup Rice Wine Vinegar
½ tspn Black Pepper
4 oz. Feta Cheese
2/3 cup Olive Oil
 • Soak tomatoes in hot water for 15-20 minutes.
• If using immersion blender, place all ingredients except feta and oil, in a tall, clear cylindrical container or measuring cup. Blend until fairly smooth.
• Crumble feta and add to container.
• With blender running, slowly drizzle in oil.
• If consistency is too thick, blend in water, one tablespoon at a time, until desired consistency is reached.
Other herbs, such as marjoram, dill, parsley or chives may be substituted for basil according to your taste. This dressing works well on a traditional greens-based salad, but its bold flavor also works well when mixed with blanched and chilled green beans, drained and rinsed garbanzo beans and chopped Kalamata olives (as pictured below). You can substitute other green veggies (broccoli, Brussels sprouts, cucumbers or even kale) for the green beans. And cooked grains (farro, wheat berries, barley) or any other type of canned beans can replace the garbanzos.


Resolve To Dress Better
If you’ve made a New Year’s resolution to eat more salad, why not go one step further and resolve to make your own salad dressings. It doesn’t take long, the ingredients you need are probably already in your pantry, and the dressings you make from scratch will taste much better than anything you find on the shelves of you local supermarket.
A basic vinaigrette is a great starting point. From there you can add ingredients to suit your tastes or that will complement the other ingredients in your salad. Vinaigrettes are just a combination of acid, fat and flavor in a standard ratio: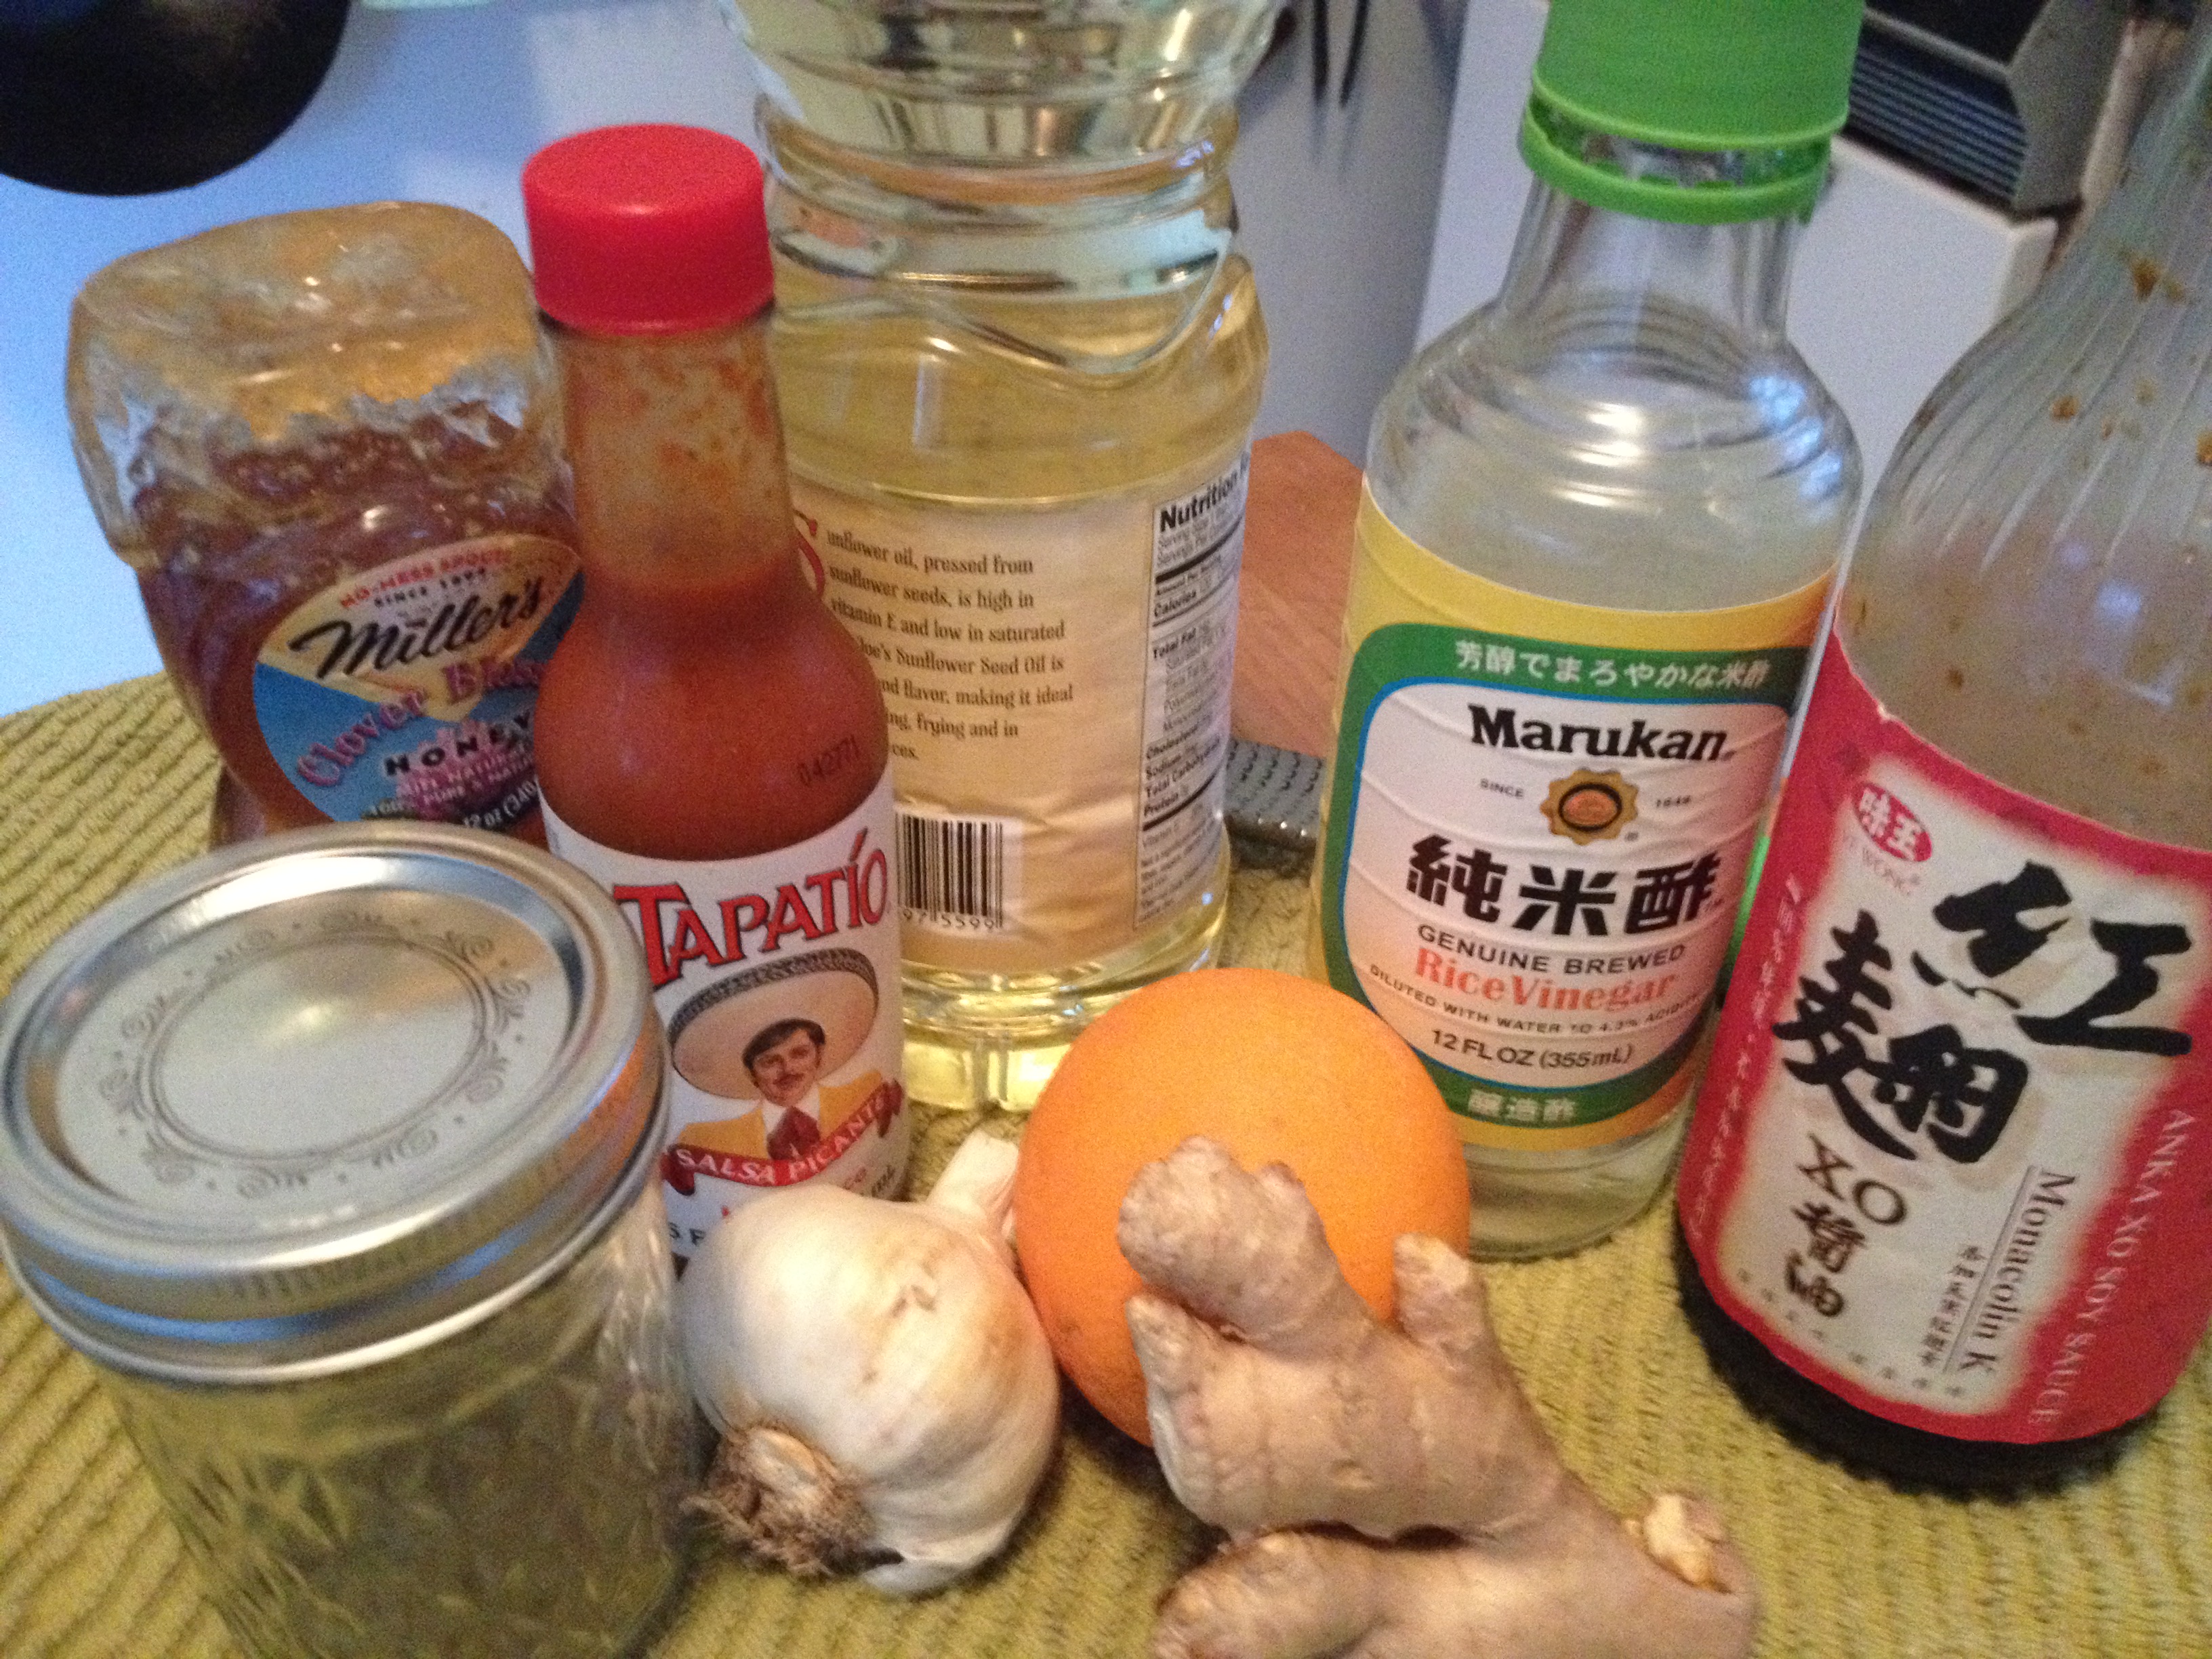
-1 part acid (citrus juice, vinegar)
-3 or 4 parts fat (oil)
-flavor (salt, pepper, chopped shallot, garlic, dried or fresh chopped herbs)
If you’d like your vinaigrette to hold together (emulsify) you can add a little dijon mustard or honey. You can also play with the ratio of oil-to-acid based on your personal taste and the boldness of flavor in the acid. If you like your dressing tart, add less oil.
You can whisk together the acid and flavor ingredients in a bowl and then drizzle in the oil while whisking. However, it’s much easier to just put all of your ingredients in a jar with a tight fitting lid and shake vigorously until well mixed. Added bonus: no clean up!
You can use a high-end extra virgin olive oil in your vinaigrette, but in most cases the vinegar and flavorings will overpower the oil, so a decent mid-priced extra virgin oil with a flavor profile that you like will do just fine.
To balance out the flavor of vinaigrette that seems too strong, add a few drops of water and shake or whisk until incorporated. Keep in mind that extra virgin olive oil may solidify in the refrigerator so you will need to take your vinaigrette out of the fridge an hour or so before you plan to use it and shake to reincorporate the oil.
Here’s a variation on the basic vinaigrette with an Asian twist. Fresh, crisp, raw baby bok choy is a great green for making salads and this dressing works especially well on bok choy. Teriyaki vinaigrette also makes a good marinade for tofu, chicken, fish, beef or pork
TERIYAKI VINAIGRETTE
(makes 1 ¼ cups)
Ingredients: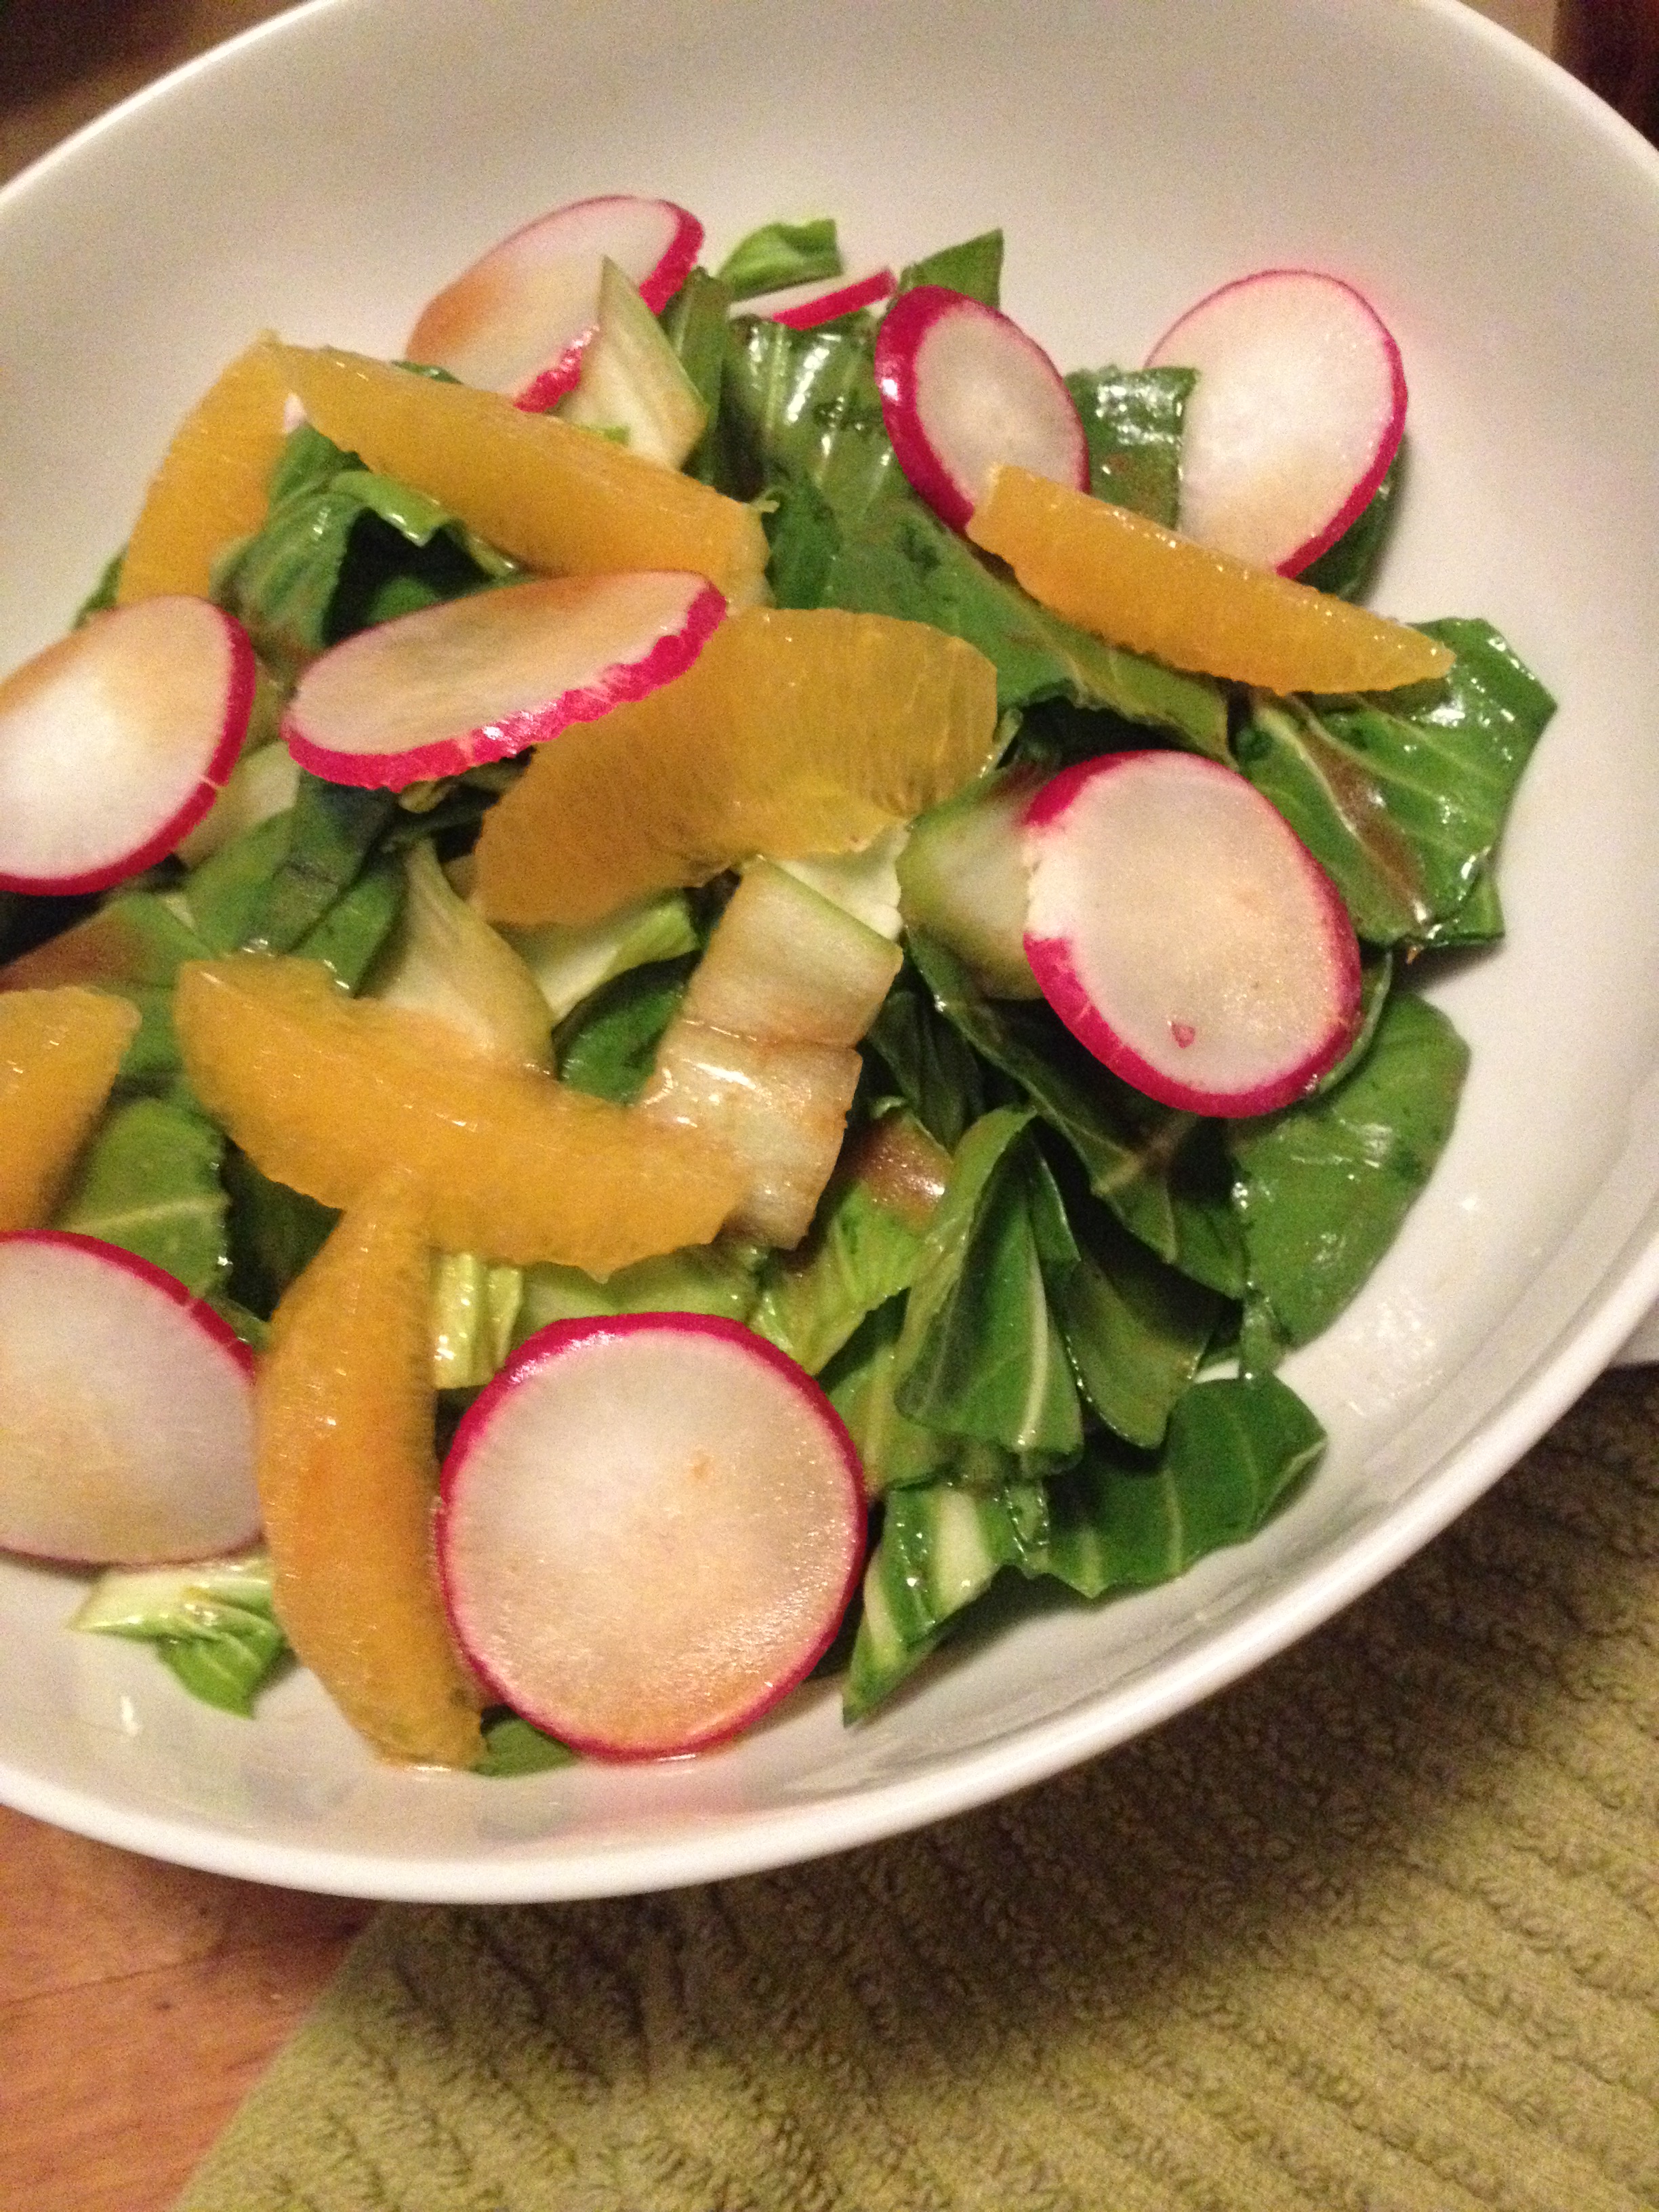
¼ cup Soy Sauce
2 Tblspns Rice Wine Vinegar
2 Tblspns Orange Juice
1 Tblspn Honey
1 clove Garlic—minced
2 tspns Fresh Ginger—grated (or 1 tspn dried ginger)
½ tspn Hot Sauce
2 tspns Orange or Lime Zest
¾ cup Canola Oil
• Whisk together all ingredients except oil until well combined.
• While whisking, drizzle in oil until blended.
• Alternatively, place all ingredients in a small jar and shake vigorously until combined
I’ll go beyond basic vinaigrette with a couple of blended dressings that will help shake up your winter salad repertoire in my next post.

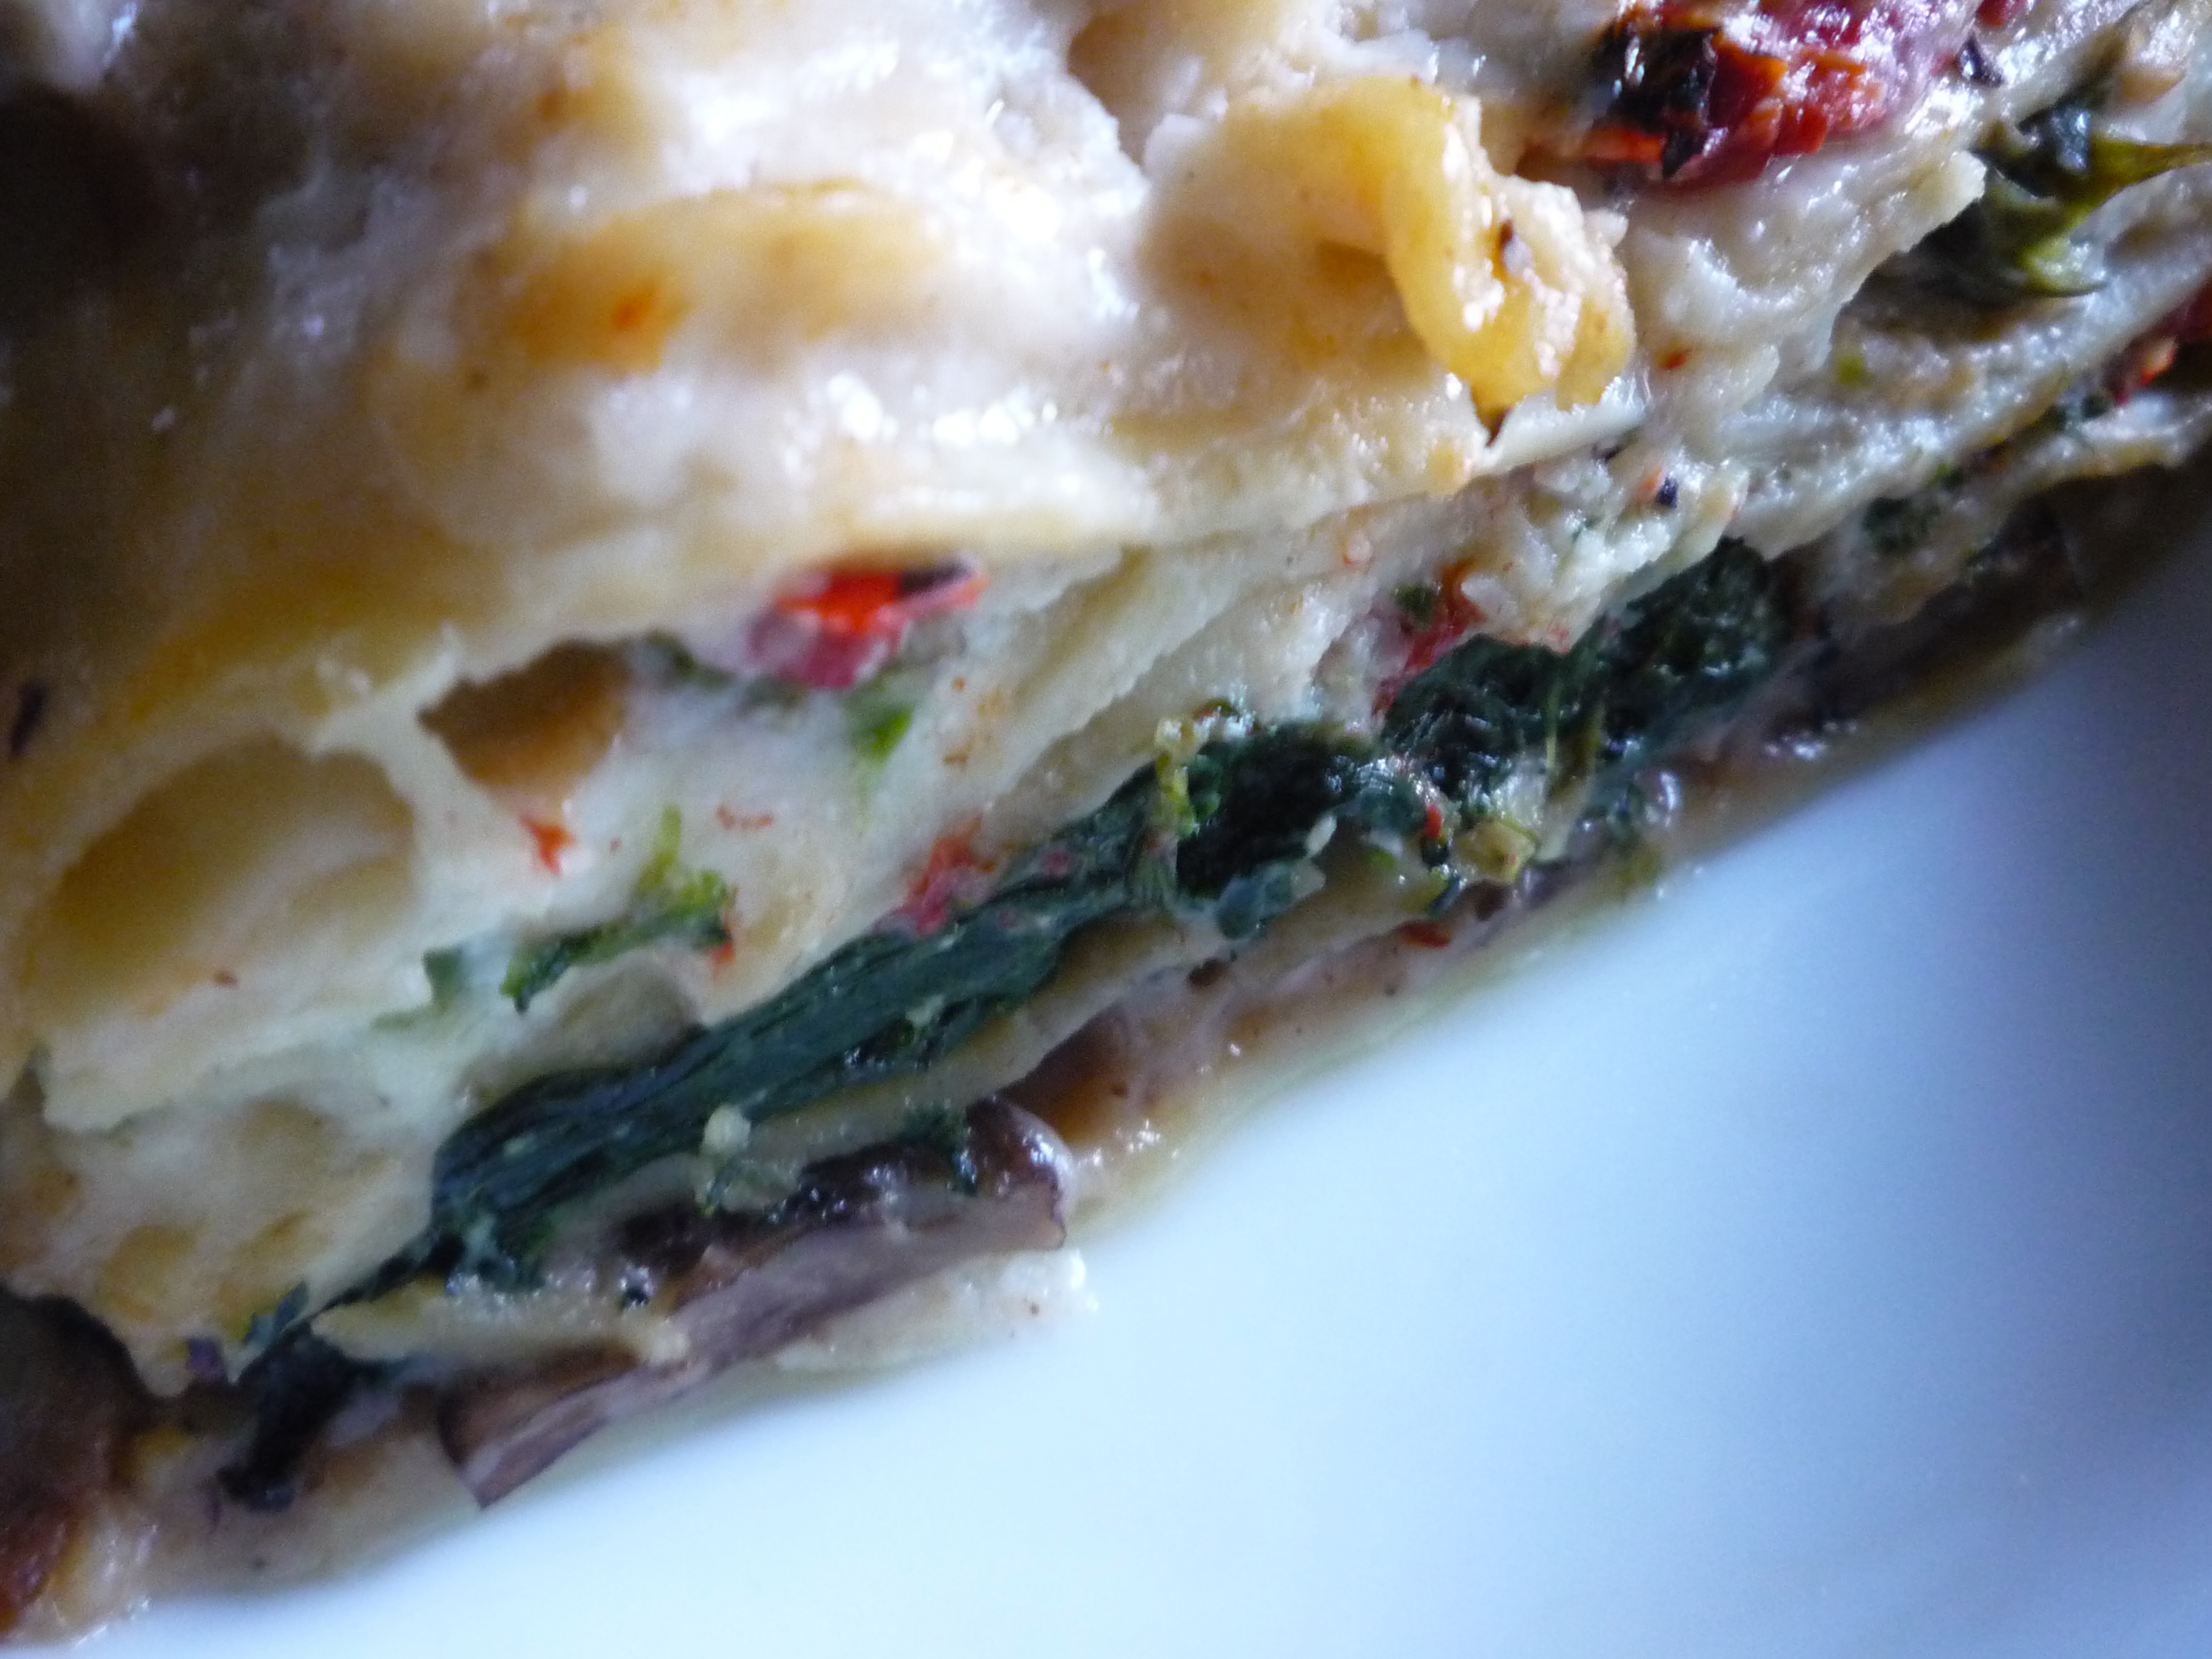
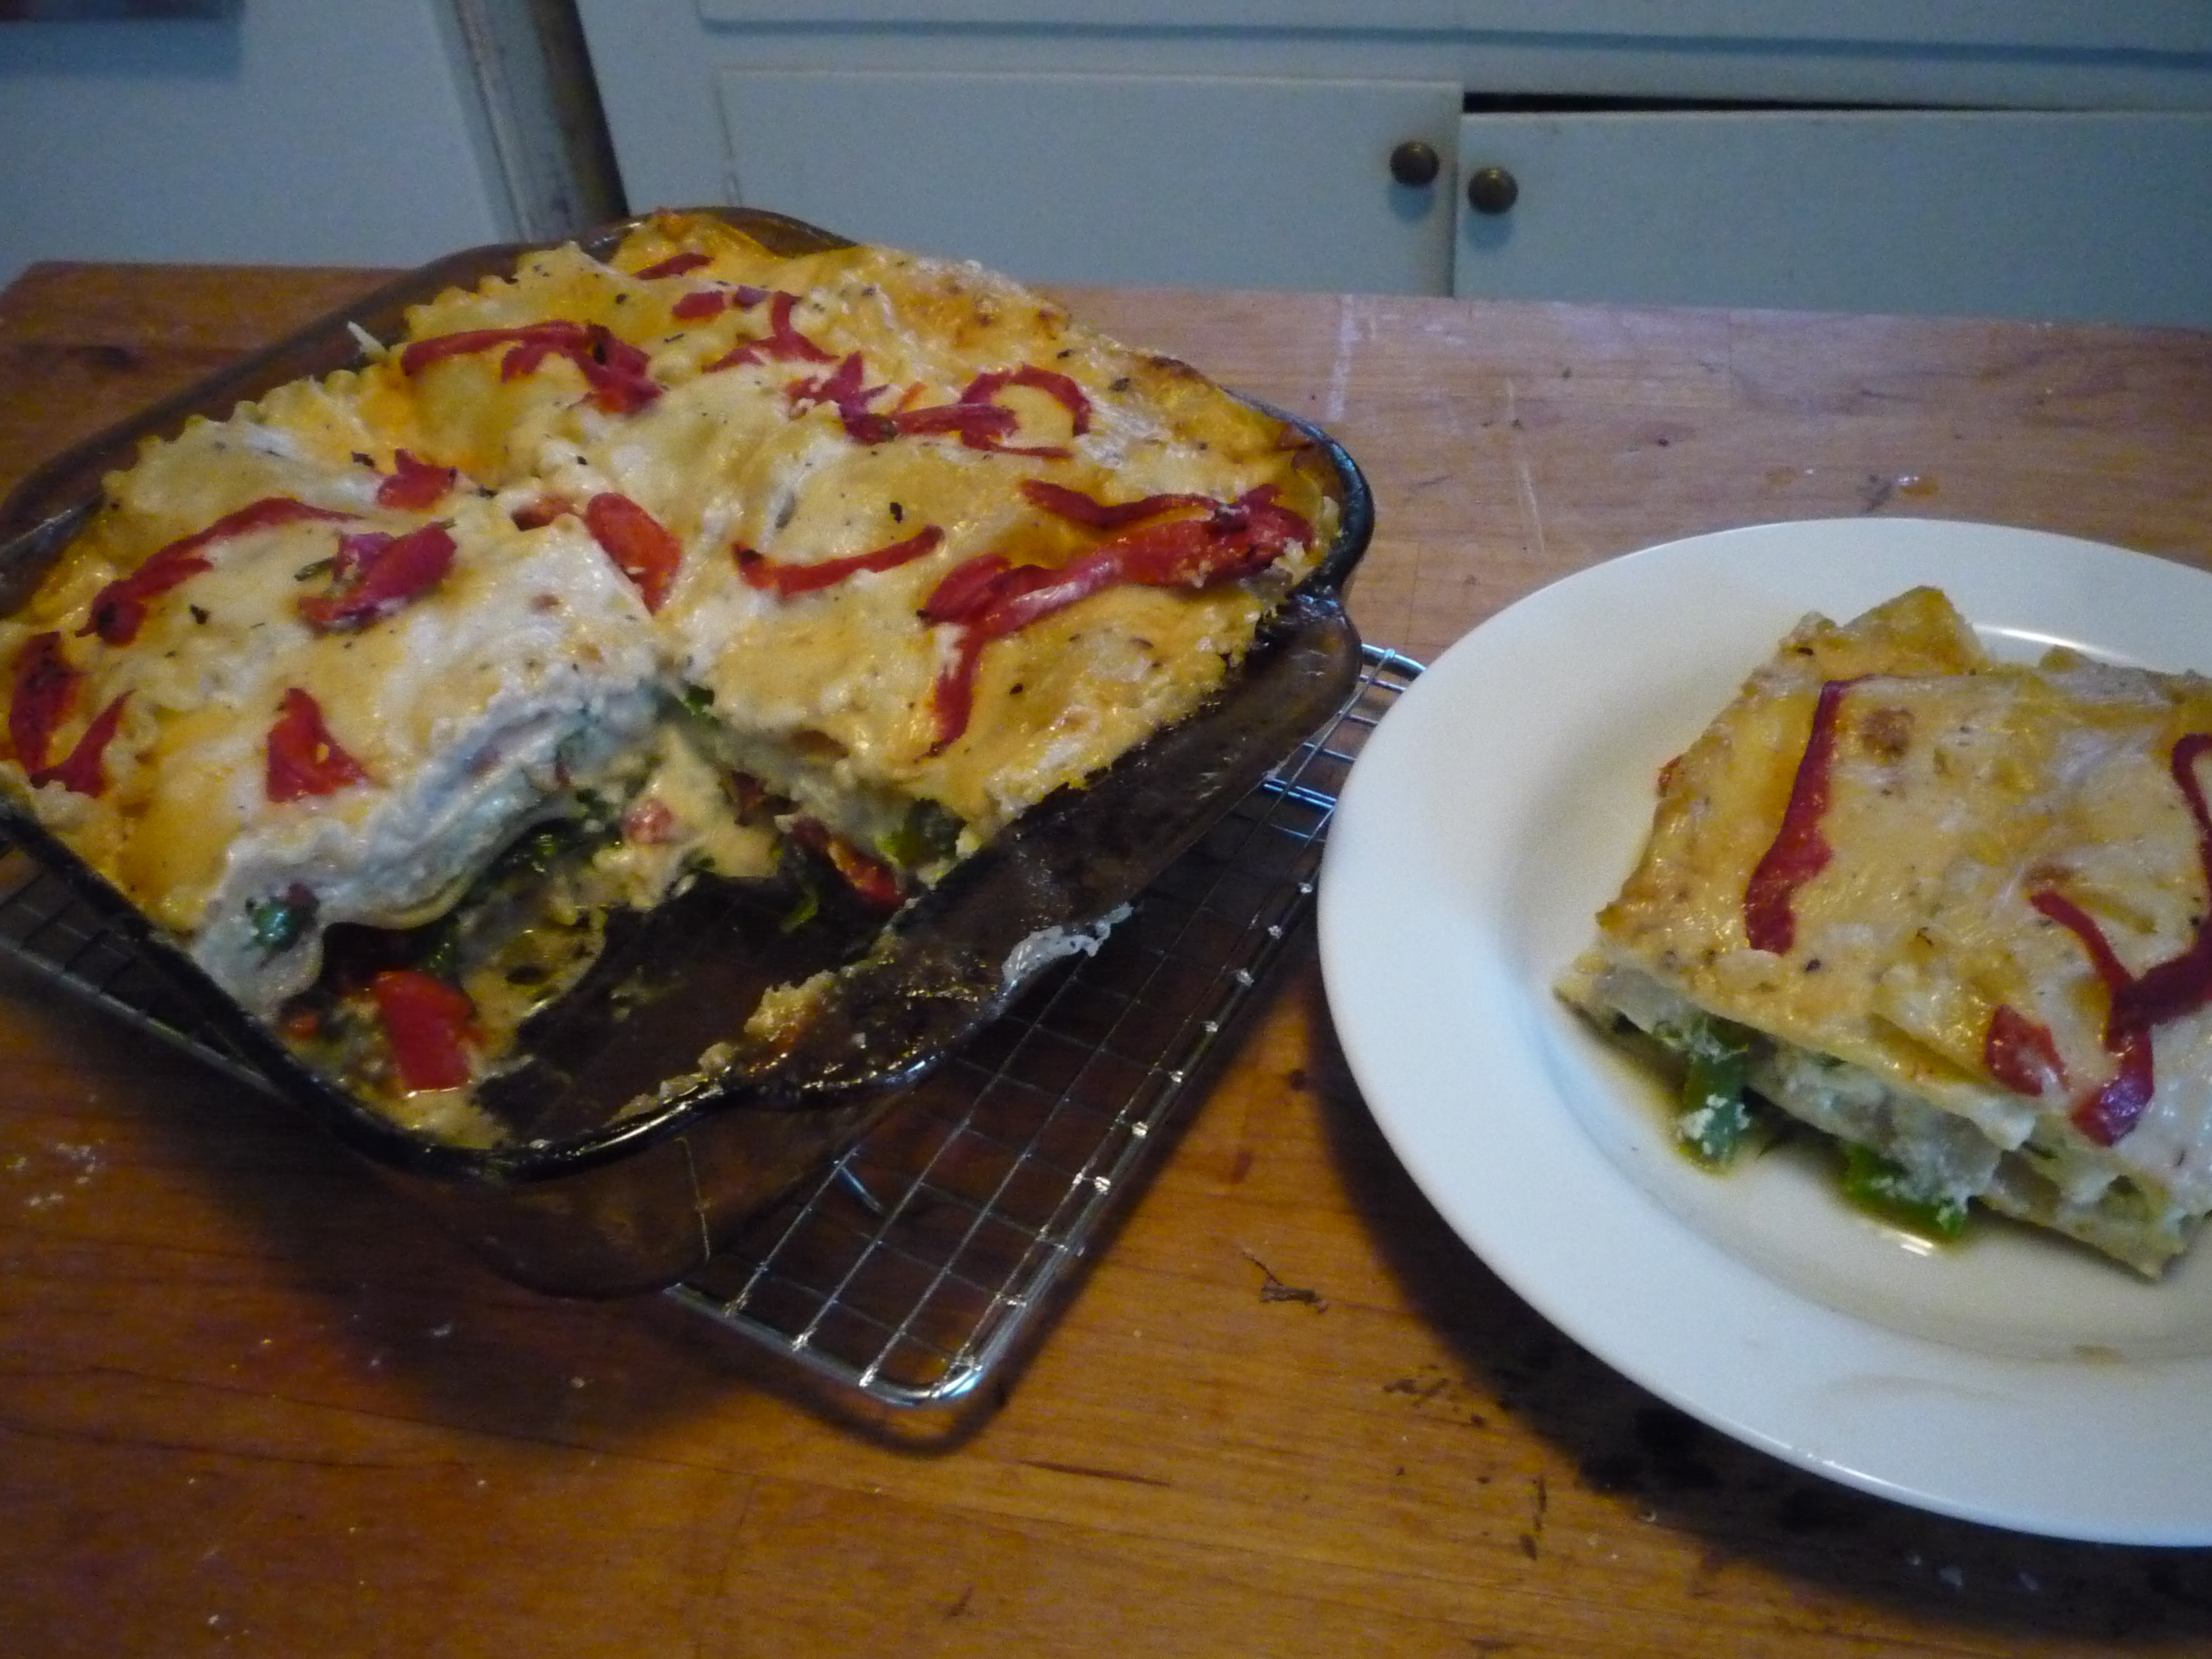
Asparagus and Mushroom Lasagne
I’ve always loved asparagus season in Central California. I like that it’s a finite season, and it’s an agro-culinary treat you can really look forward to. Resisting the urge to buy those nice looking spears that come from Mexico a month or so before the California season begins, I patiently wait for the local product to finally arrive. I’ve been enjoying this year’s crop in the usually ways: grilled, sauteed, broiled, in salads, etc. , but wanted to create a recipe that included some of my other favorite flavors. While asparagus has a distinctive flavor, it lends itself well to a variety of cuisines and applications. This recipe for lasagne has lots of steps, but isn’t difficult to make. Enjoy!
Ingredients:
8 ounces Lasagne Sheets
3 Tblspns Butter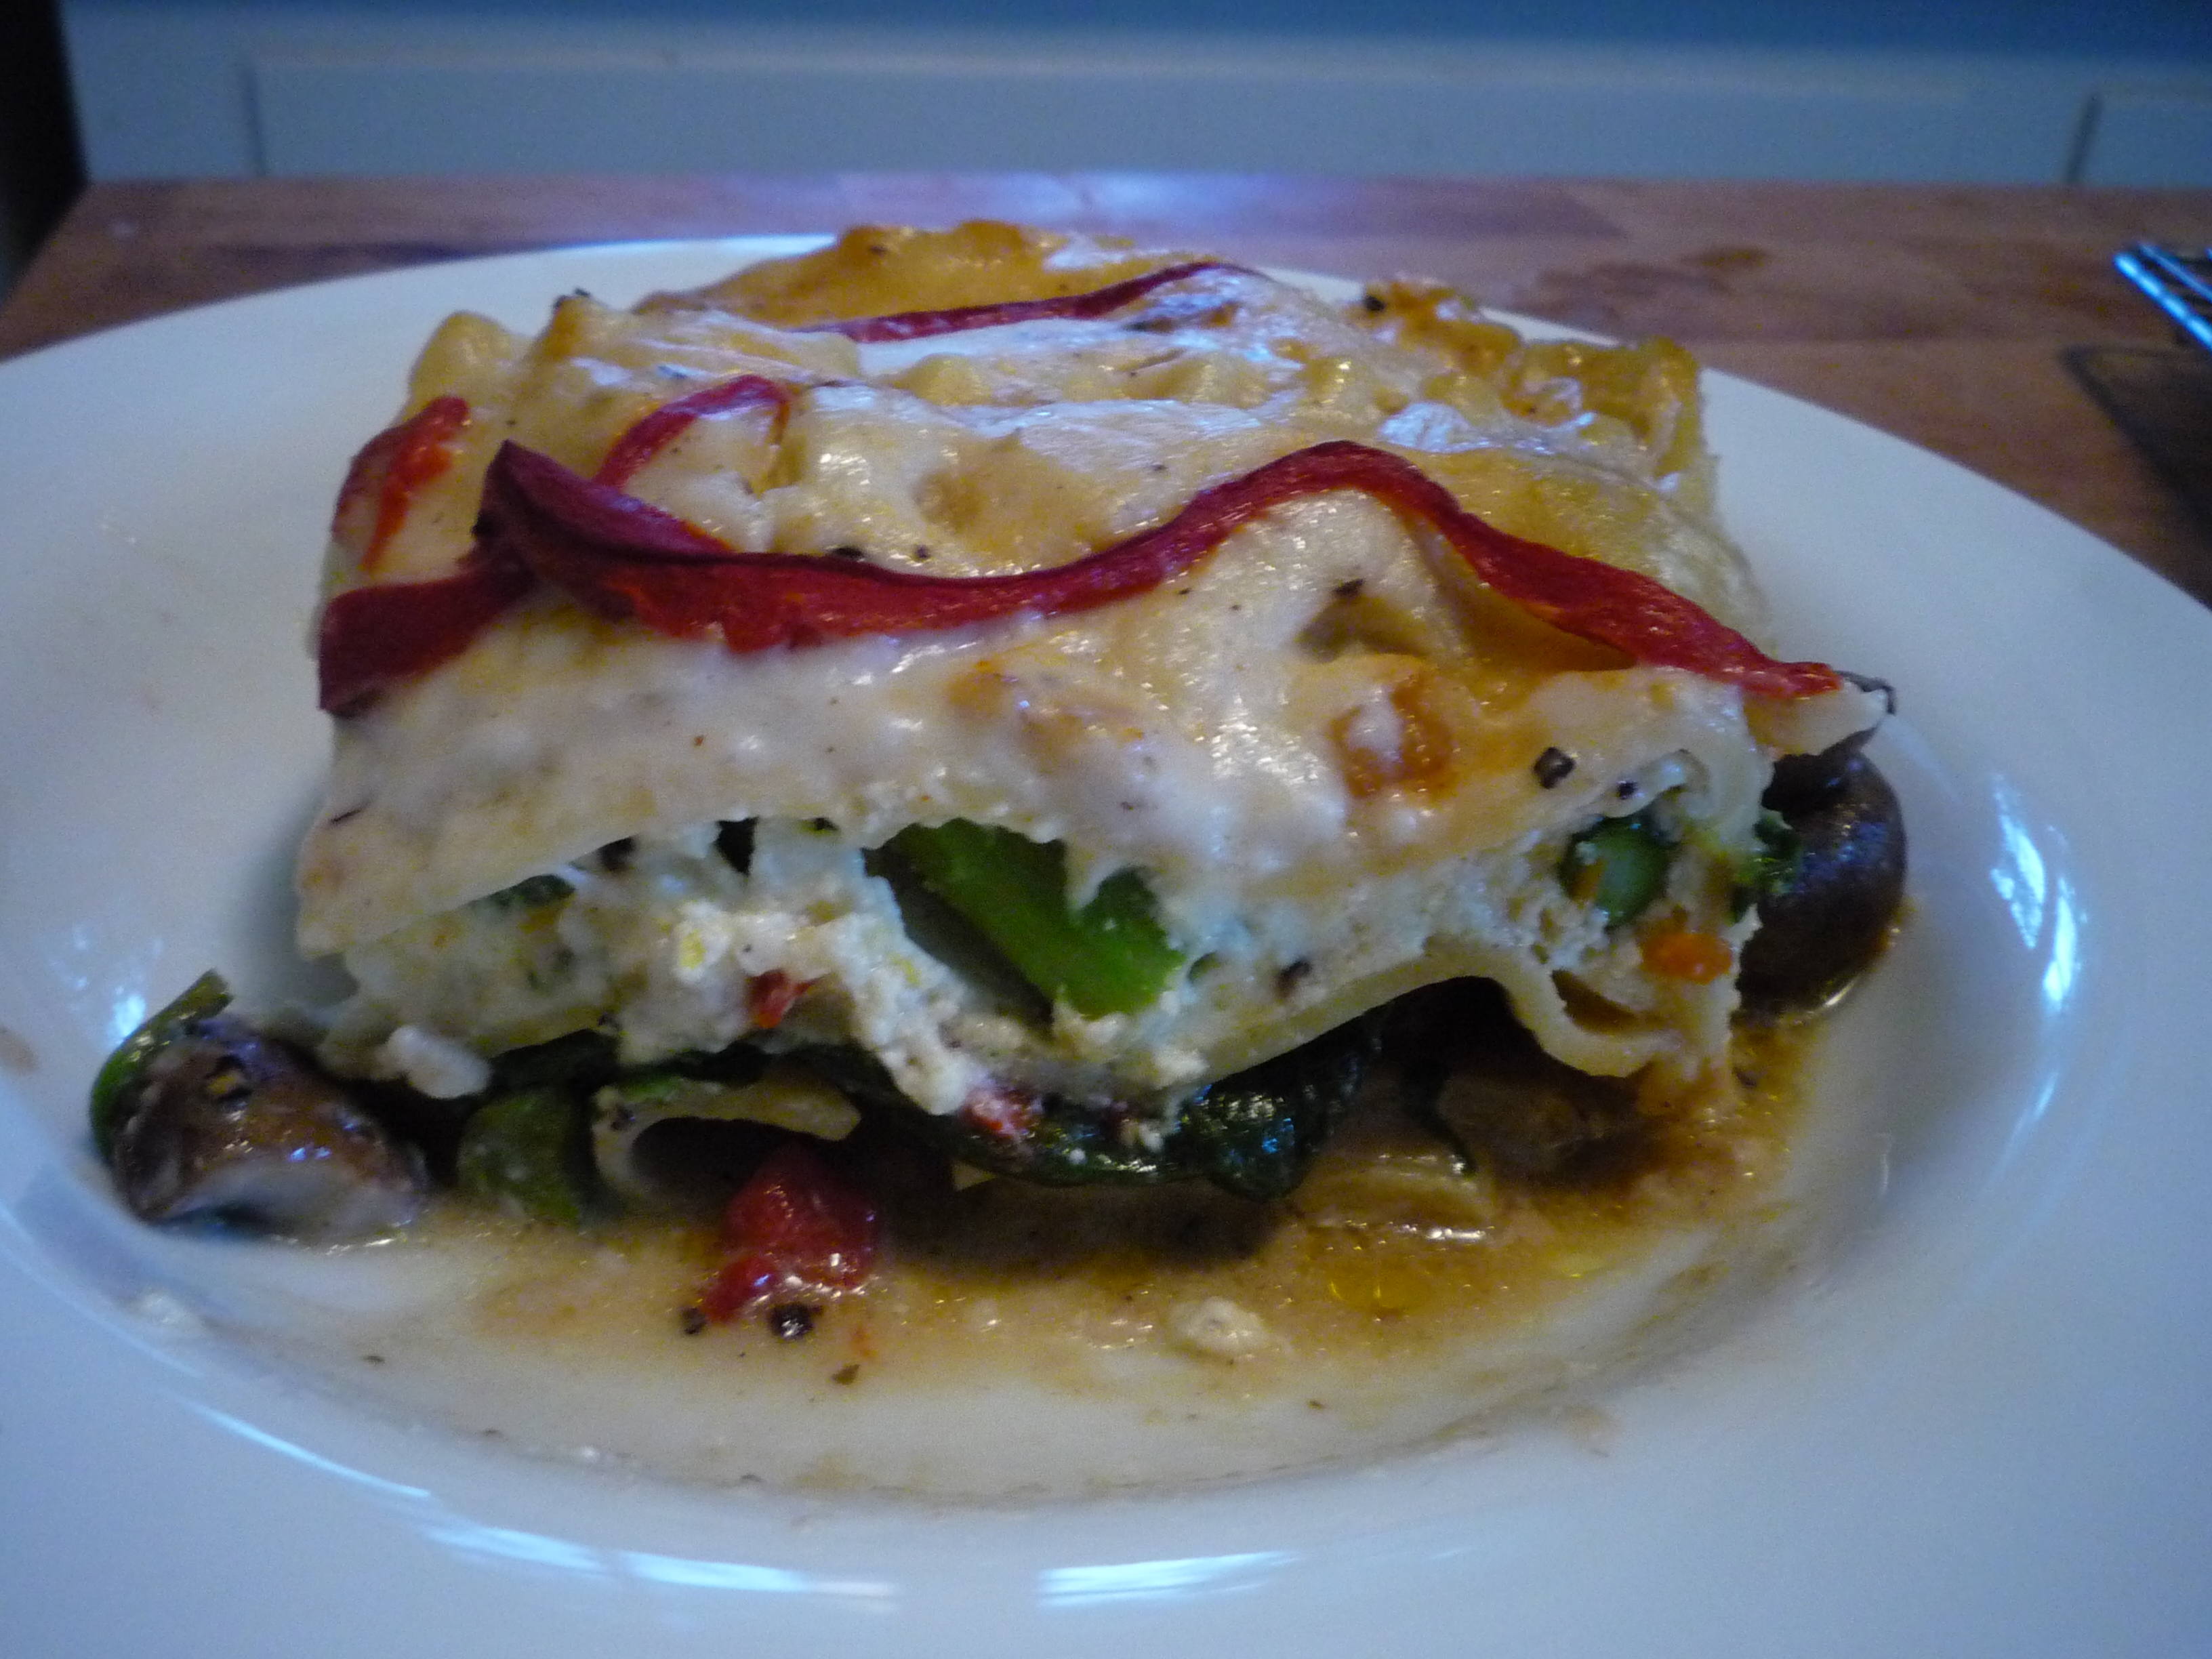
½ small Onion – small dice
3 Tblspns Flour
1 ¾ cup Milk
½ tspn Salt
¼ tspn Pepper
1 Tblspn Olive Oil
1 Tblspn Butter
8 ounces Crimini Mushrooms
½ tspn Salt
¼ tspn Pepper
2 tspns Fresh Thyme (1 tspn if using dried)
1 Tblspn Olive Oil
8 ounces Spinach
8 ounces Piquillo Peppers – diced
12 ounces Asparagus
1 cup Whole Milk Ricotta Cheese
4 ounces Goat Cheese
1 tspn Lemon Zest
2 Tblspns Basil—chopped
1 large Egg
½ tspn Salt
¼ tspn Pepper
- Cook lasagne according to package instructions. Cool and set aside.
- Melt butter in medium sauce pan over medium heat. Add onions and sauté until soft and butter is just beginning to brown.
- Reduce heat to low and add flour. Stir with a rubber spatula to combine and break up any lumps. Continue cooking, stirring frequently, for 2-3 minutes.
- Slowly add milk while stirring constantly to prevent lumps from forming. Add salt and pepper and stir frequently until mixture is thick. Remove from heat and set aside.
- Bring a medium saucepan of salted water to a boil. Trim tough ends from asparagus. Add asparagus to water and cook just until crisp/tender—about 3 minutes.
- Drain and immediately dunk in ice water to stop cooking. Drain again and set aside.
- Cut mushrooms into wide, chunky slices—about 3 slices per mushrooms for medium-sized caps.
- Add olive oil and butter to a sauté pan over medium-high heat. Add mushrooms and salt. Sauté for 5-7 minutes or until mushrooms have softened and released their juices. Add pepper and thyme and cook one more minute. Remove from pan and set aside.
- Wipe out pan and add 1 Tblspn olive oil to pan over medium-high heat. Add spinach and sauté until just wilted, but still bright green in color. Remove from pan and set aside.
- In a medium bowl, combine ricotta, goat cheese, egg, zest, basil, salt and pepper.
- For lasagne assembly, spray a 9” square baking dish with cooking spray. Place a layer of noodles in the bottom of the pan. Top with about 2/3 of the béchamel sauce. Add mushrooms in an even layer.
- Add another layer of noodles and top with sautéed spinach and about 2/3 of the piquillo peppers.
- Add another layer of noodles and top with 2/3 of the ricotta mixture. Lay in the blanched asparagus spears in an even layer and top with remaining ricotta mixture.
- Add another layer of noodles and top with remaining béchamel sauce and piquillo peppers.
- Cover with foil and bake in a pre-heated 350° oven for 30-40 minutes or until heated through and bubbly.
- Allow to cool for 10 minutes before cutting and serving.

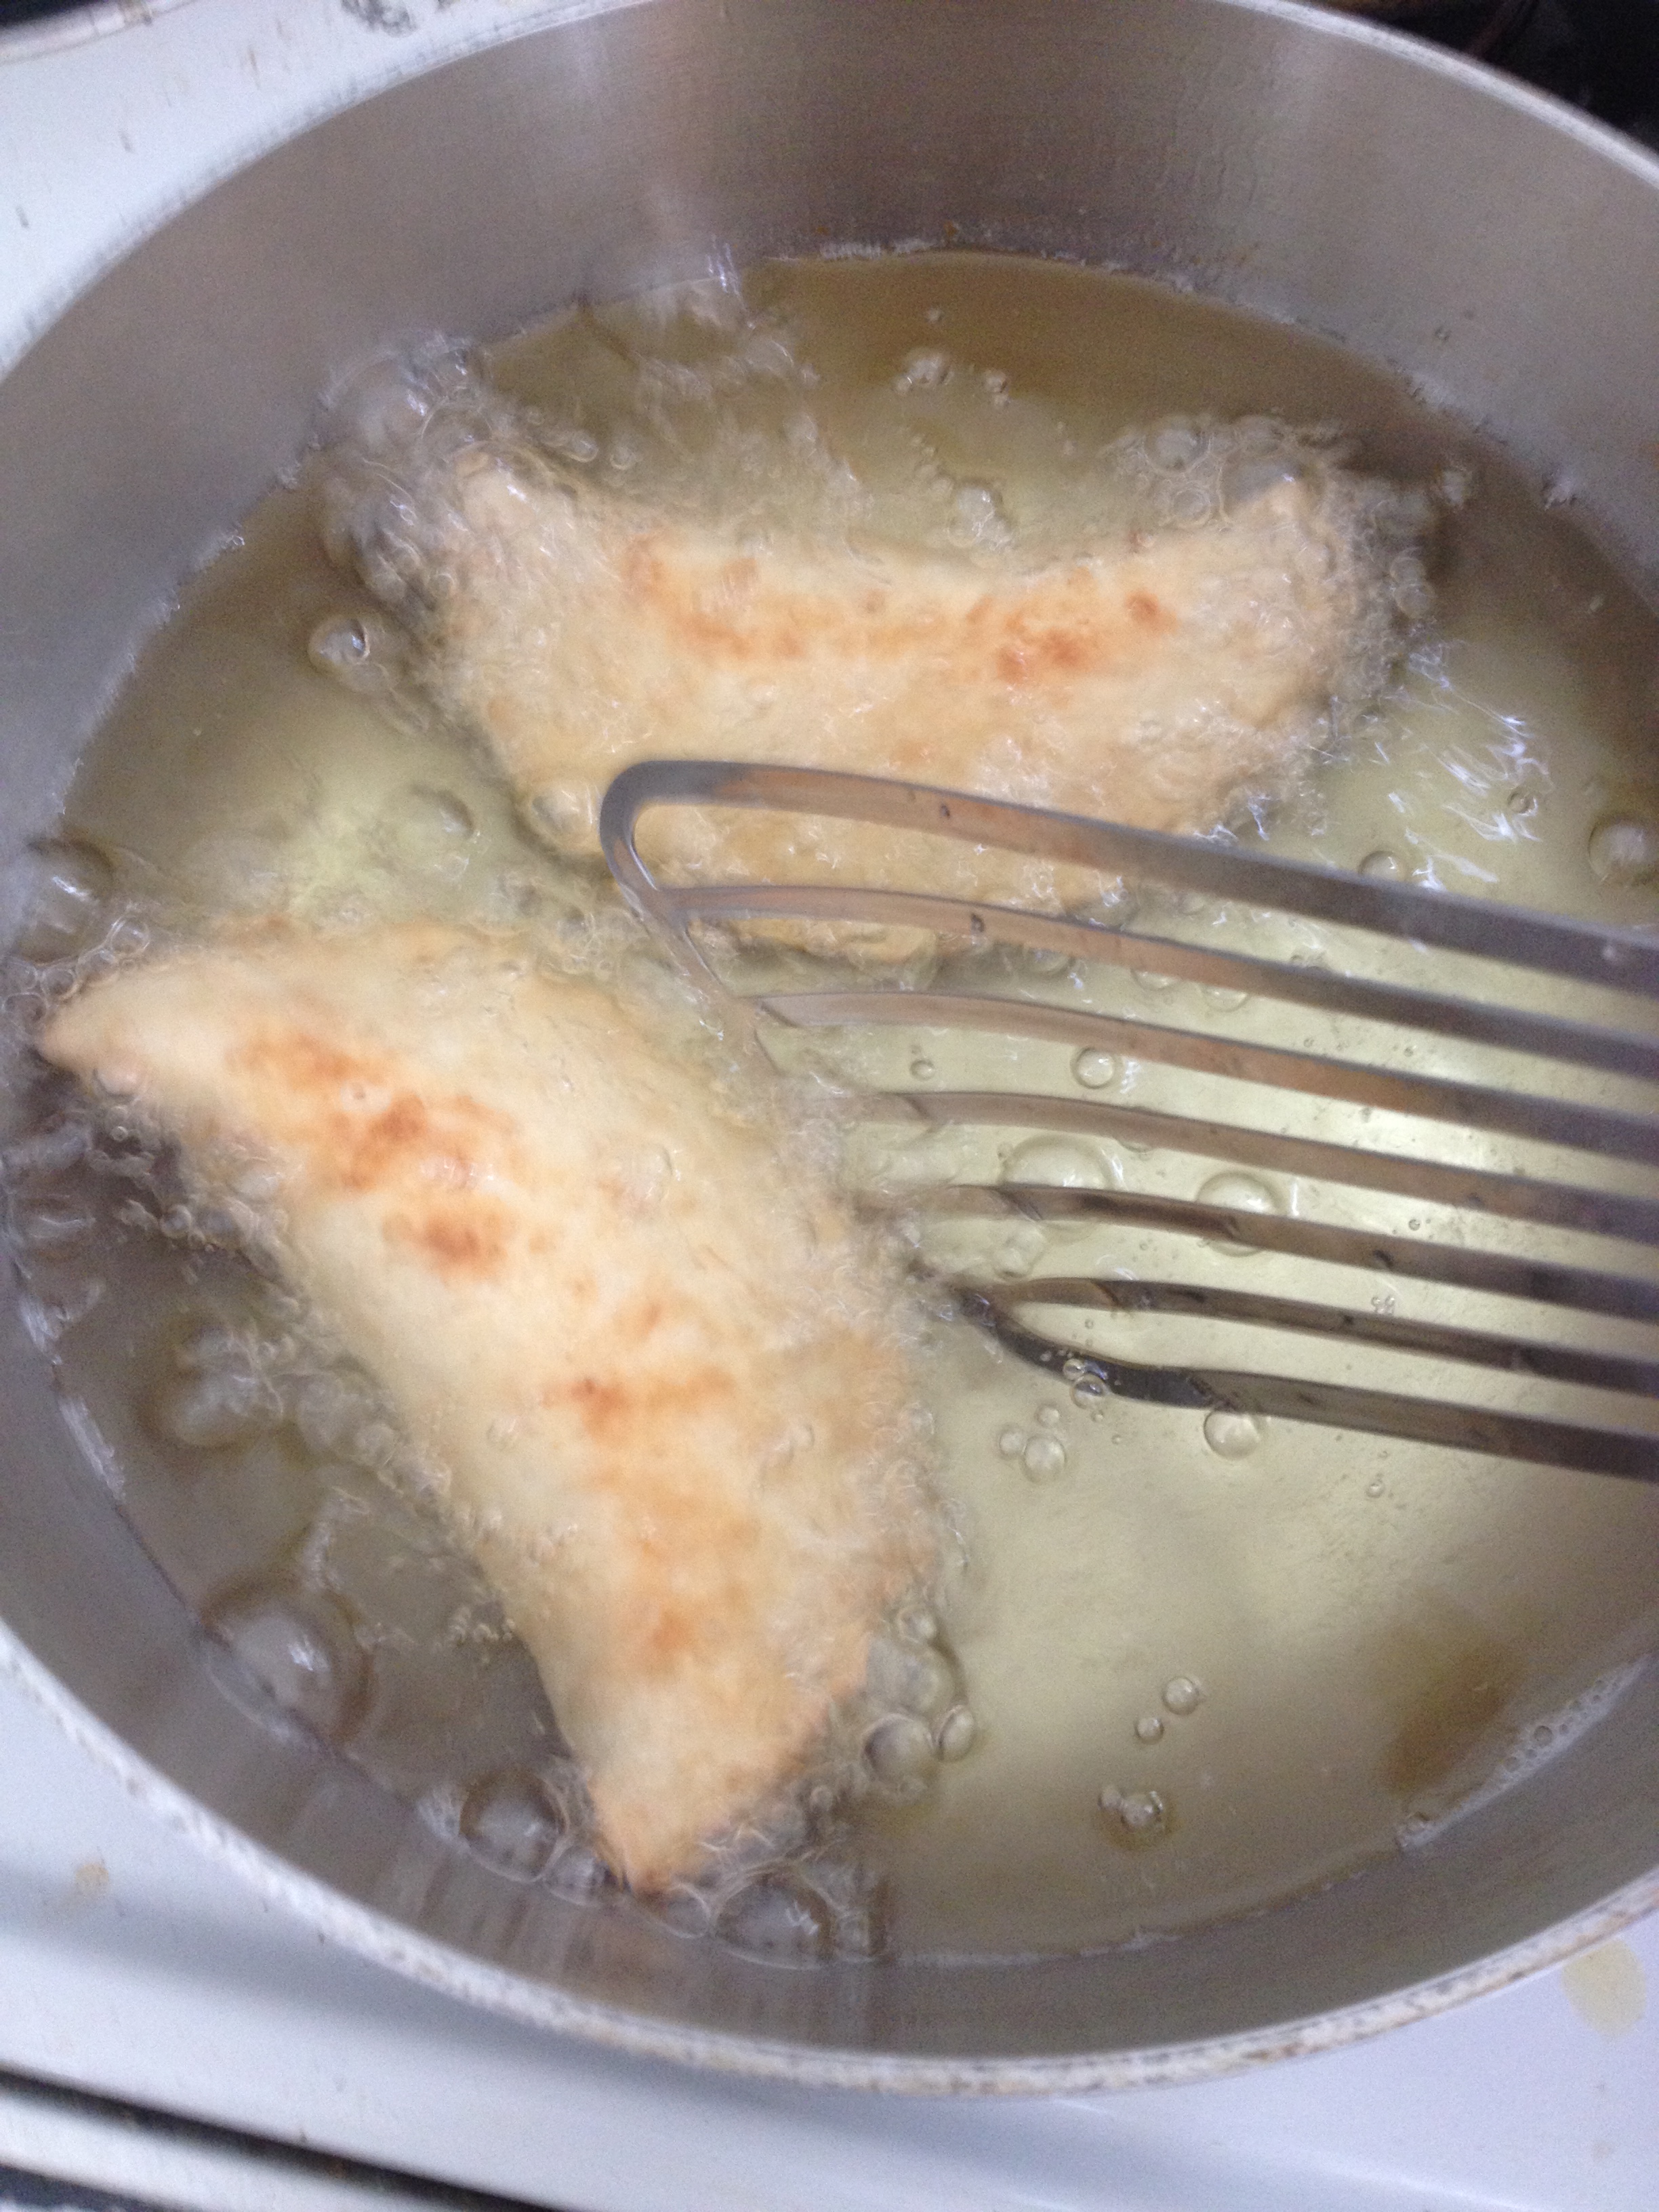
Curried Coconut Hand Pies
I seem to be a little obsessed with hand pies these days! Following my previous post for a savory hand pie, I thought I’d follow up with a sweet option. The inspiration for this pie came from browsing the spice blends with Kristina at Stone Creek Kitchen. I had planned on doing a coconut pudding filling and was inspired to add a savory spice blend for a little extra kick. I used a curry mix, but I’m sure that a garam masala or STK’s Ancient Chinese Secret spice blend would work just as well. The filling for these pies makes a great pudding on its own–just serve with some fresh berries and a crispy cookie.
(yields 12 pies)
Ingredients:
Filling
1 cup Whole Milk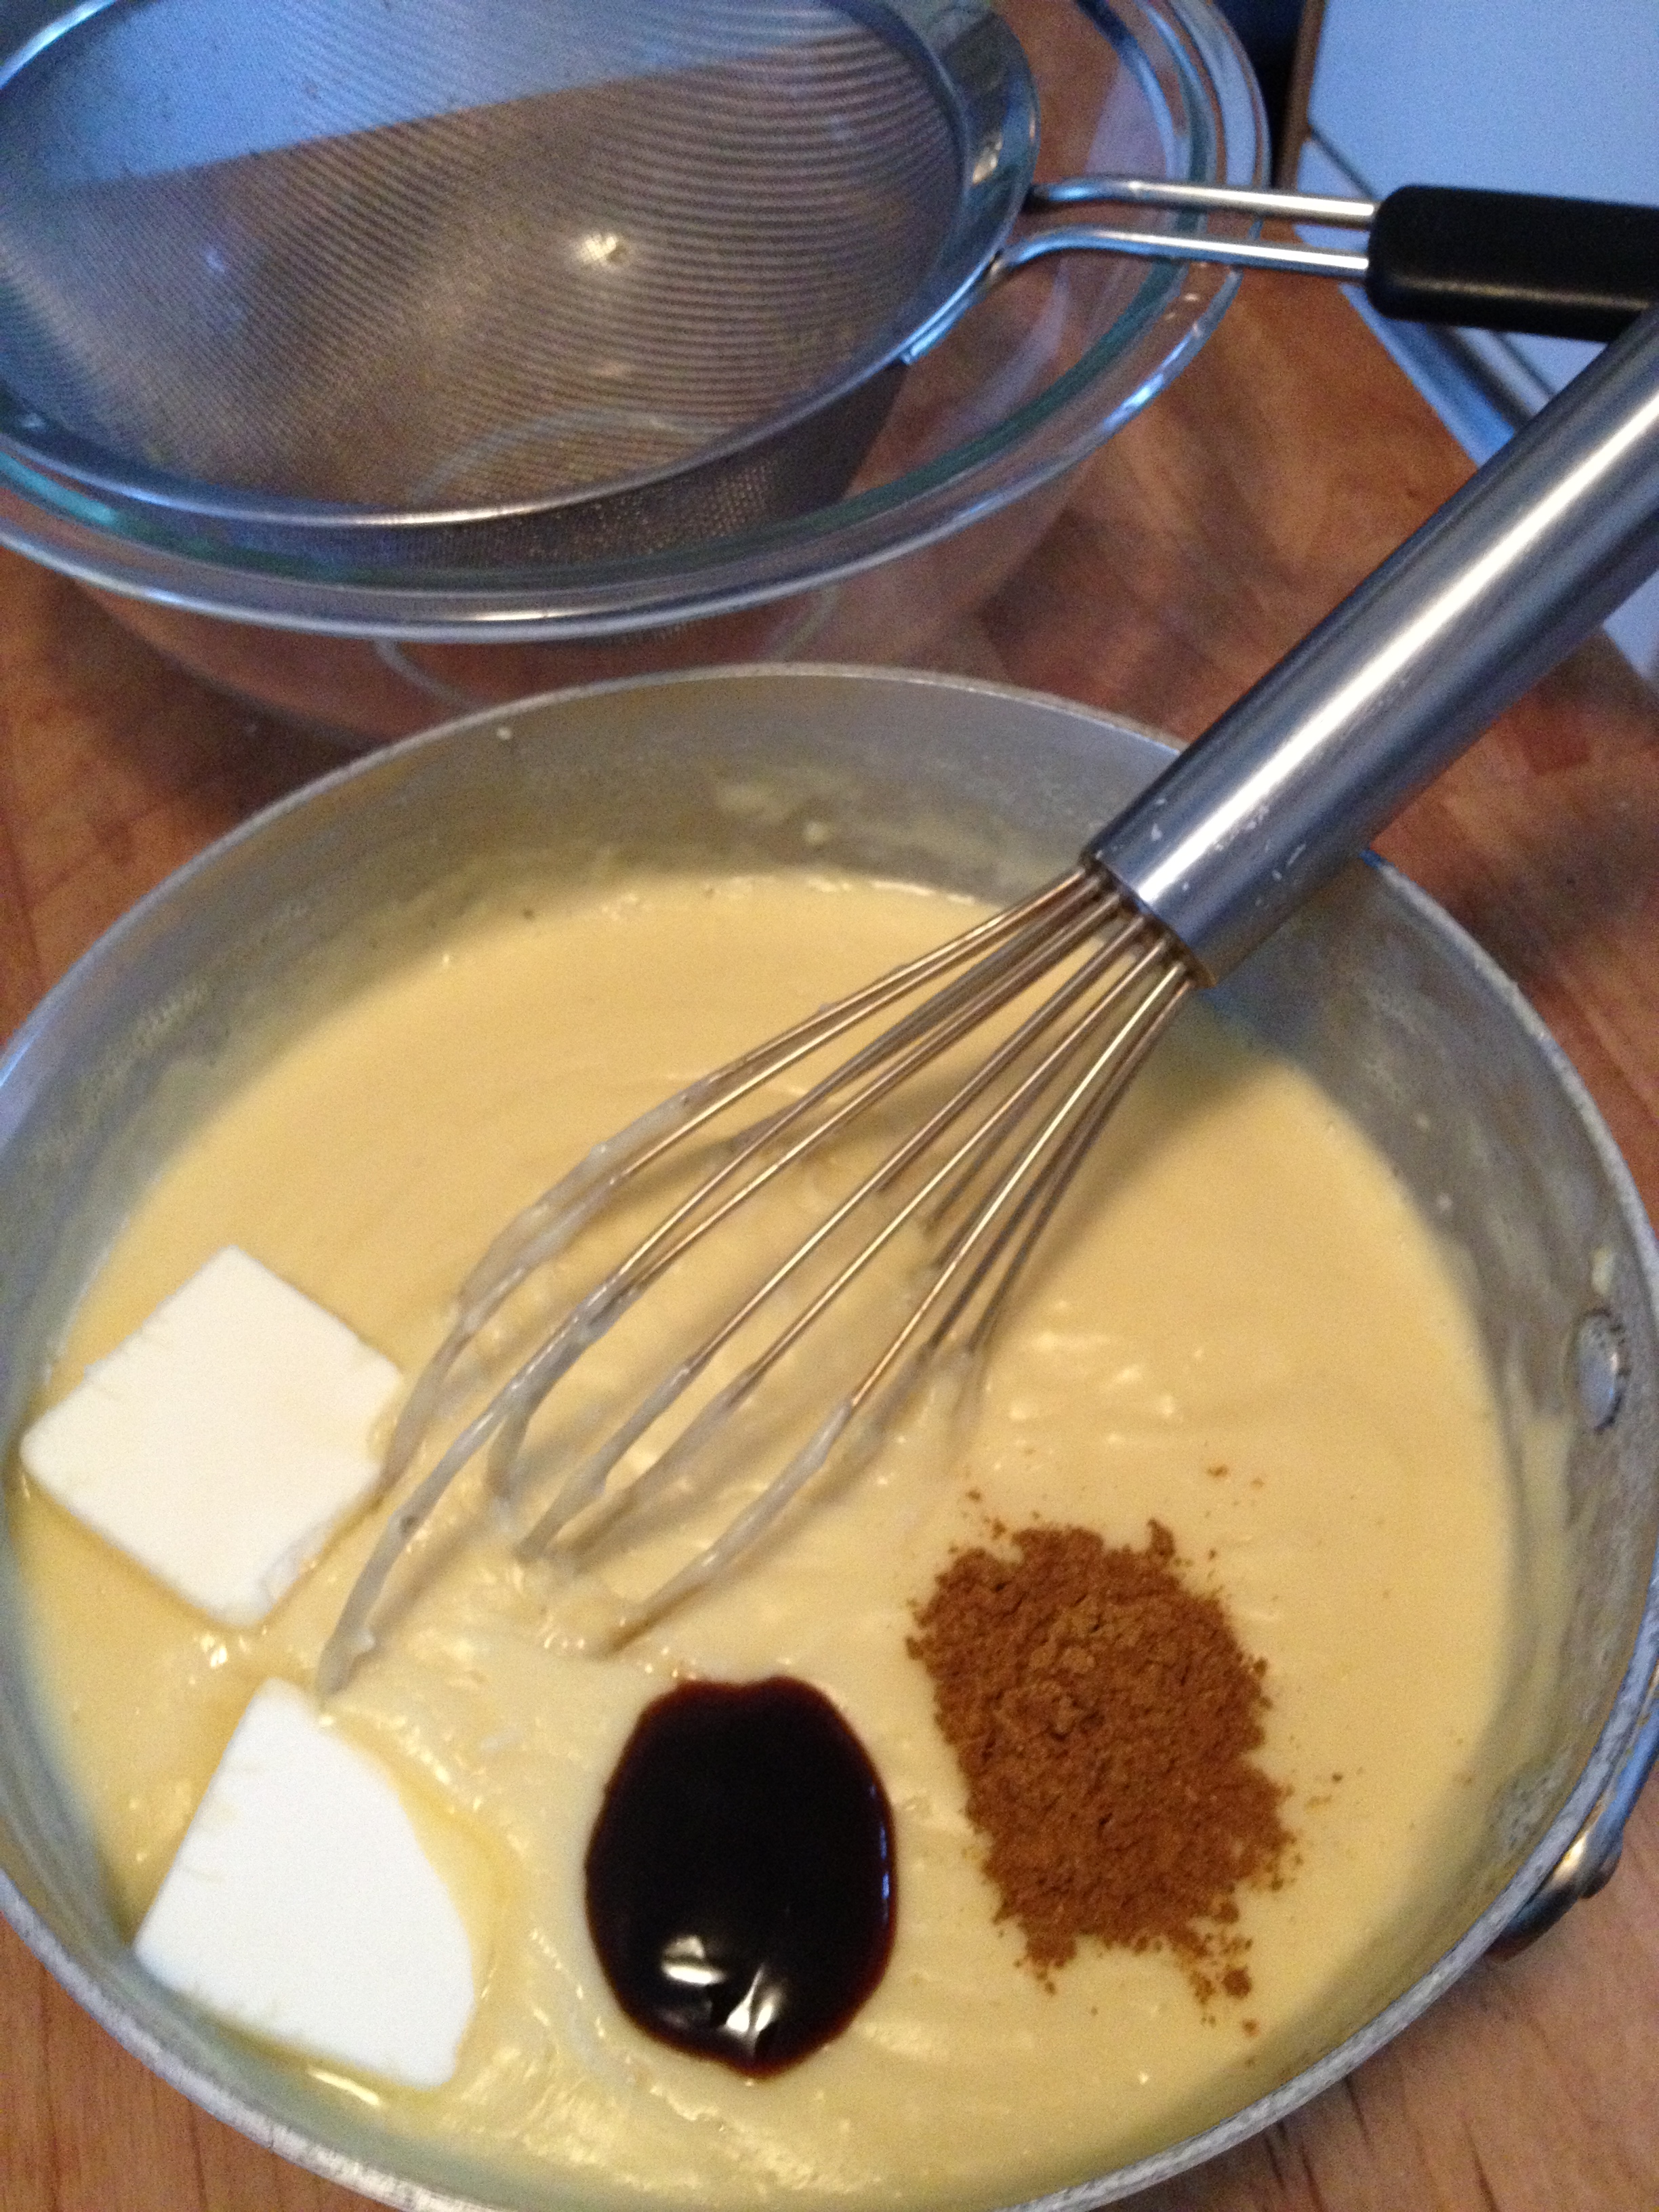
1 can (15oz.) Coconut Milk
½ cup Brown Sugar
¼ cup Corn Starch
¼ tspn Salt
4 large Egg yolks
1 Tblspn Butter
1 ½ tspn Curry Powder
1 tspn Vanilla Paste or Extract
¾ cup Coconut (shredded, unsweetened)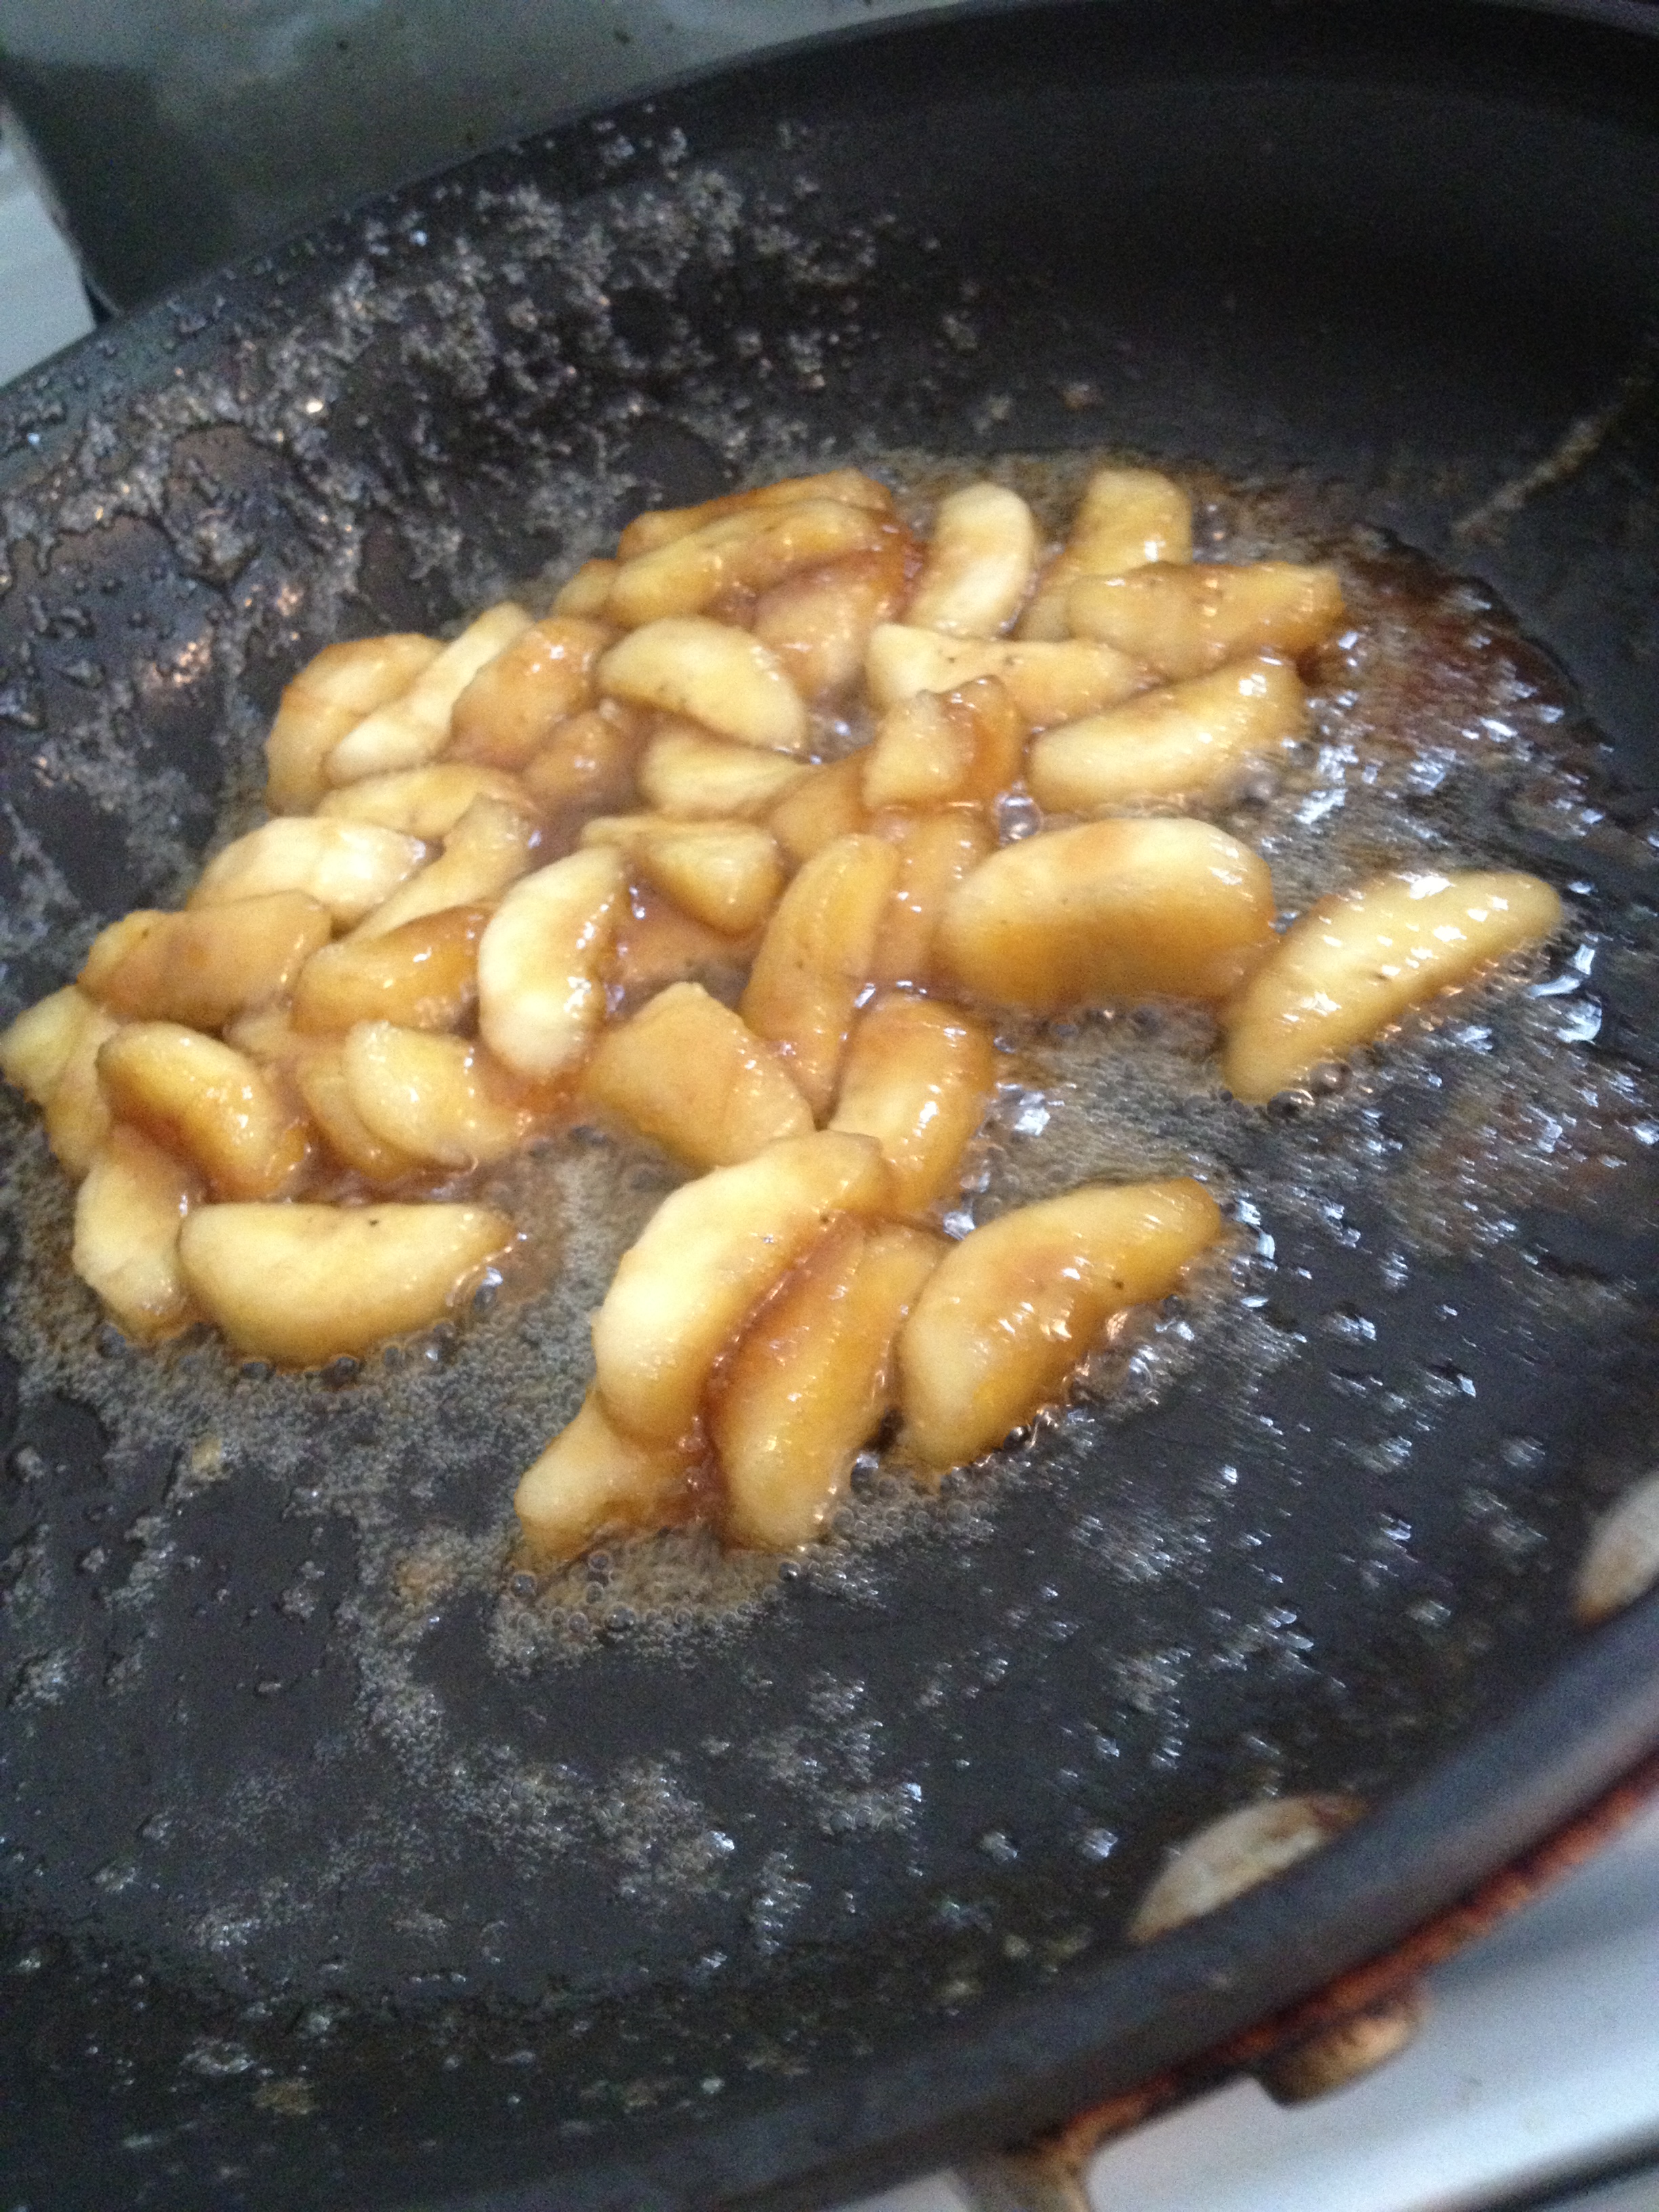
1 medium Banana
2 Tblspn Brown Sugar
2 Tblspn Butter
Dough
3 cups All Purpose Flour
½ cup Coconut
2 Tblspns Sugar
1 tspn Salt
¾ cup Vegetable Shortening
1 large Egg
6 Tblspns Cold Water
1 tspn Cider Vinegar
1-2 cups Oil for frying (a high smoke-point oil like canola, peanut or sunflower)
Make filling
- Preheat oven to 350°.
- In a medium sauce pan, bring milks just to a simmer over medium heat.
- Meanwhile, combine brown sugar, corn starch, salt and egg yolks in a large bowl and whisk to completely combine.
- Slowly whisk the hot milk into egg mixture. Return mixture to the sauce pan.
- Cook over medium-low heat, stirring constantly, until thickened. Whisk in butter, curry powder and vanilla.
- Spread coconut evenly on a small baking sheet. Toast in oven for 5-7 minutes or until evenly browned. Watch carefully, as coconut burns quickly.
- Peel banana. Cut in half and slice into ¼” half moons.
- Melt butter and brown sugar in a non-stick sauté pan over medium heat. Add bananas and cook until nicely caramelized—about 5 minutes.
- Fold toasted coconut and caramelized bananas into filling.
Make dough:
- Combine flour, coconut, sugar and salt in a medium mixing bowl.
- Add shortening and cut into the flour mixture with two knives, a pastry blender or your fingertips until the mix resemble a course meal—kind of like wet sand.
- Whisk together egg, water and vinegar and add to flour mixture.
- Combine with a fork until a rough ball begins to form.
- Pull dough out onto a lightly floured board or clean counter and turn and push mixture together a few times to form a cohesive ball. Flatten into a disk and wrap in waxed paper and refrigerate for 30 minutes or more.

Assemble:
- Cut dough in half and roll half out to ⅛” thickness on a lightly floured board. Cut out 5” circles and set aside. Roll up scraps and set aside.
- Roll out second half of dough in the same manner. Gather up all scraps and roll out one last batch. You should have 12 circles.
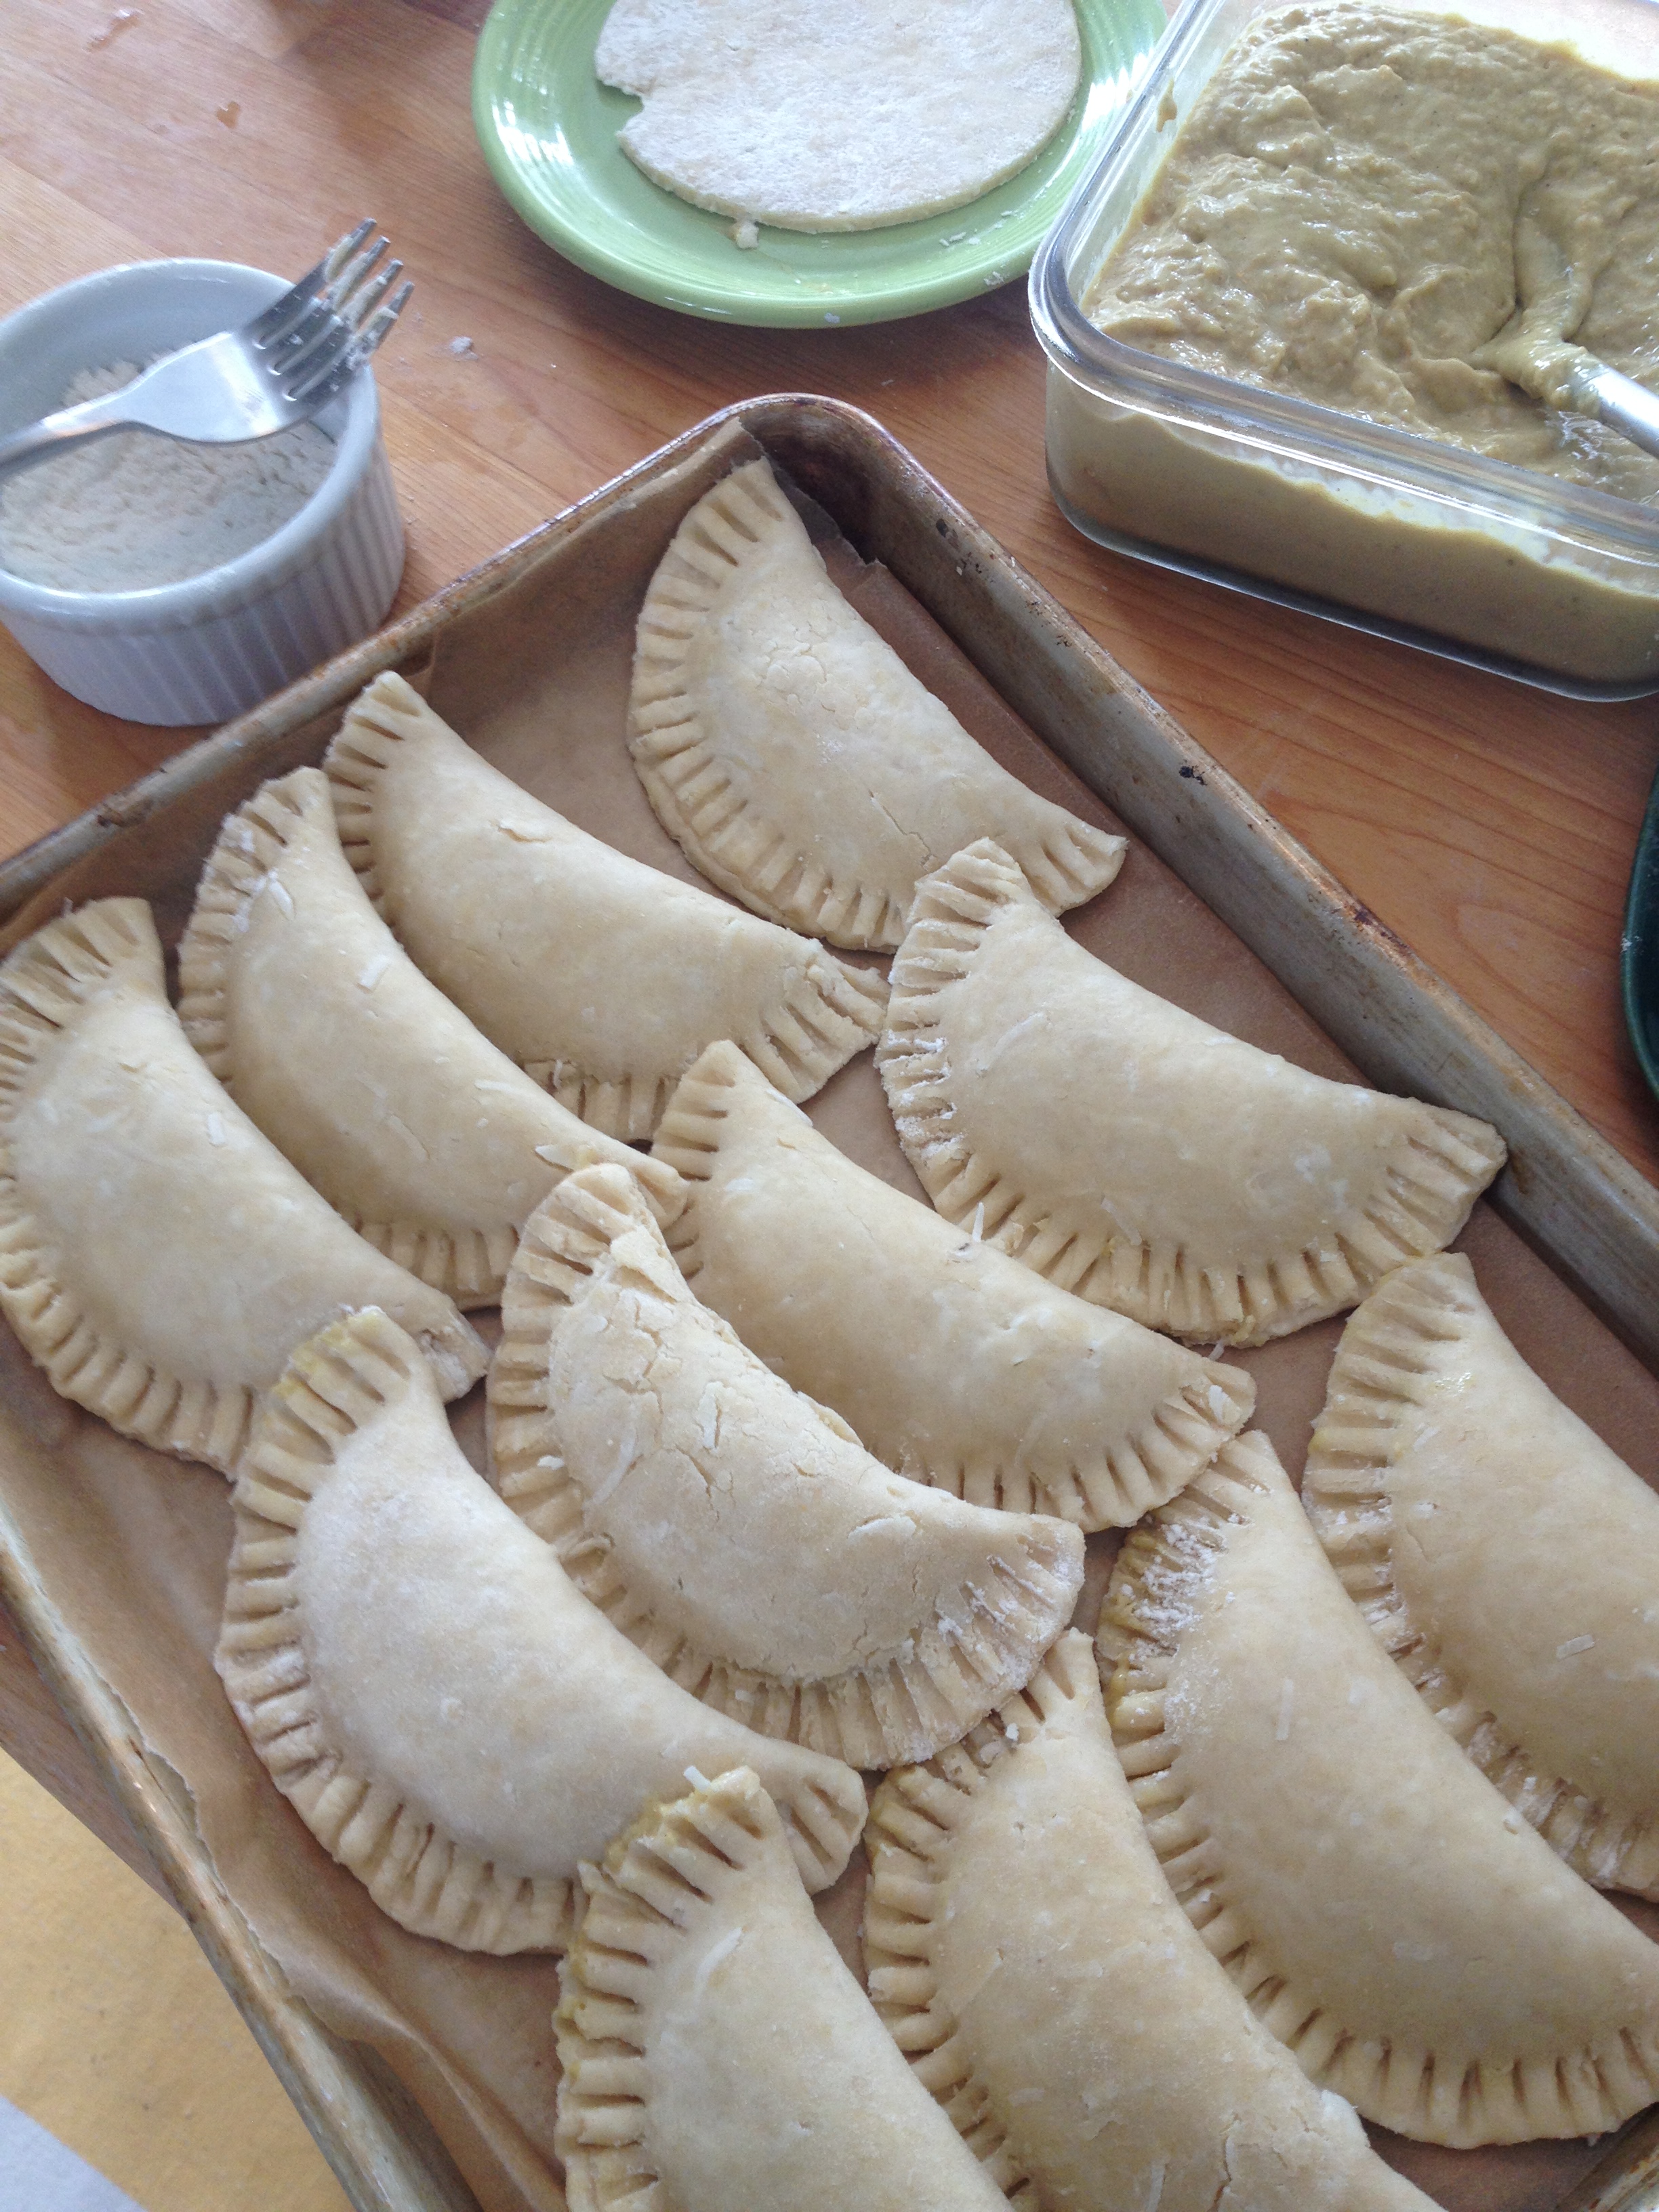
- Working in batches of 4 or 6 circles (depending on space), place about a tablespoon of filling in the center of each circle. Wipe the edges of the dough with a finger dipped in water. Fold edges together and pinch with thumb and index finger. Crimp edges with a fork. If fork sticks to dough, dip it in a little flour.
Cook:
- Place oil in a heavy bottomed pan with sides at least 3” high to a depth of about 1 ½”. Heat over medium heat to a temperature of about 350°.
- Fry pies, two or three at a time, for about 2 minutes on each side until lightly browned. Drain on a rack over a sheet pan.
Notes: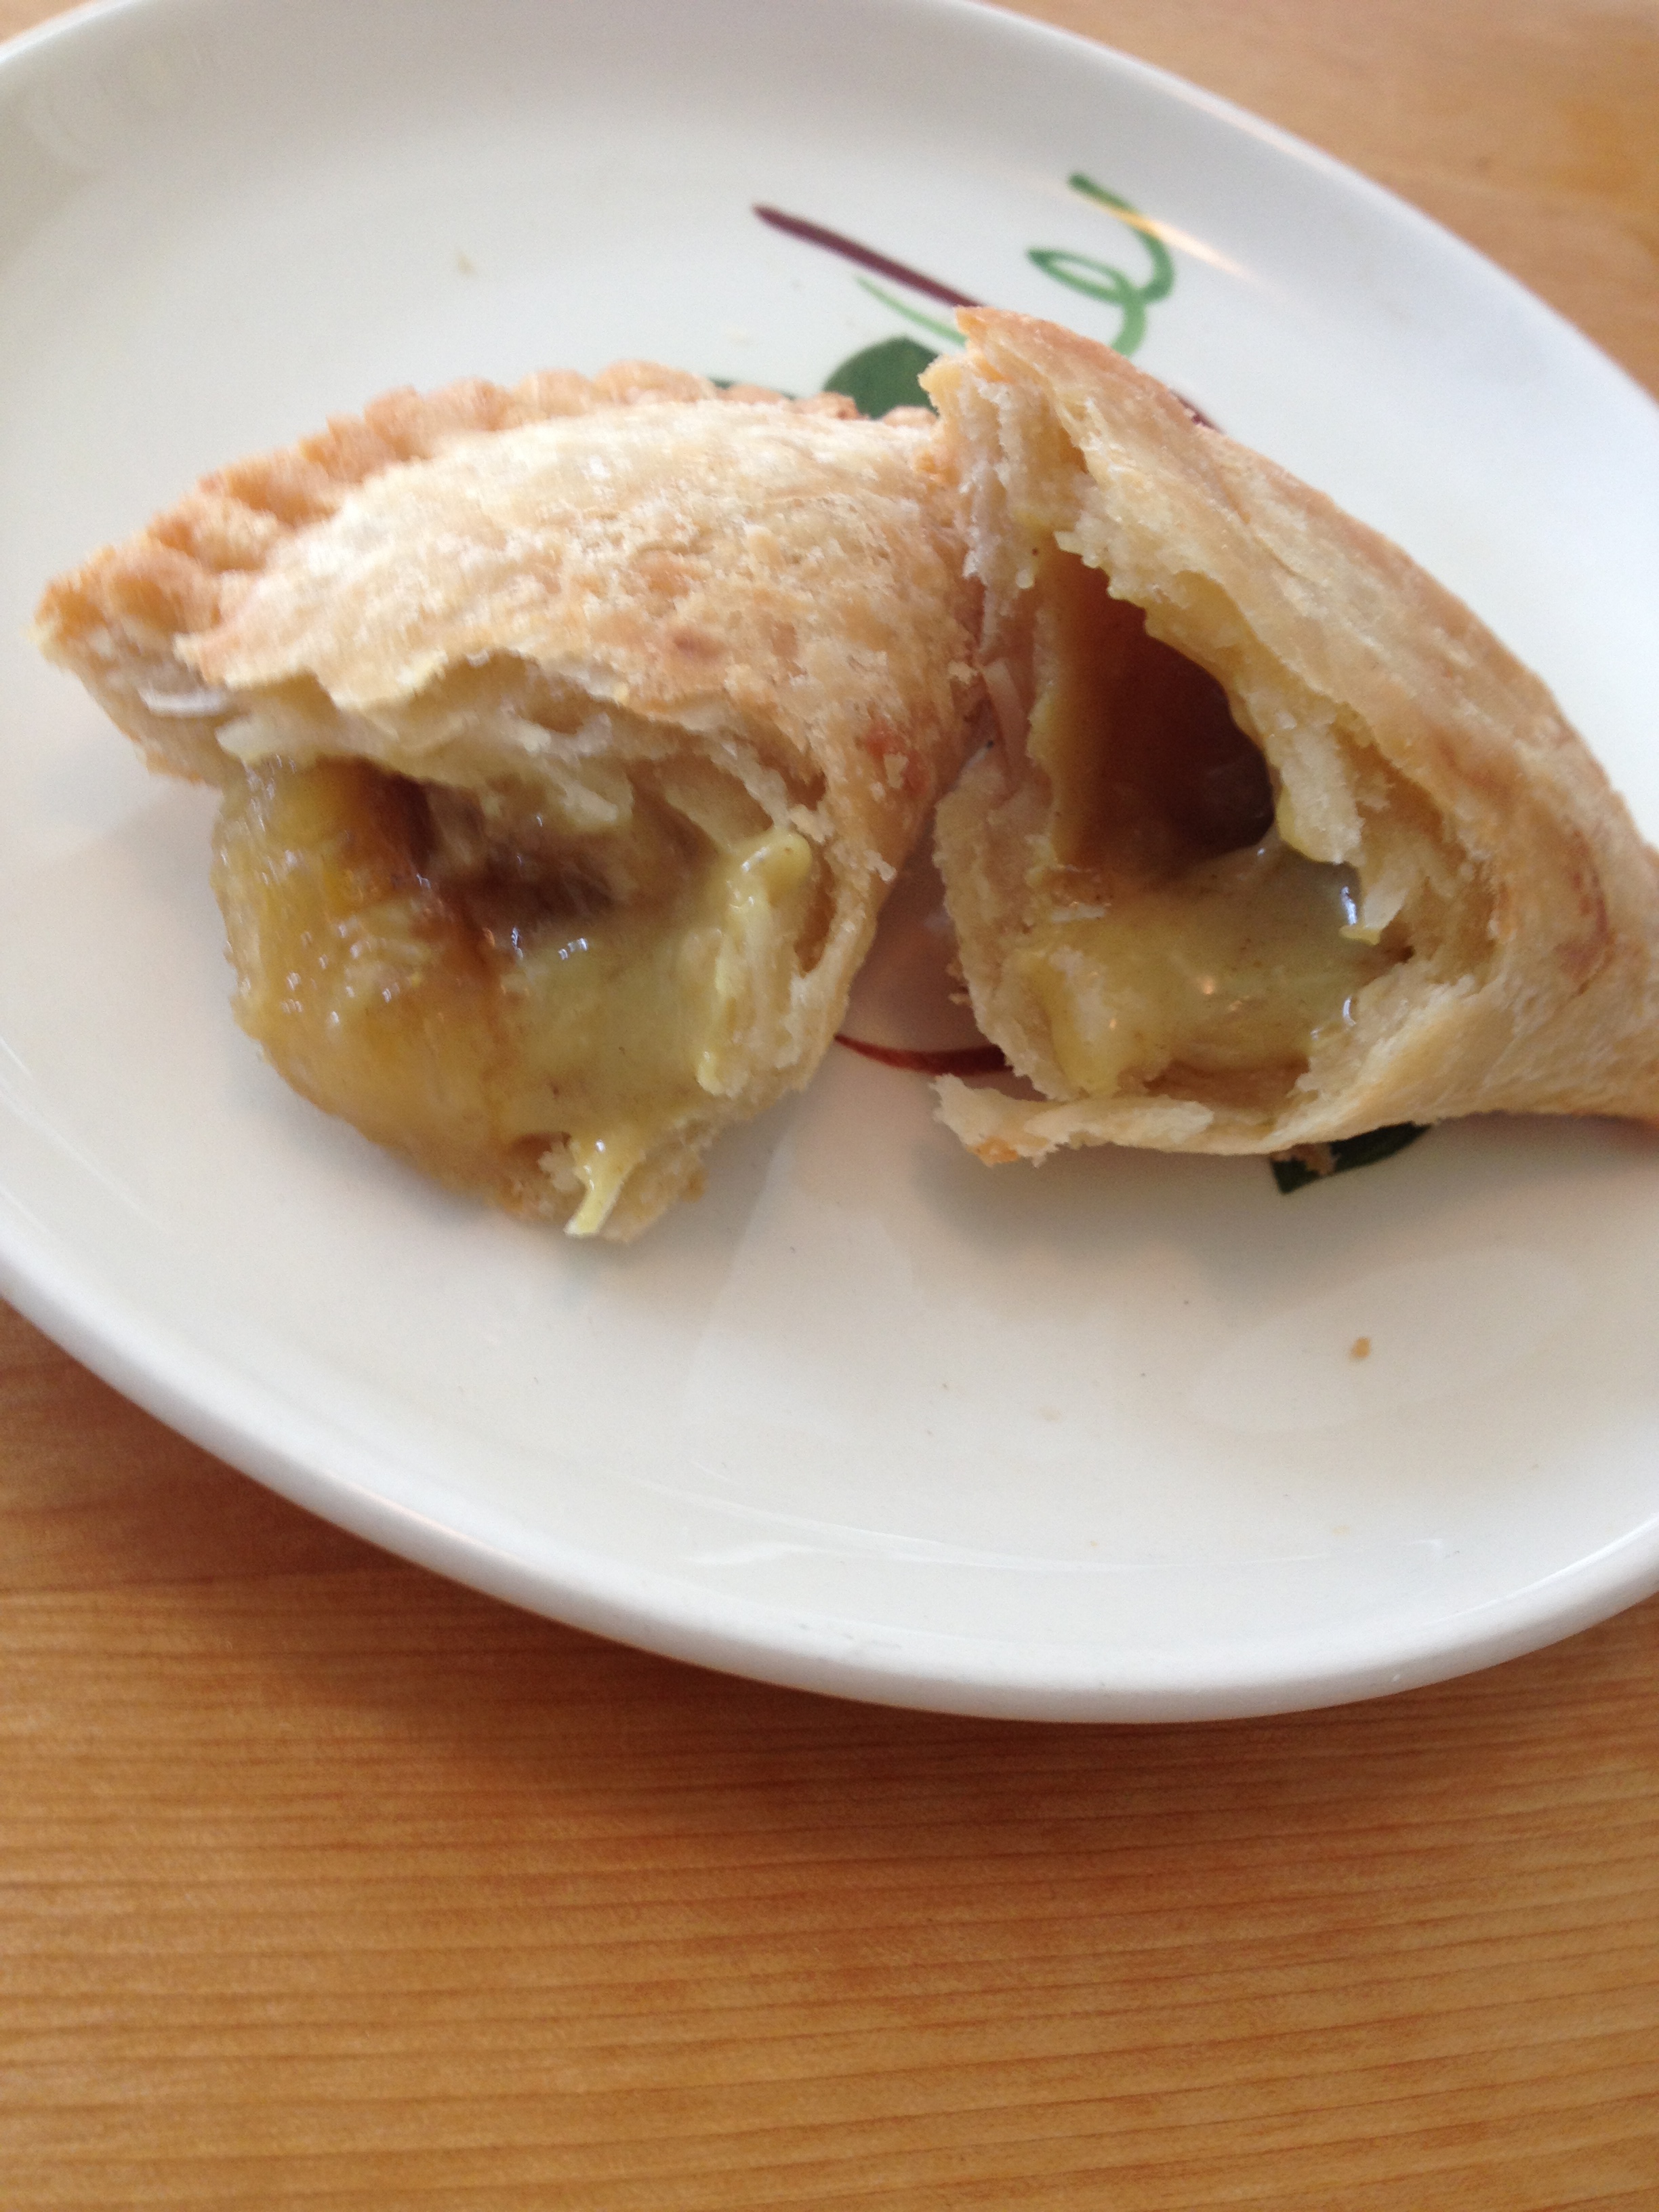
- These pies taste best if eaten within a day.
- Using pre-made frozen pie crust is an acceptable shortcut.
- Components can be made a day or two ahead and assembled and fried when ready.

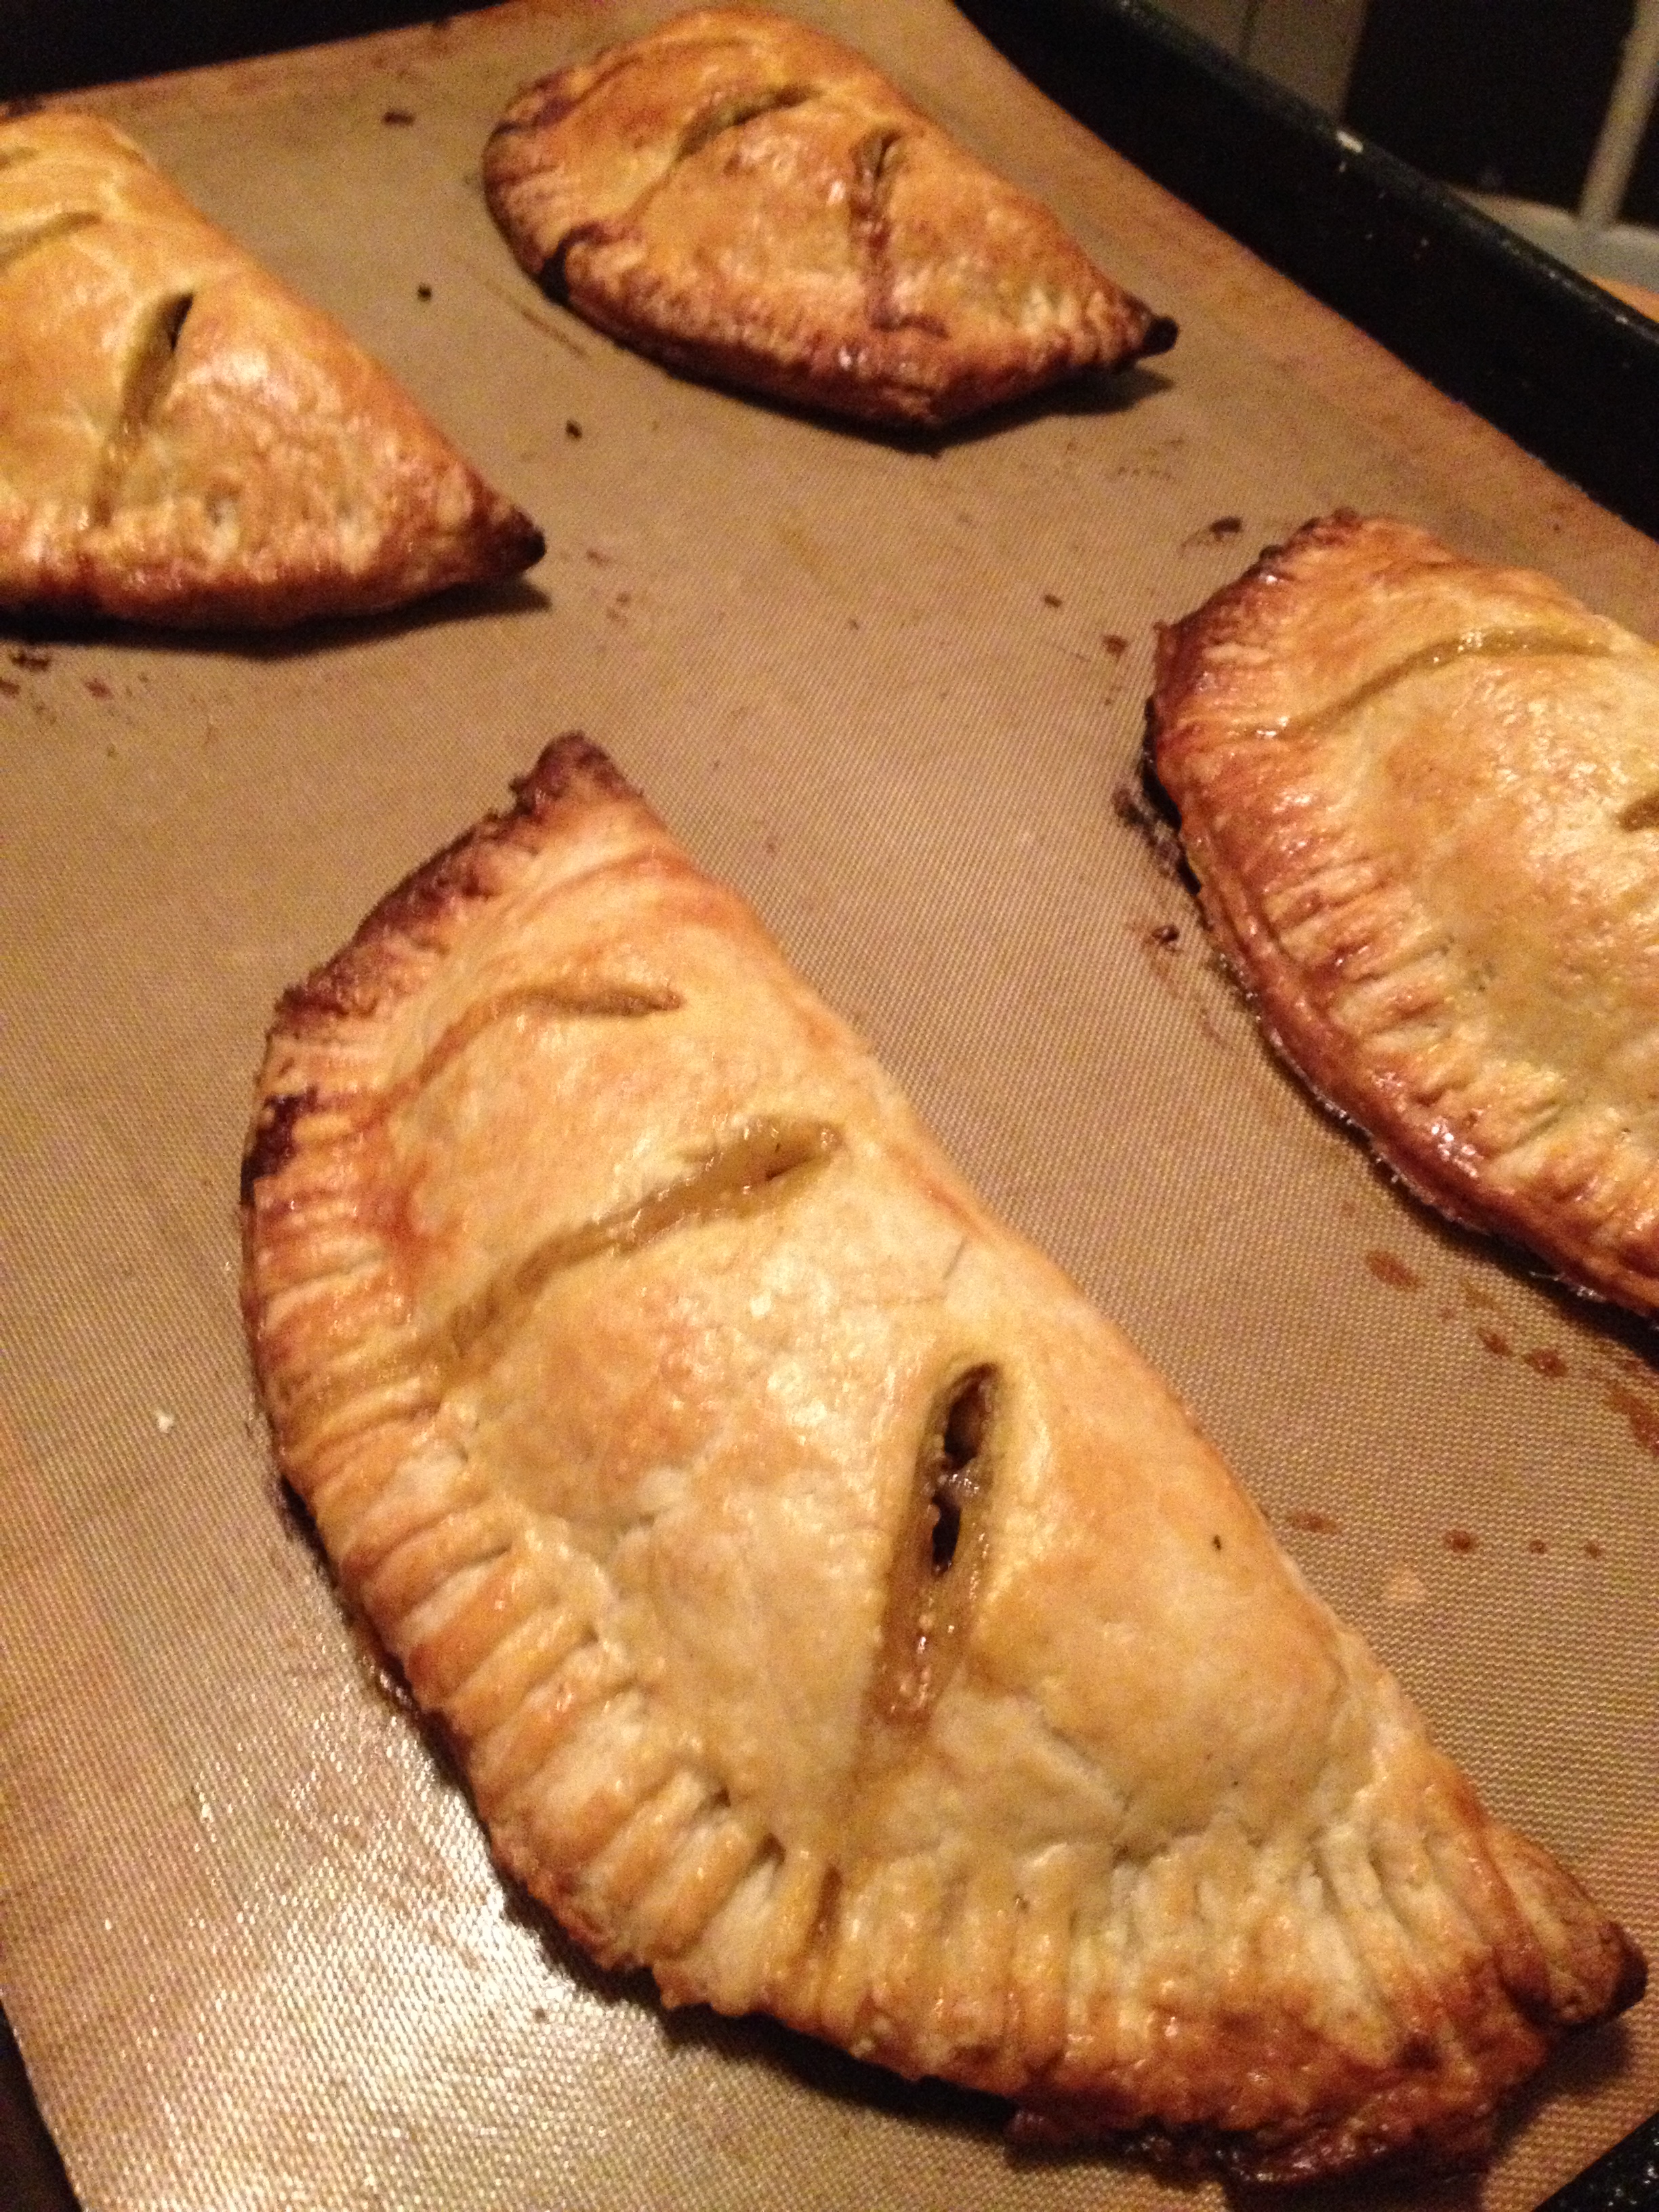
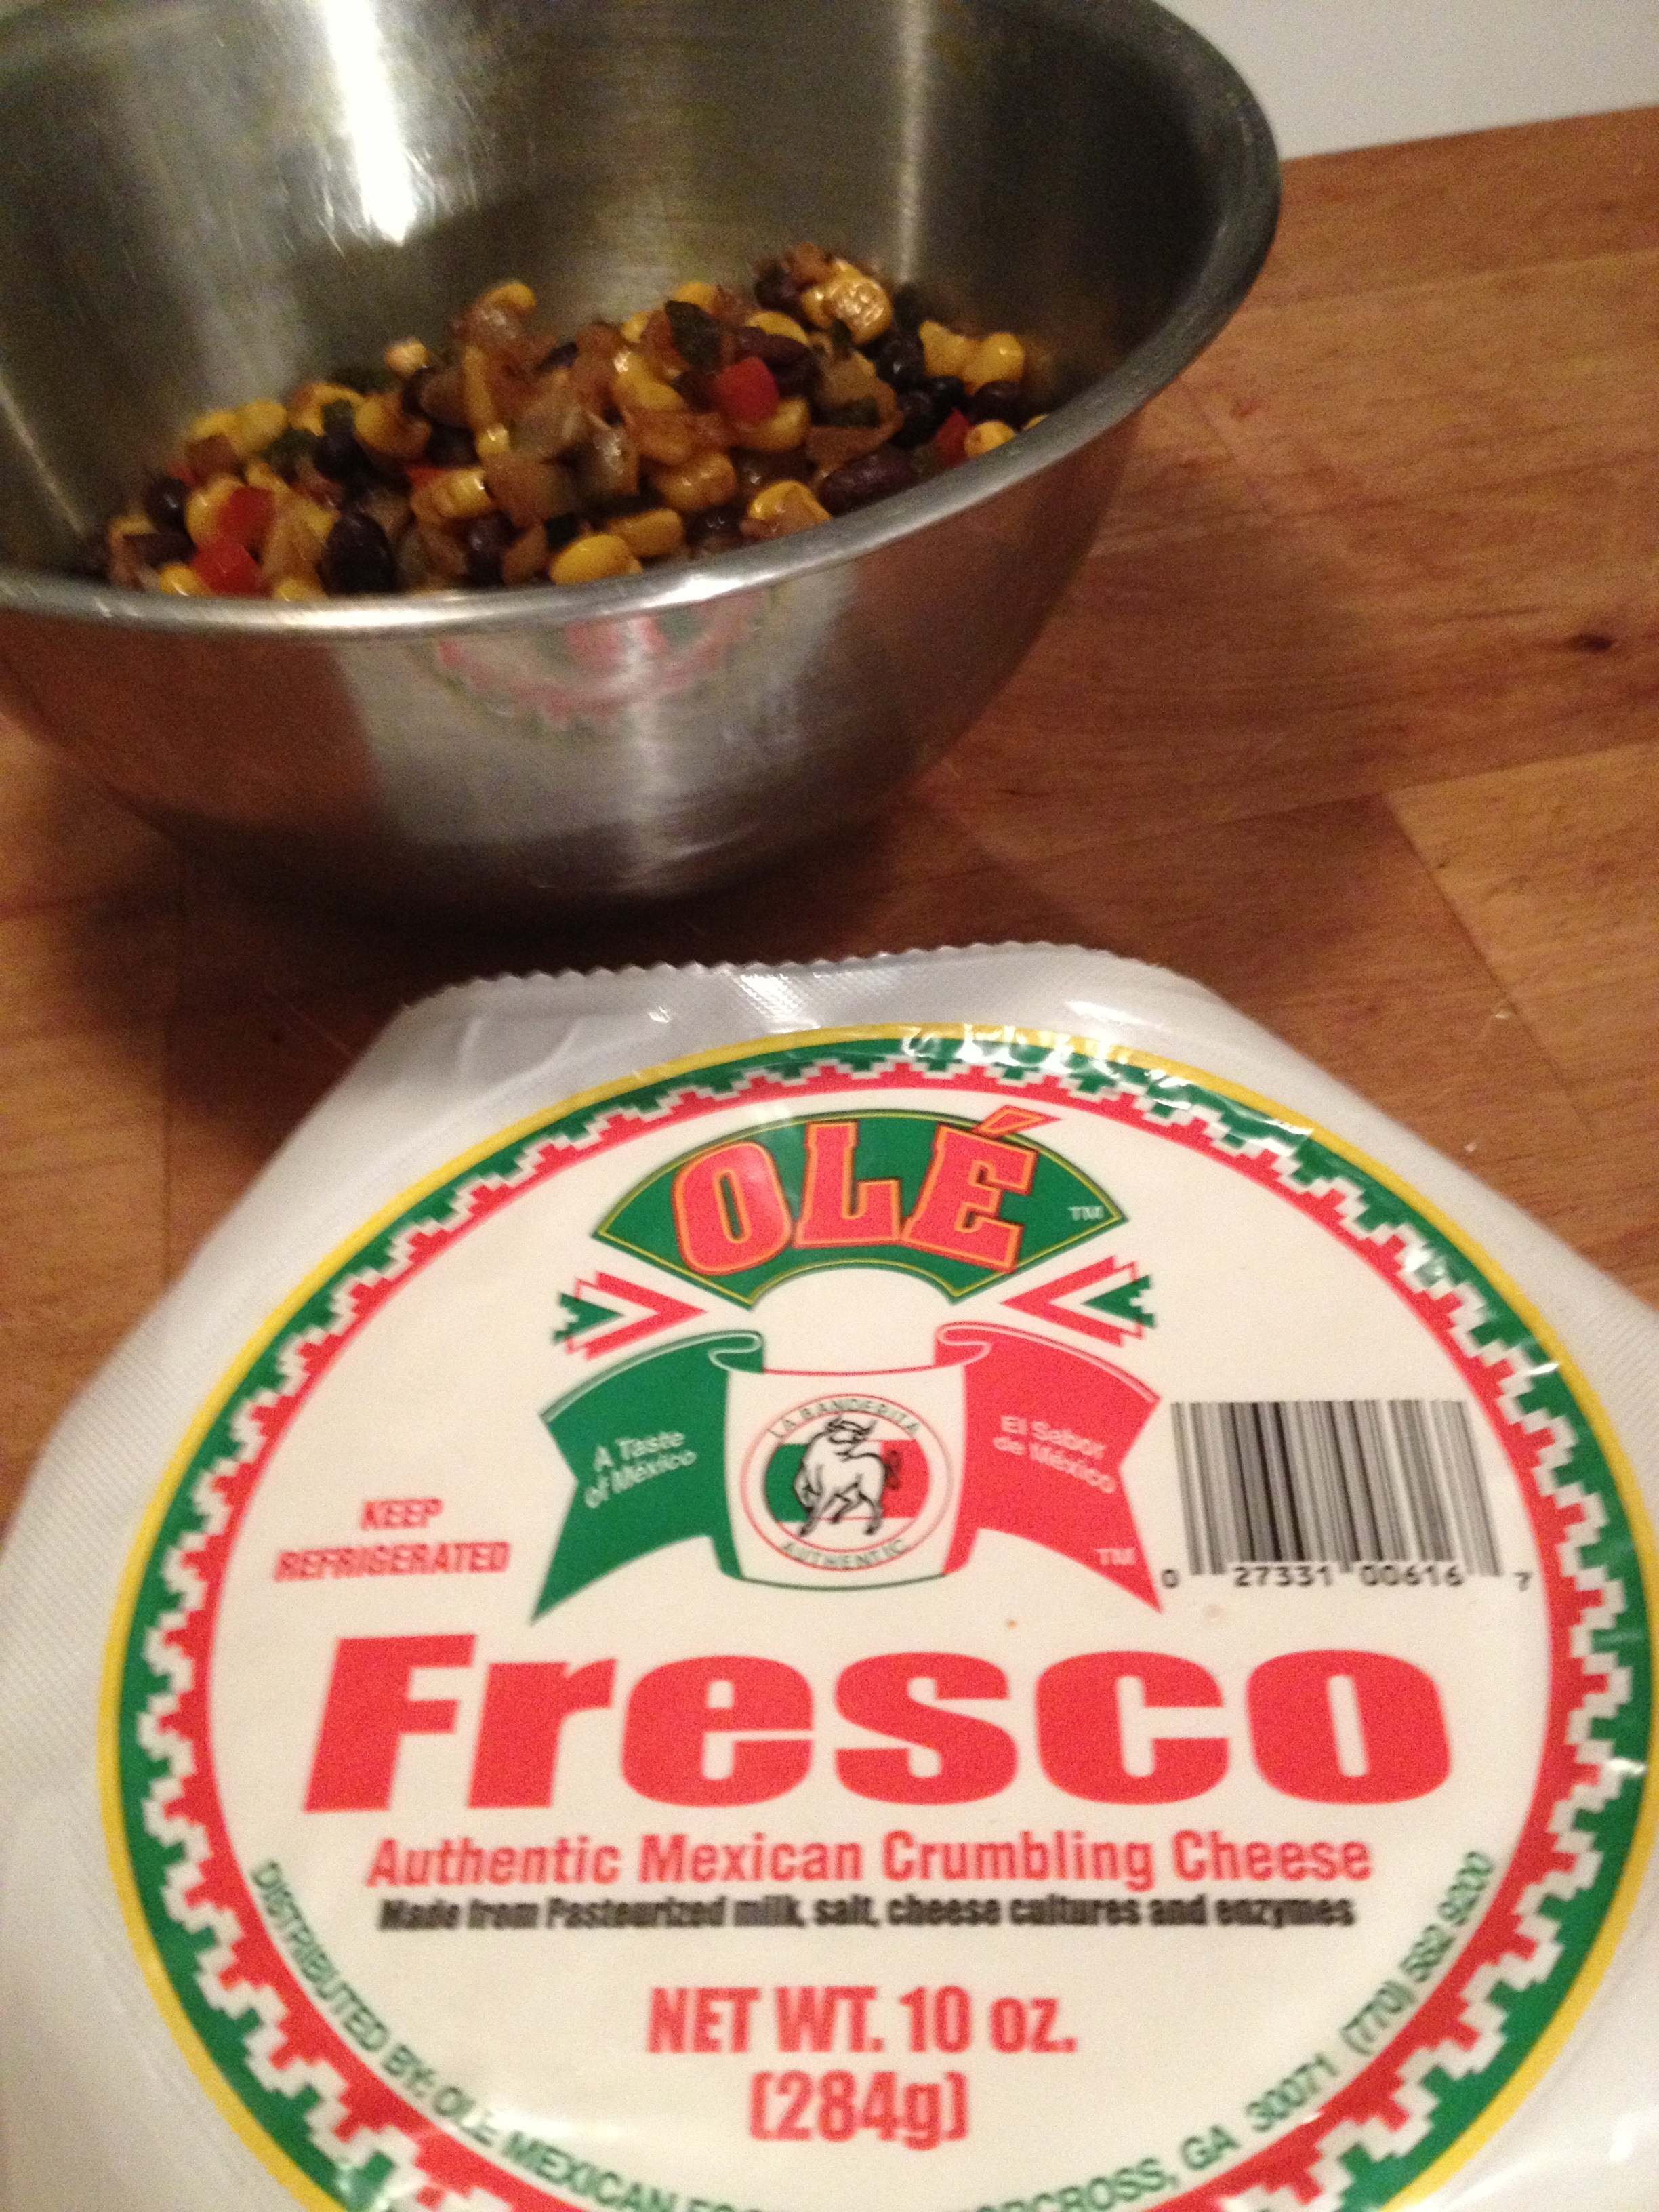
Black Bean and Corn Hand Pies
 Hand Pies–the ultimate portable food! It seems almost every culture has a version of this on-the-go lunch or dinner. From Cornwall, it’s the pasty which has made its way to many parts of the world–most notably the Upper Peninsula of Michigan. In Latin America and Spain it’s the empanada, also great as a tapa. In Italy it’s the calzone which is pretty much pizza fillings stuffed into an enclosed pizza crust. You can use any pie crust recipe you like, but I like using a combination of vegetable shortening (or lard, if you have it) and butter for a nice combination of flavor and flakiness. An egg in the dough adds a certain richness. The idea for this filling came from a visit to The Mmoon Empanadas in Los Gatos. These pies freeze well. Just place the uncooked pies on a sheet pan and freeze them completely, then put them in zip-top bags. They can be cooked straight out of the freezer, just add about 5 extra minutes to the cooking time.
BLACK BEAN & CORN HAND PIES
(makes 6 large pies)
Ingredients:
Filling
1 Tblspn Olive Oil
½ cup Poblano Pepper—small dice
½ cup Yellow Onion—small dice
¼ cup Red Pepper—small dice
1 clove Garlic—minced
½ tspn Salt
½ tspn Ground Cumin
¼ tspn Ground Chipotle Chili (or other chili powder)
¼ tspn Black Pepper
½ cup Corn
½ cup Black Beans–cooked
½ cup Queso Fresco (or shredded Jack or Cheddar)
Dough
2 ¼ cups Flour
1 tspn Salt
2 tspns Sugar
½ tspn Ground Cumin
¼ cup Shortening
½ cup Butter (one stick)
1 Tblspn Cider Vinegar
6 Tblspns Ice Water
1 large Egg
1 Tblspn Water
Filling
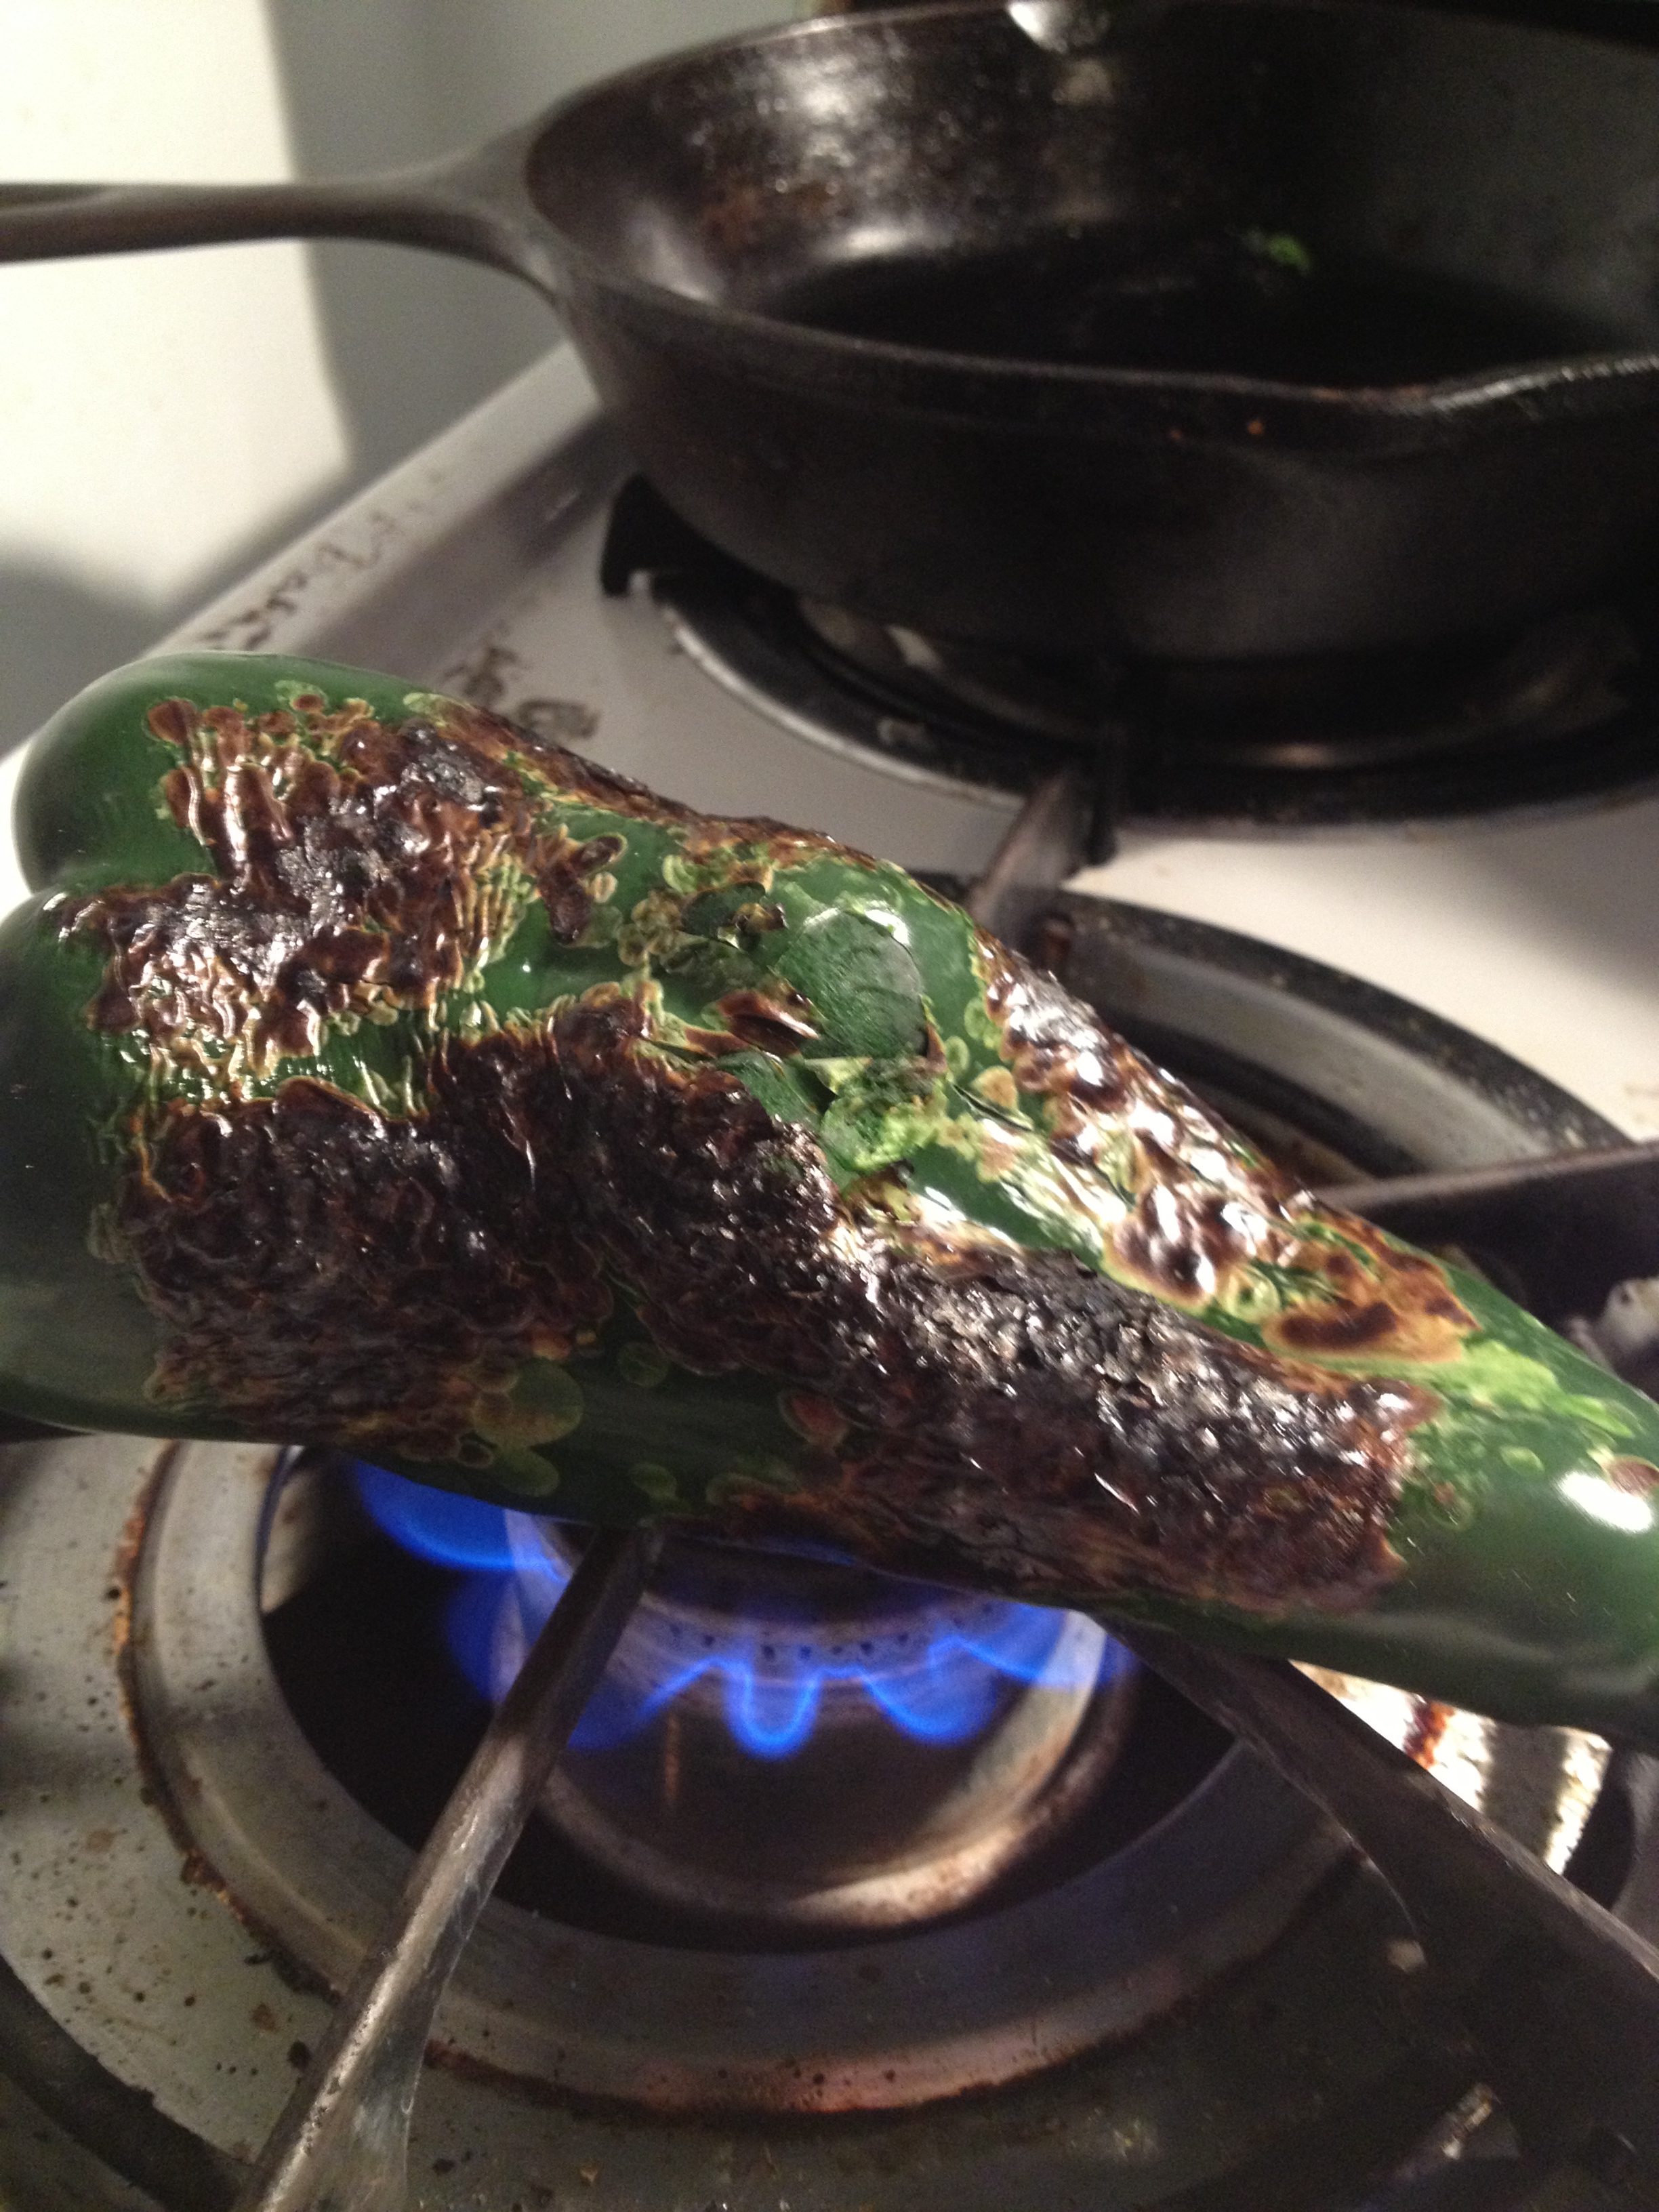
- Char the skin of the poblano pepper by either roasting under a broiler or placing directly on the burner of a gas stove turned to medium heat. Turn pepper a quarter turn as the exposed side of the pepper becomes evenly blackened. When pepper is completely blackened, place the pepper in a bowl and cover tightly with a plate or some plastic wrap—this helps create steam to loosen the skin.
- When cool enough to handle, slip off the blackened skin and remove the stem and seeds. It’s best not to rinse the pepper under water so as to preserve all of the roasted flavor.
- In a sauté pan over medium-high, heat oil until it just begins to shimmer. Add onion and red pepper and sauté until softened, but not browned—about 5 minutes.
- Add salt, pepper, cumin, chili powder and garlic and cook until garlic is fragrant—about a minute.
- Add corn (fresh or frozen), black beans (rinsed and drained) and poblano. Cook and combine until heated through. Taste, and adjust seasoning as needed. Place in a medium bowl to cool. Add crumbled cheese and stir to combine.

Dough
- Combine flour, sugar and salt in a medium mixing bowl.
- Add shortening and cut into the flour mixture with two knives, a pastry blender or your fingertips until the mix resemble a course meal. Cut butter into ½” pieces and toss to coat with the flour. Pinch the butter pieces flat with your fingers. Working quickly, pinch and mix the butter pieces in until you have a mix with mostly pea-sized pieces.
- Add cider and ice water and mix together with a fork until a rough ball forms.
- Pull dough out onto a lightly floured pastry board or clean counter and turn and push mixture together a few times to form a cohesive ball. Flatten into a disk and wrap in waxed paper and refrigerate for 30 minutes or more.
Assemble
- Preheat oven to 375°.
- Whisk together egg and water in a small bowl
- Remove dough from refrigerator and cut into 6 equal pieces.
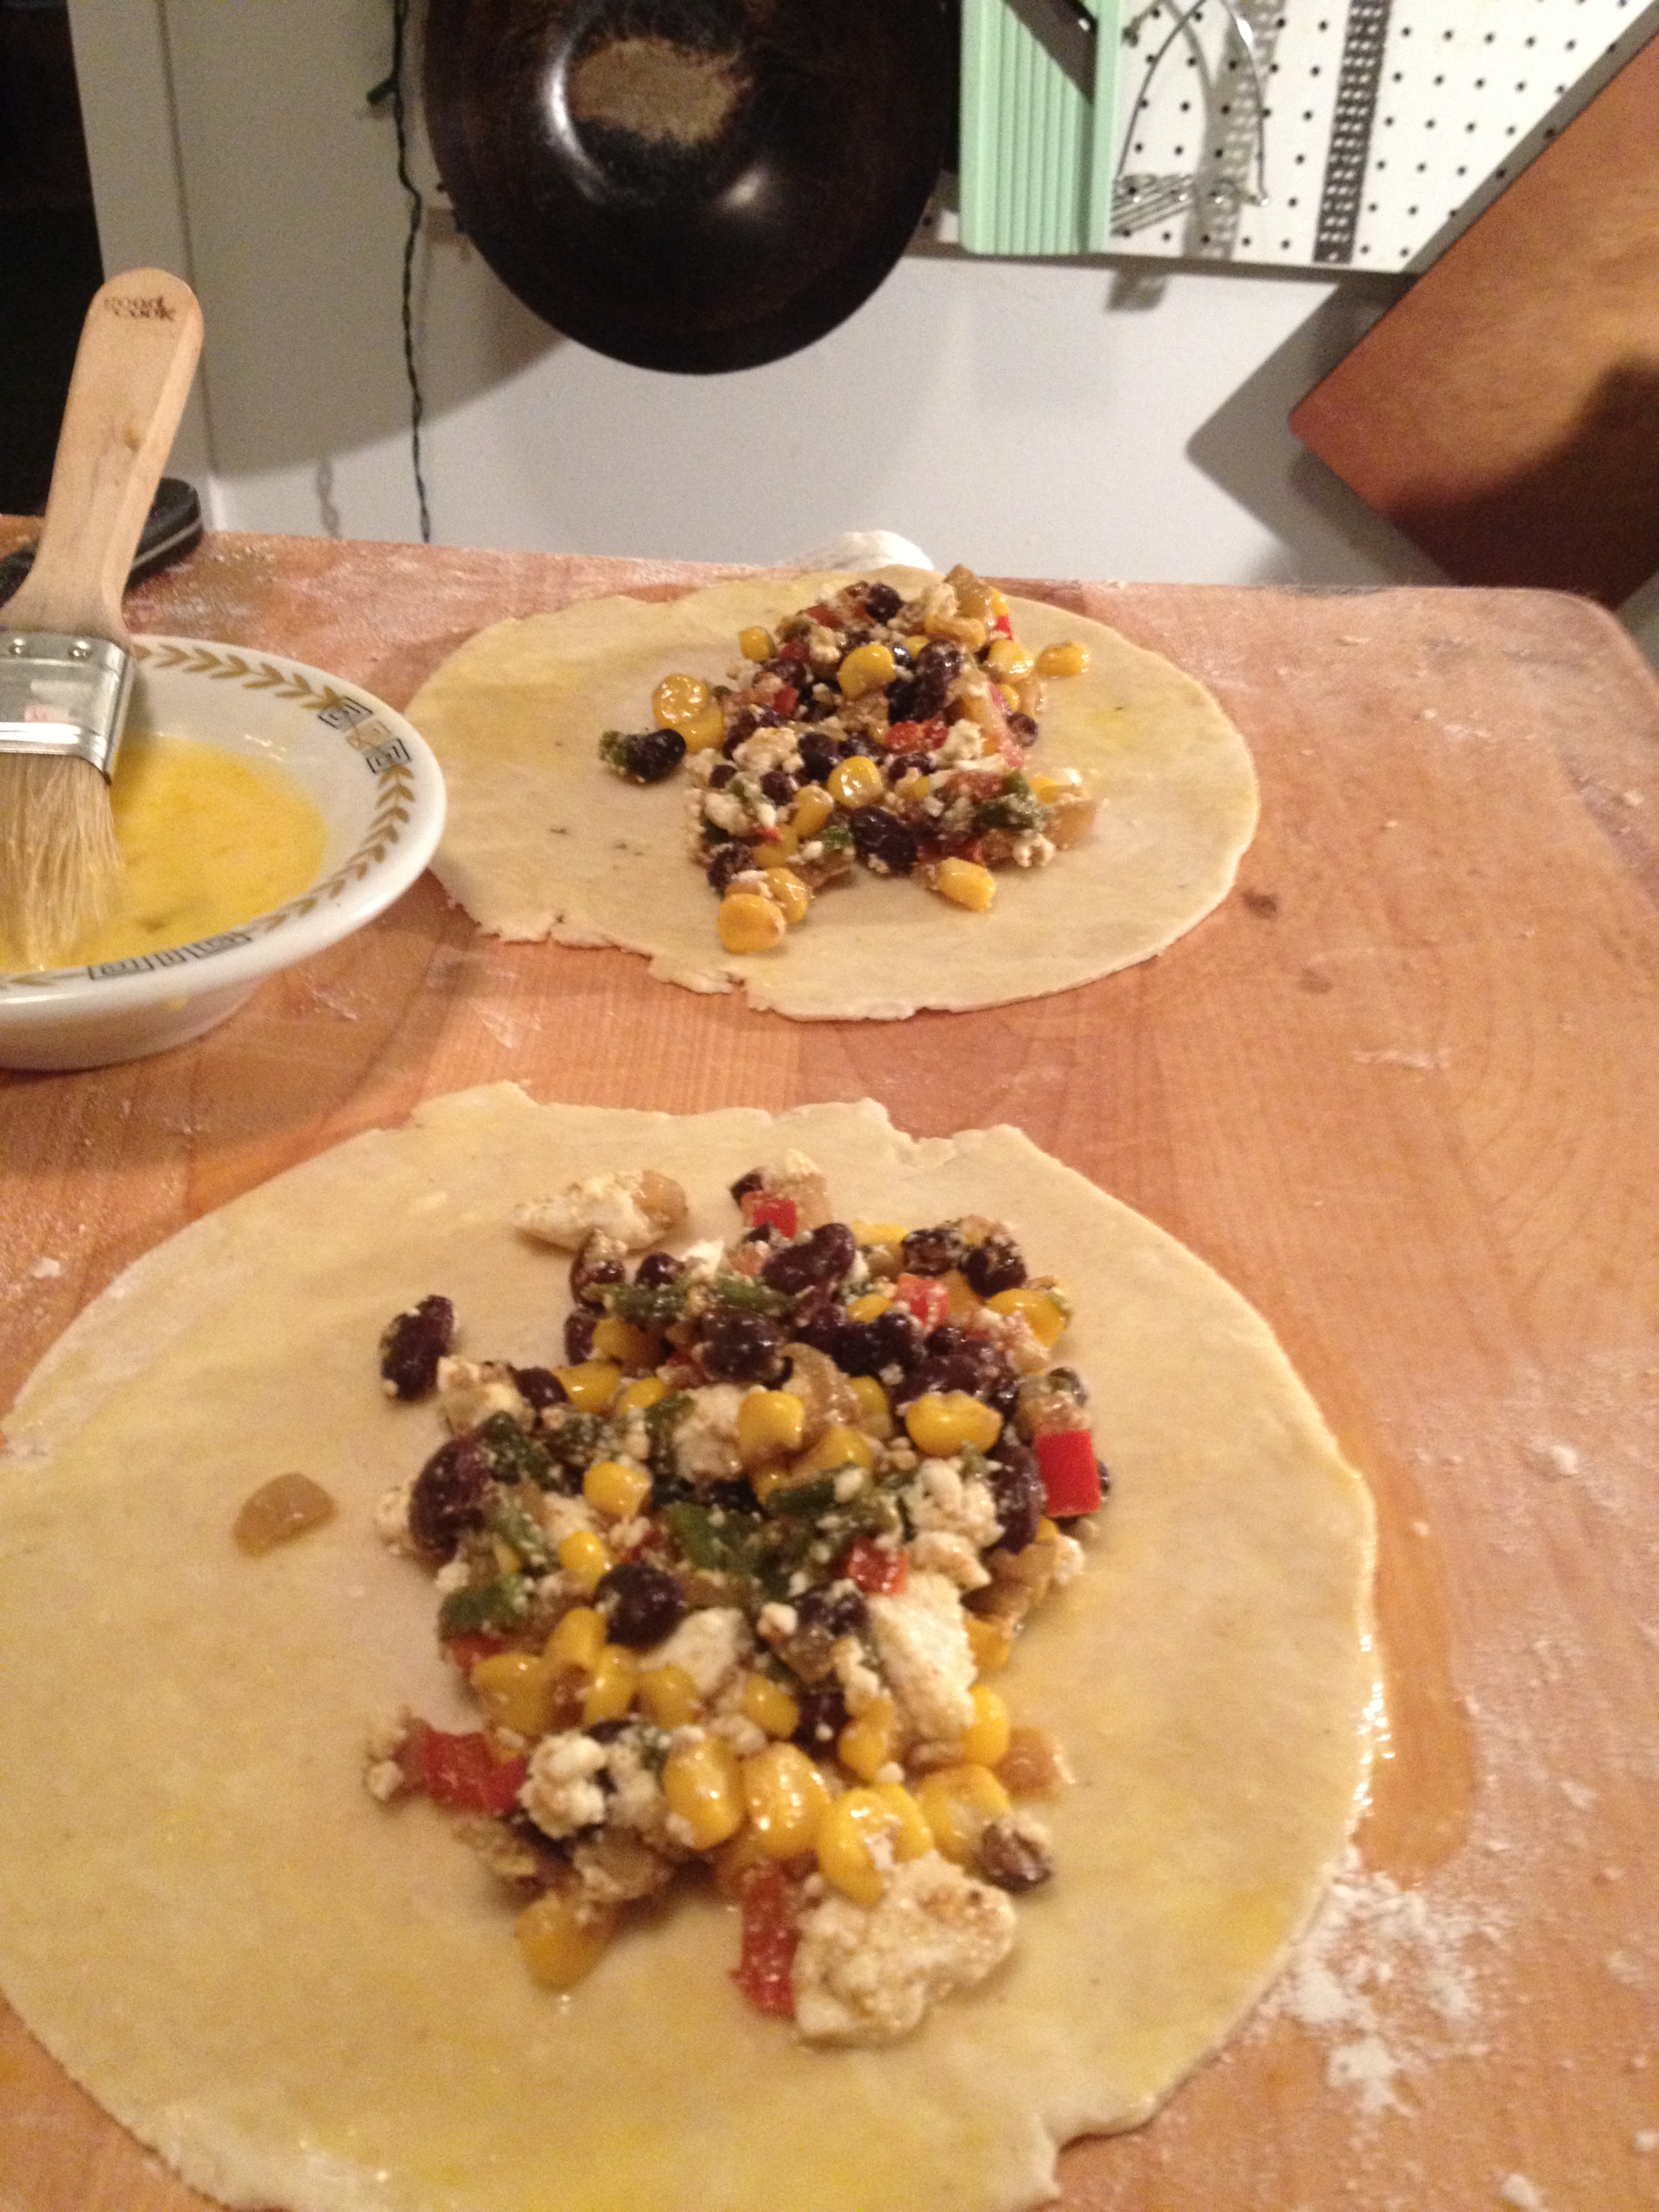
- On a lightly floured board, roll each piece out into a circle about ⅛” thick and about 7” in diameter.
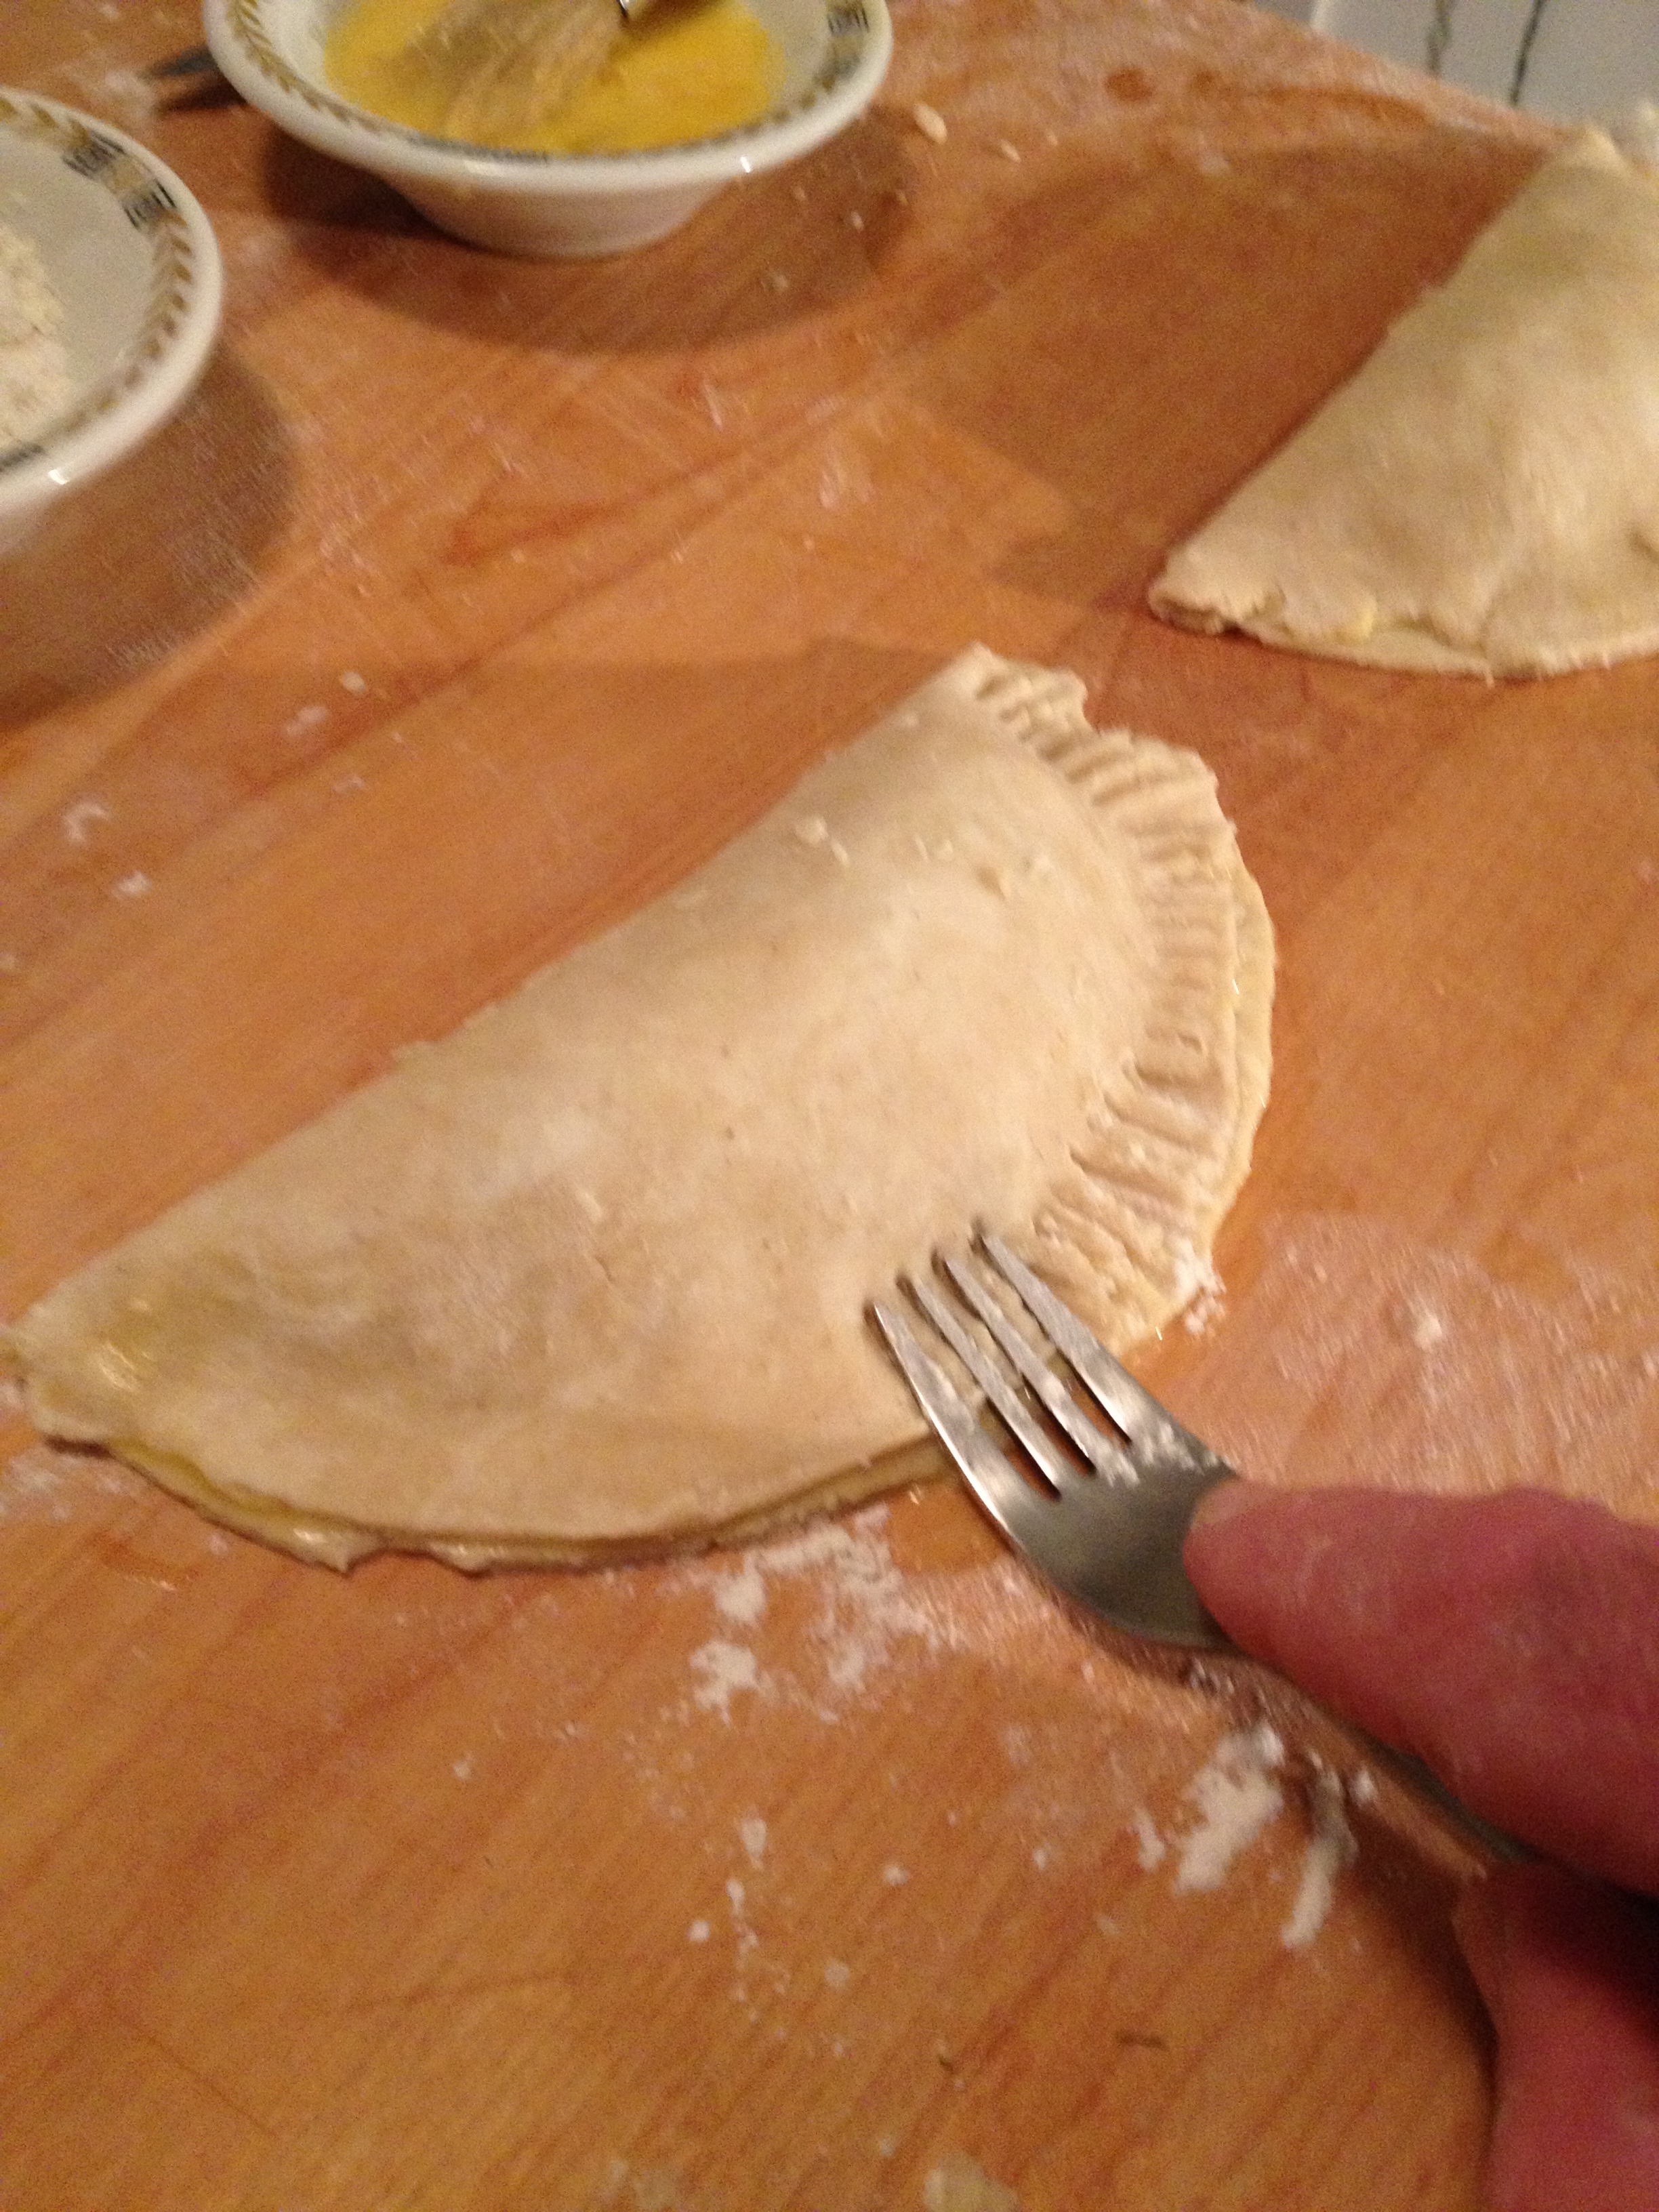
- Place about ¼ cup of the filling in the center of each dough circle. Brush the edges of the dough with egg mixture. Fold edges together and pinch with thumb and index finger. Crimp edges with a fork. If fork sticks to dough, dip it in a little flour.
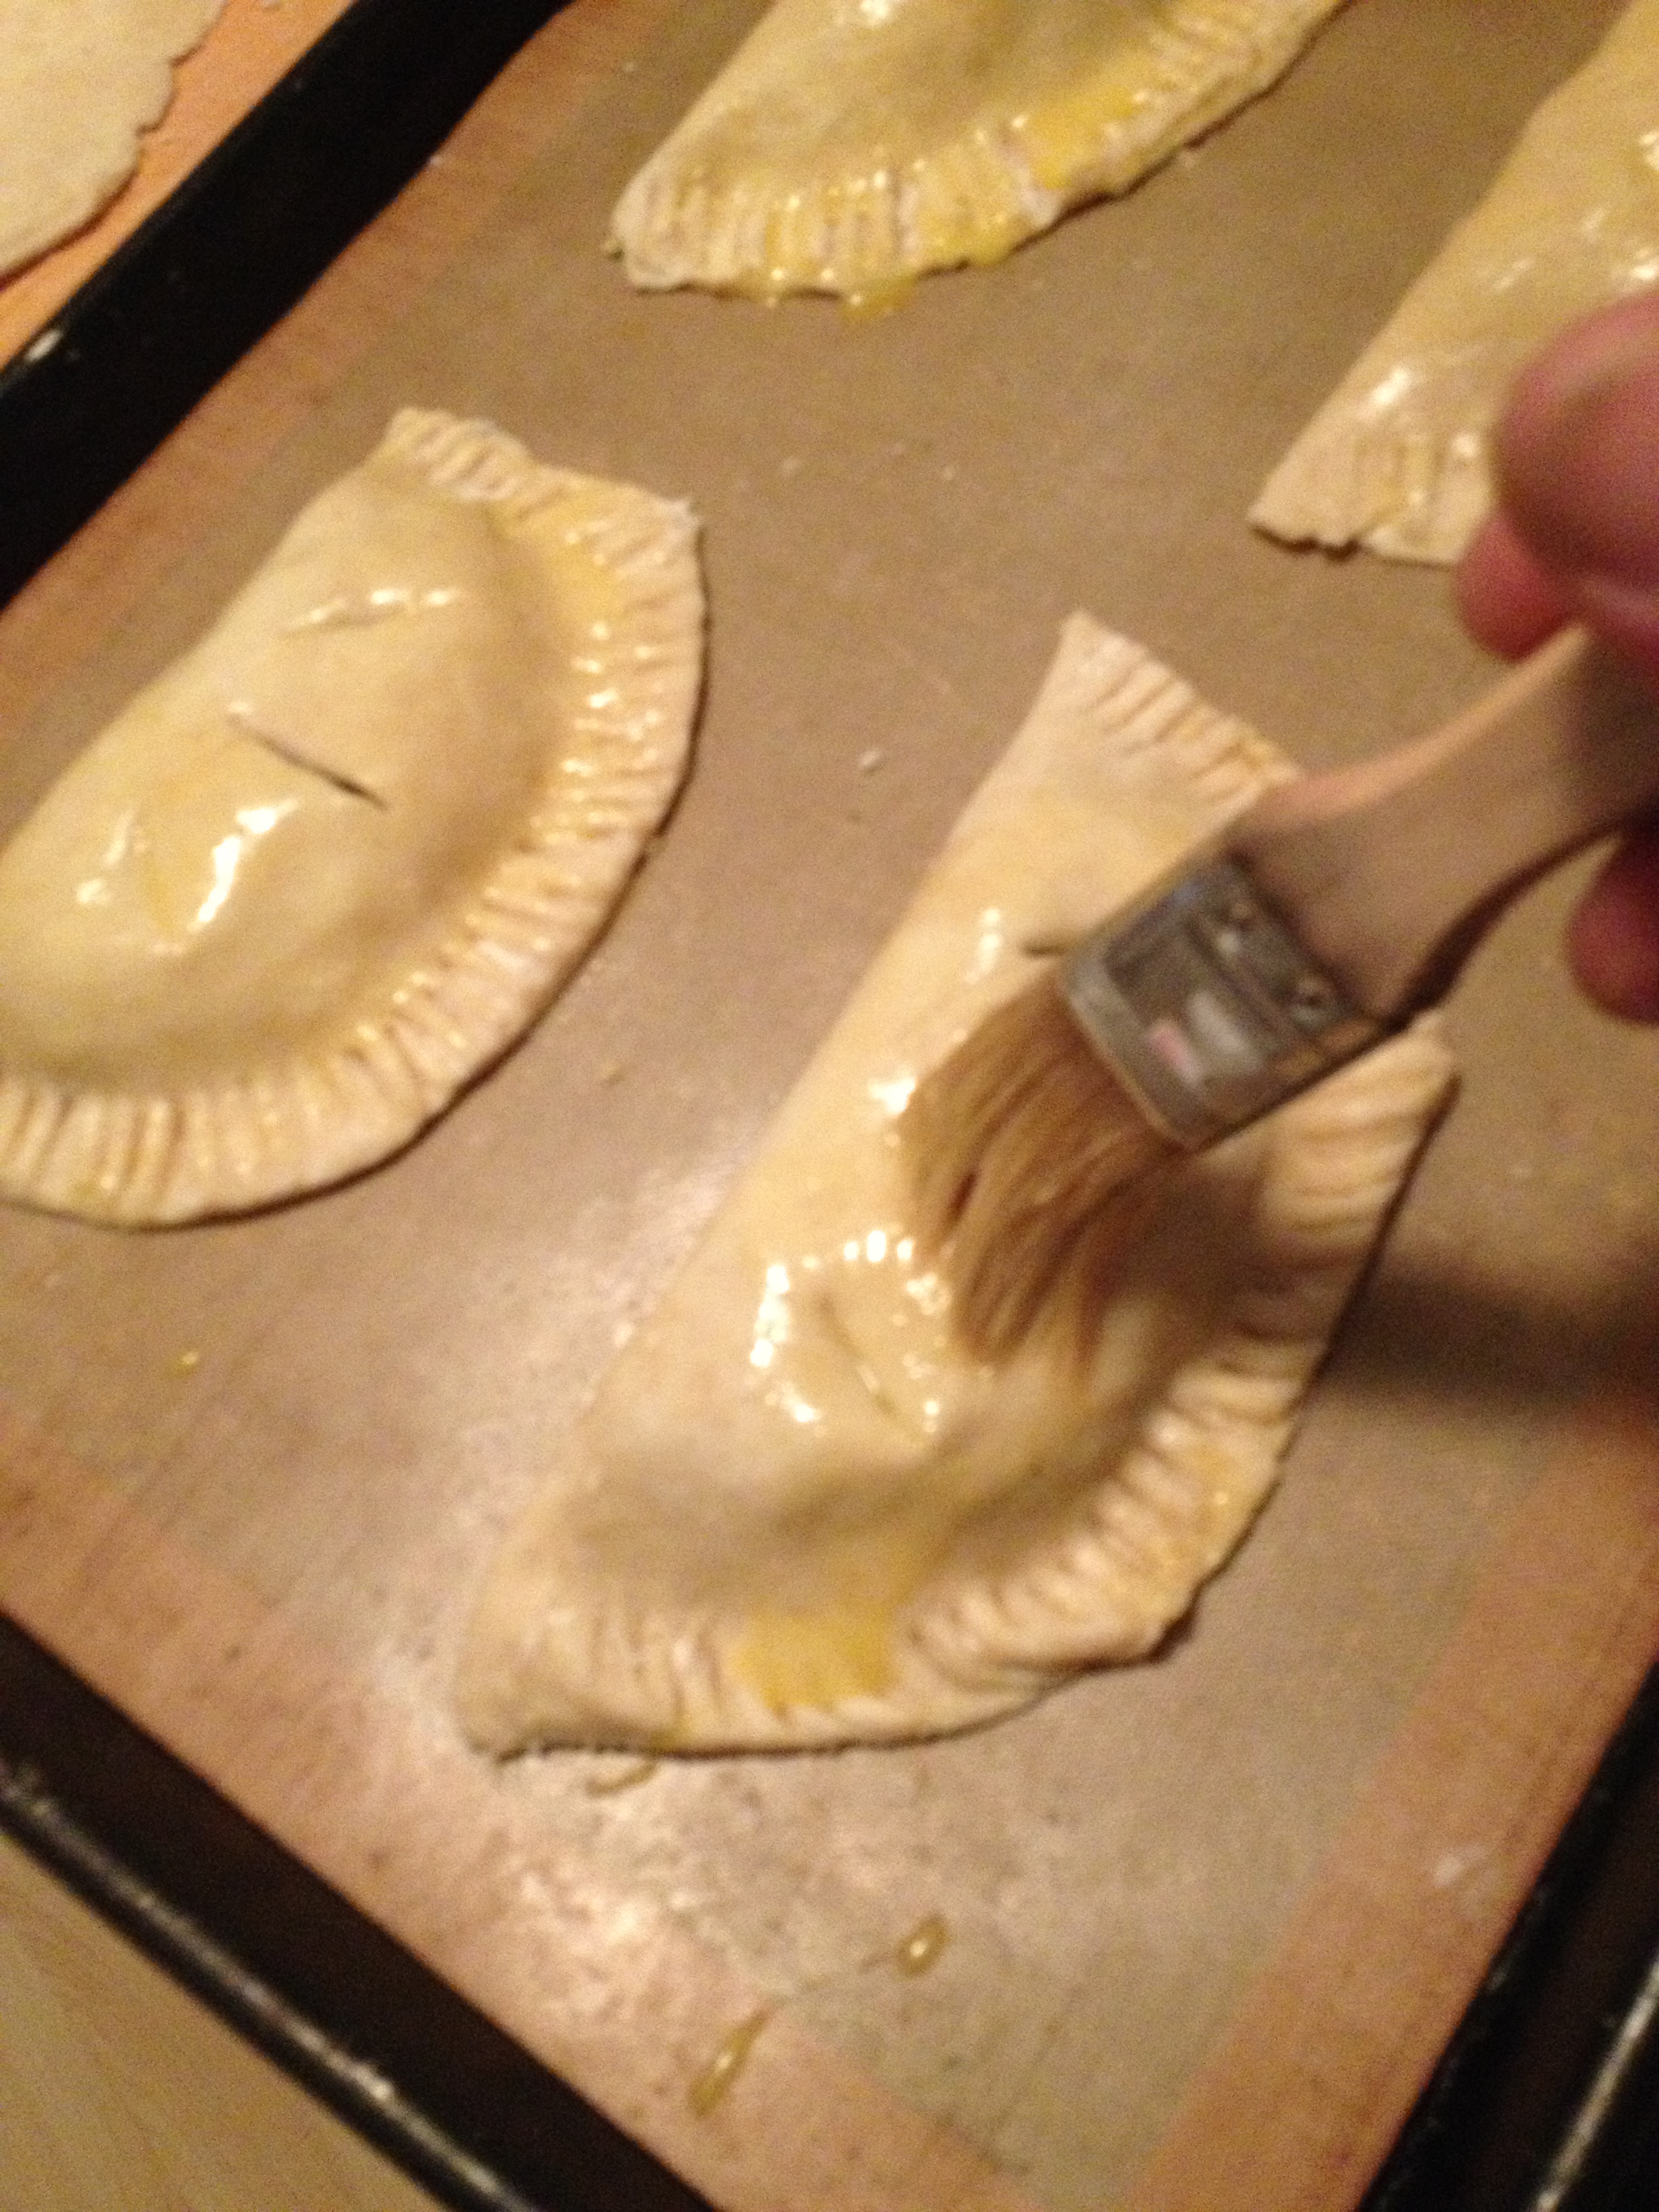
- Place pies on a parchment lined sheet pan, brush with egg wash, and bake for 25-30 minutes or until nicely browned.

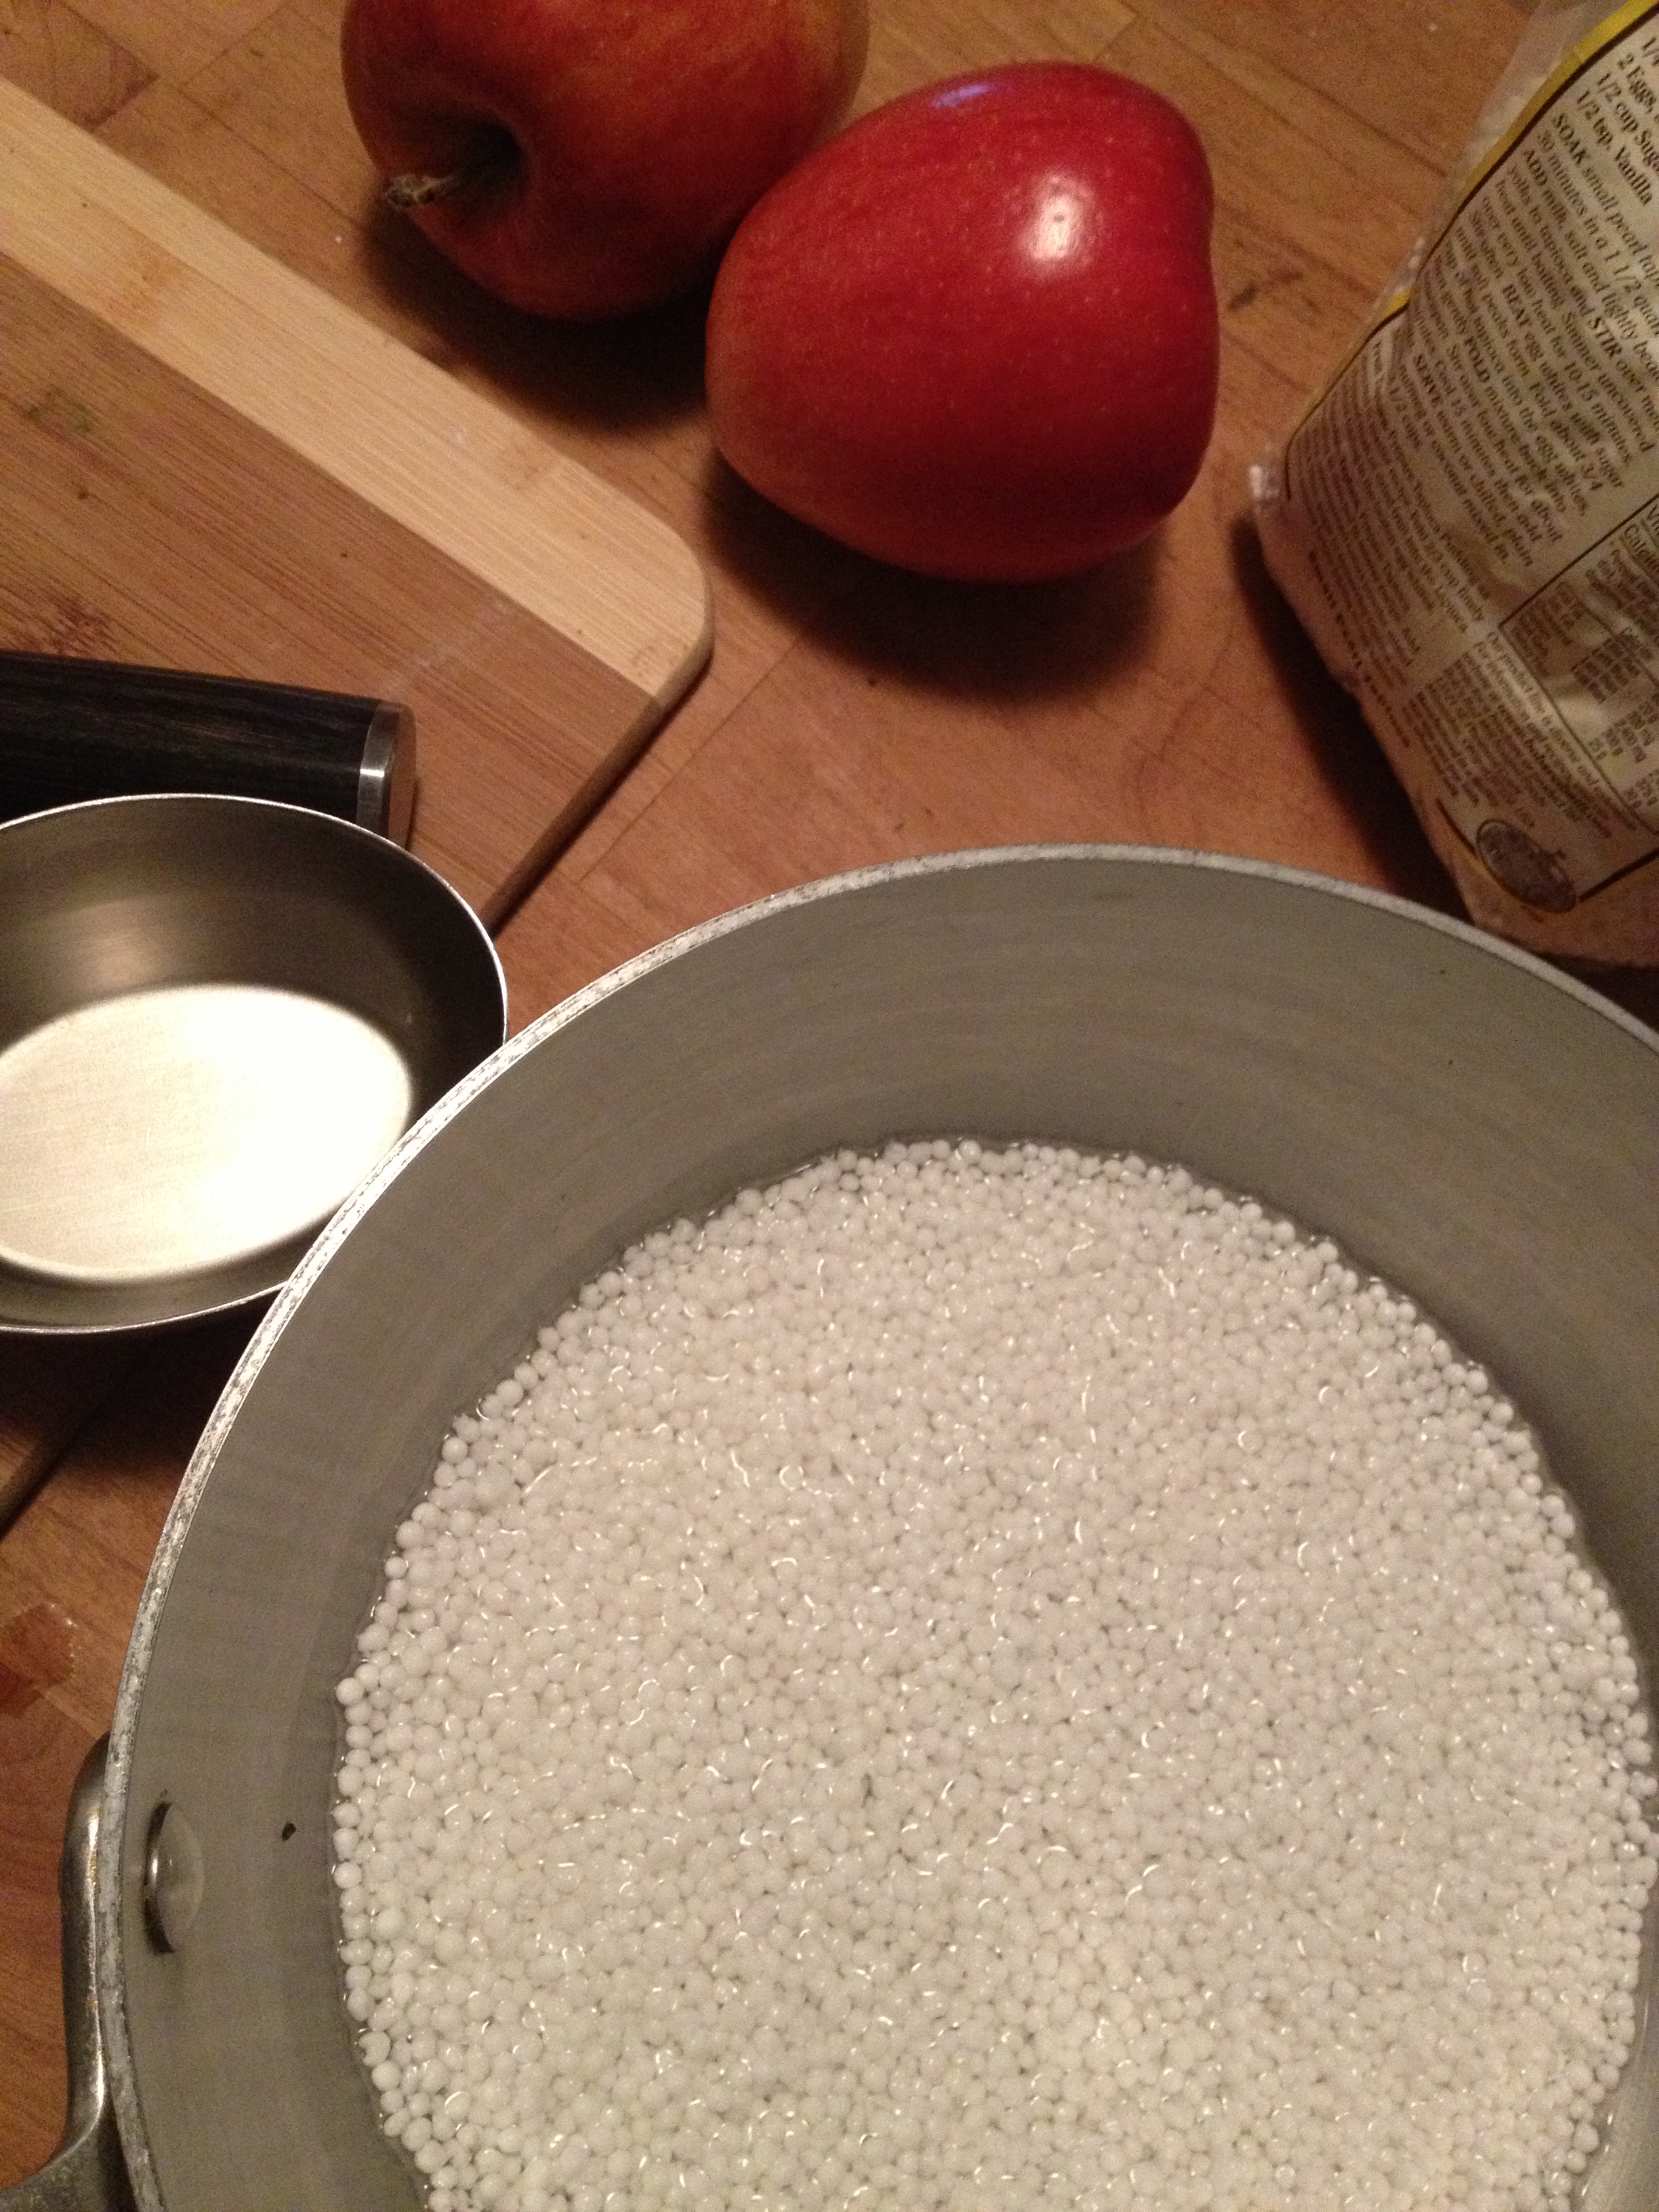
Maple-Apple Tapioca Pudding
Tapioca pudding is a comfort food classic and an all-American favorite. Since it’s sugaring season in the Northest, I thought it would be nice to make a version of tapioca pudding using maple syrup.
On the farm where I grew up in Vermont, my brothers still make maple syrup. The method for gathering the sap and boiling it down into syrup has changed over the years, but the result remains the same—a delicious product that has many uses beyond a sweet topping for pancakes and waffles. Try substituting maple syrup in marinades and dressings (like balsamic vinaigrette) that call for a small amount of sugar to add an extra depth of flavor. It’s also a great ingredient for experimenting with cocktails.
The key to making a good tapioca pudding is to cook the pearls until they’re just cooked—not crunchy, but also not mushy and falling apart. Soaking the pearls in water before cooking helps to achieve the perfect texture, and it shortens the cooking time.
(makes 4-6 servings)
2 medium Apples—tart and crisp (Gala or Granny Smith work well)
2 Tblspn Butter

½ cup Maple Syrup
½ cup Tapioca
¾ cup Water
1 ½ cup Milk
1 large Egg – lightly beaten
½ tspn Cinnamon
- Place tapioca and water in medium sized heavy bottomed pan. Let tapioca soak for 30 minutes.
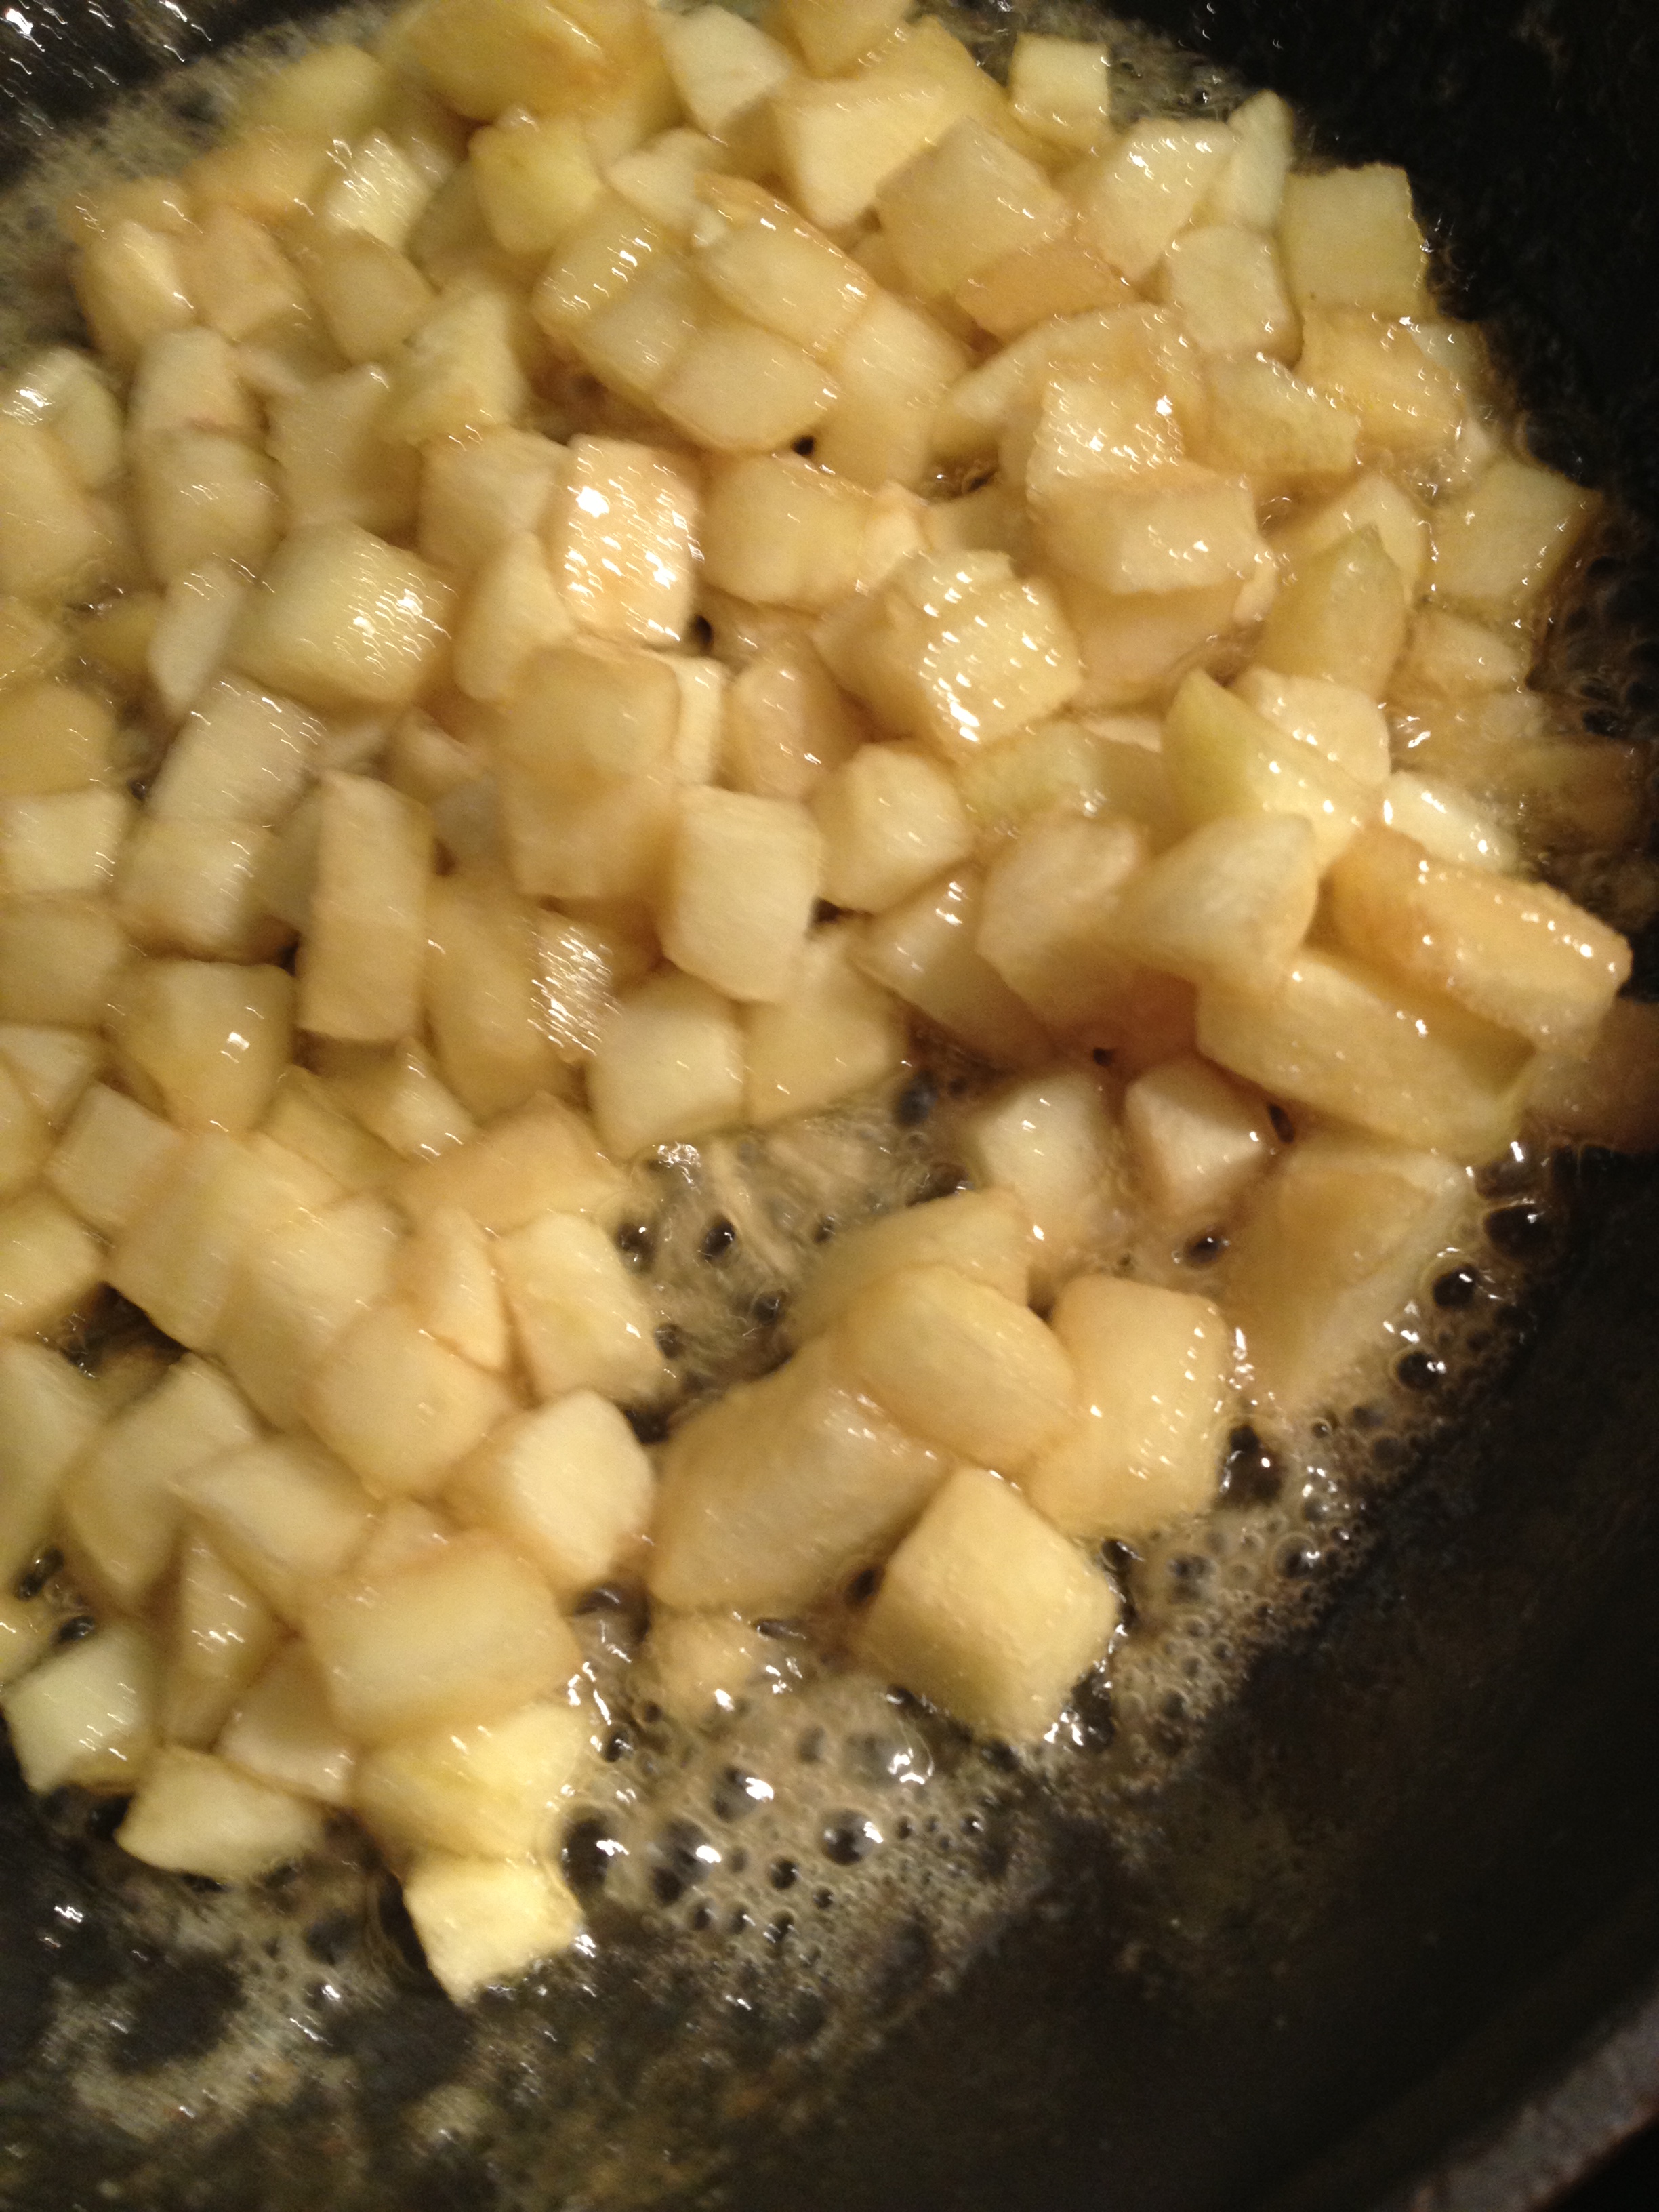
- Meanwhile, peel and core apples and cut into small dice.
- Melt butter in sauté pan over medium heat. Add ¼ cup syrup and bring to a simmer. Add apples and toss to coat. Cook for about 5 minutes or until syrup has thickened a bit and apples are just beginning to soften.
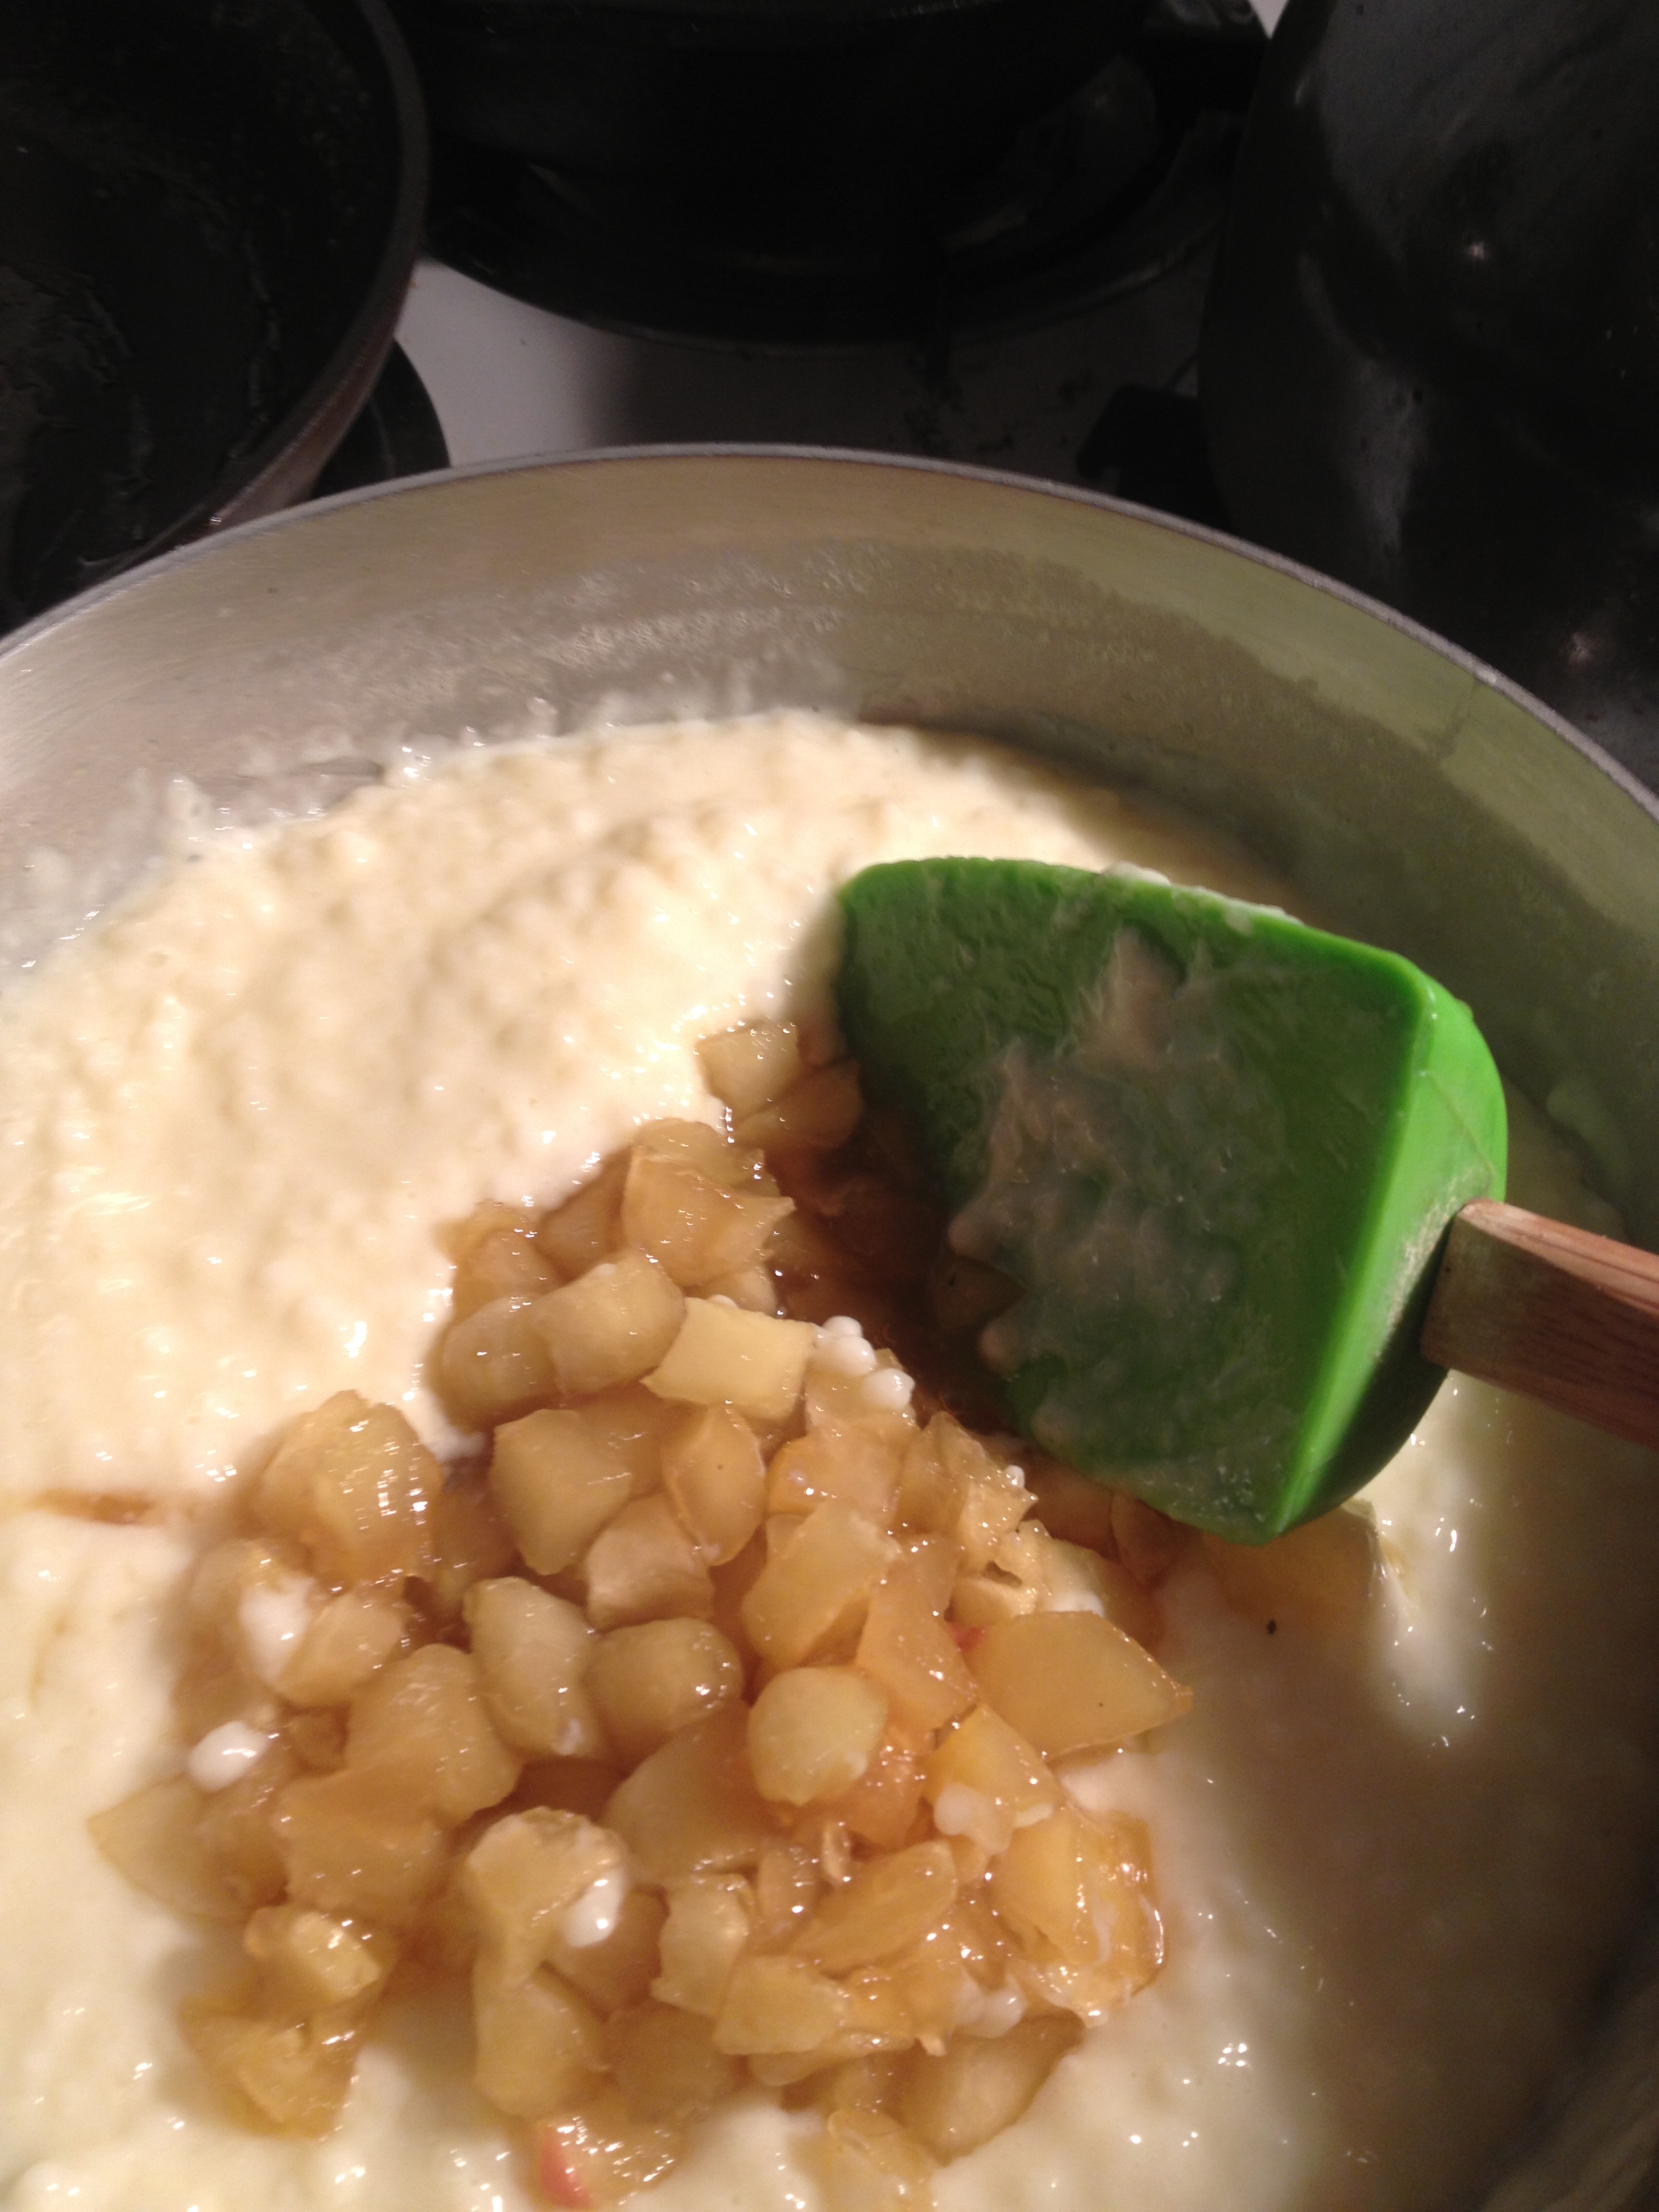
- Add milk and egg to tapioca, and bring to a boil over medium heat. Reduce to a low simmer and cook until tapioca pearls are completely opaque and have lost all of their crunch, but still hold their shape.
- Add apples, remaining ¼ cup syrup and cinnamon and stir to combine. If too thick, add a bit more milk or water.
- Serve warm, at room temperature or cooled.

Pork Fried Farro
A little leftover pork and some leftover rice in the fridge,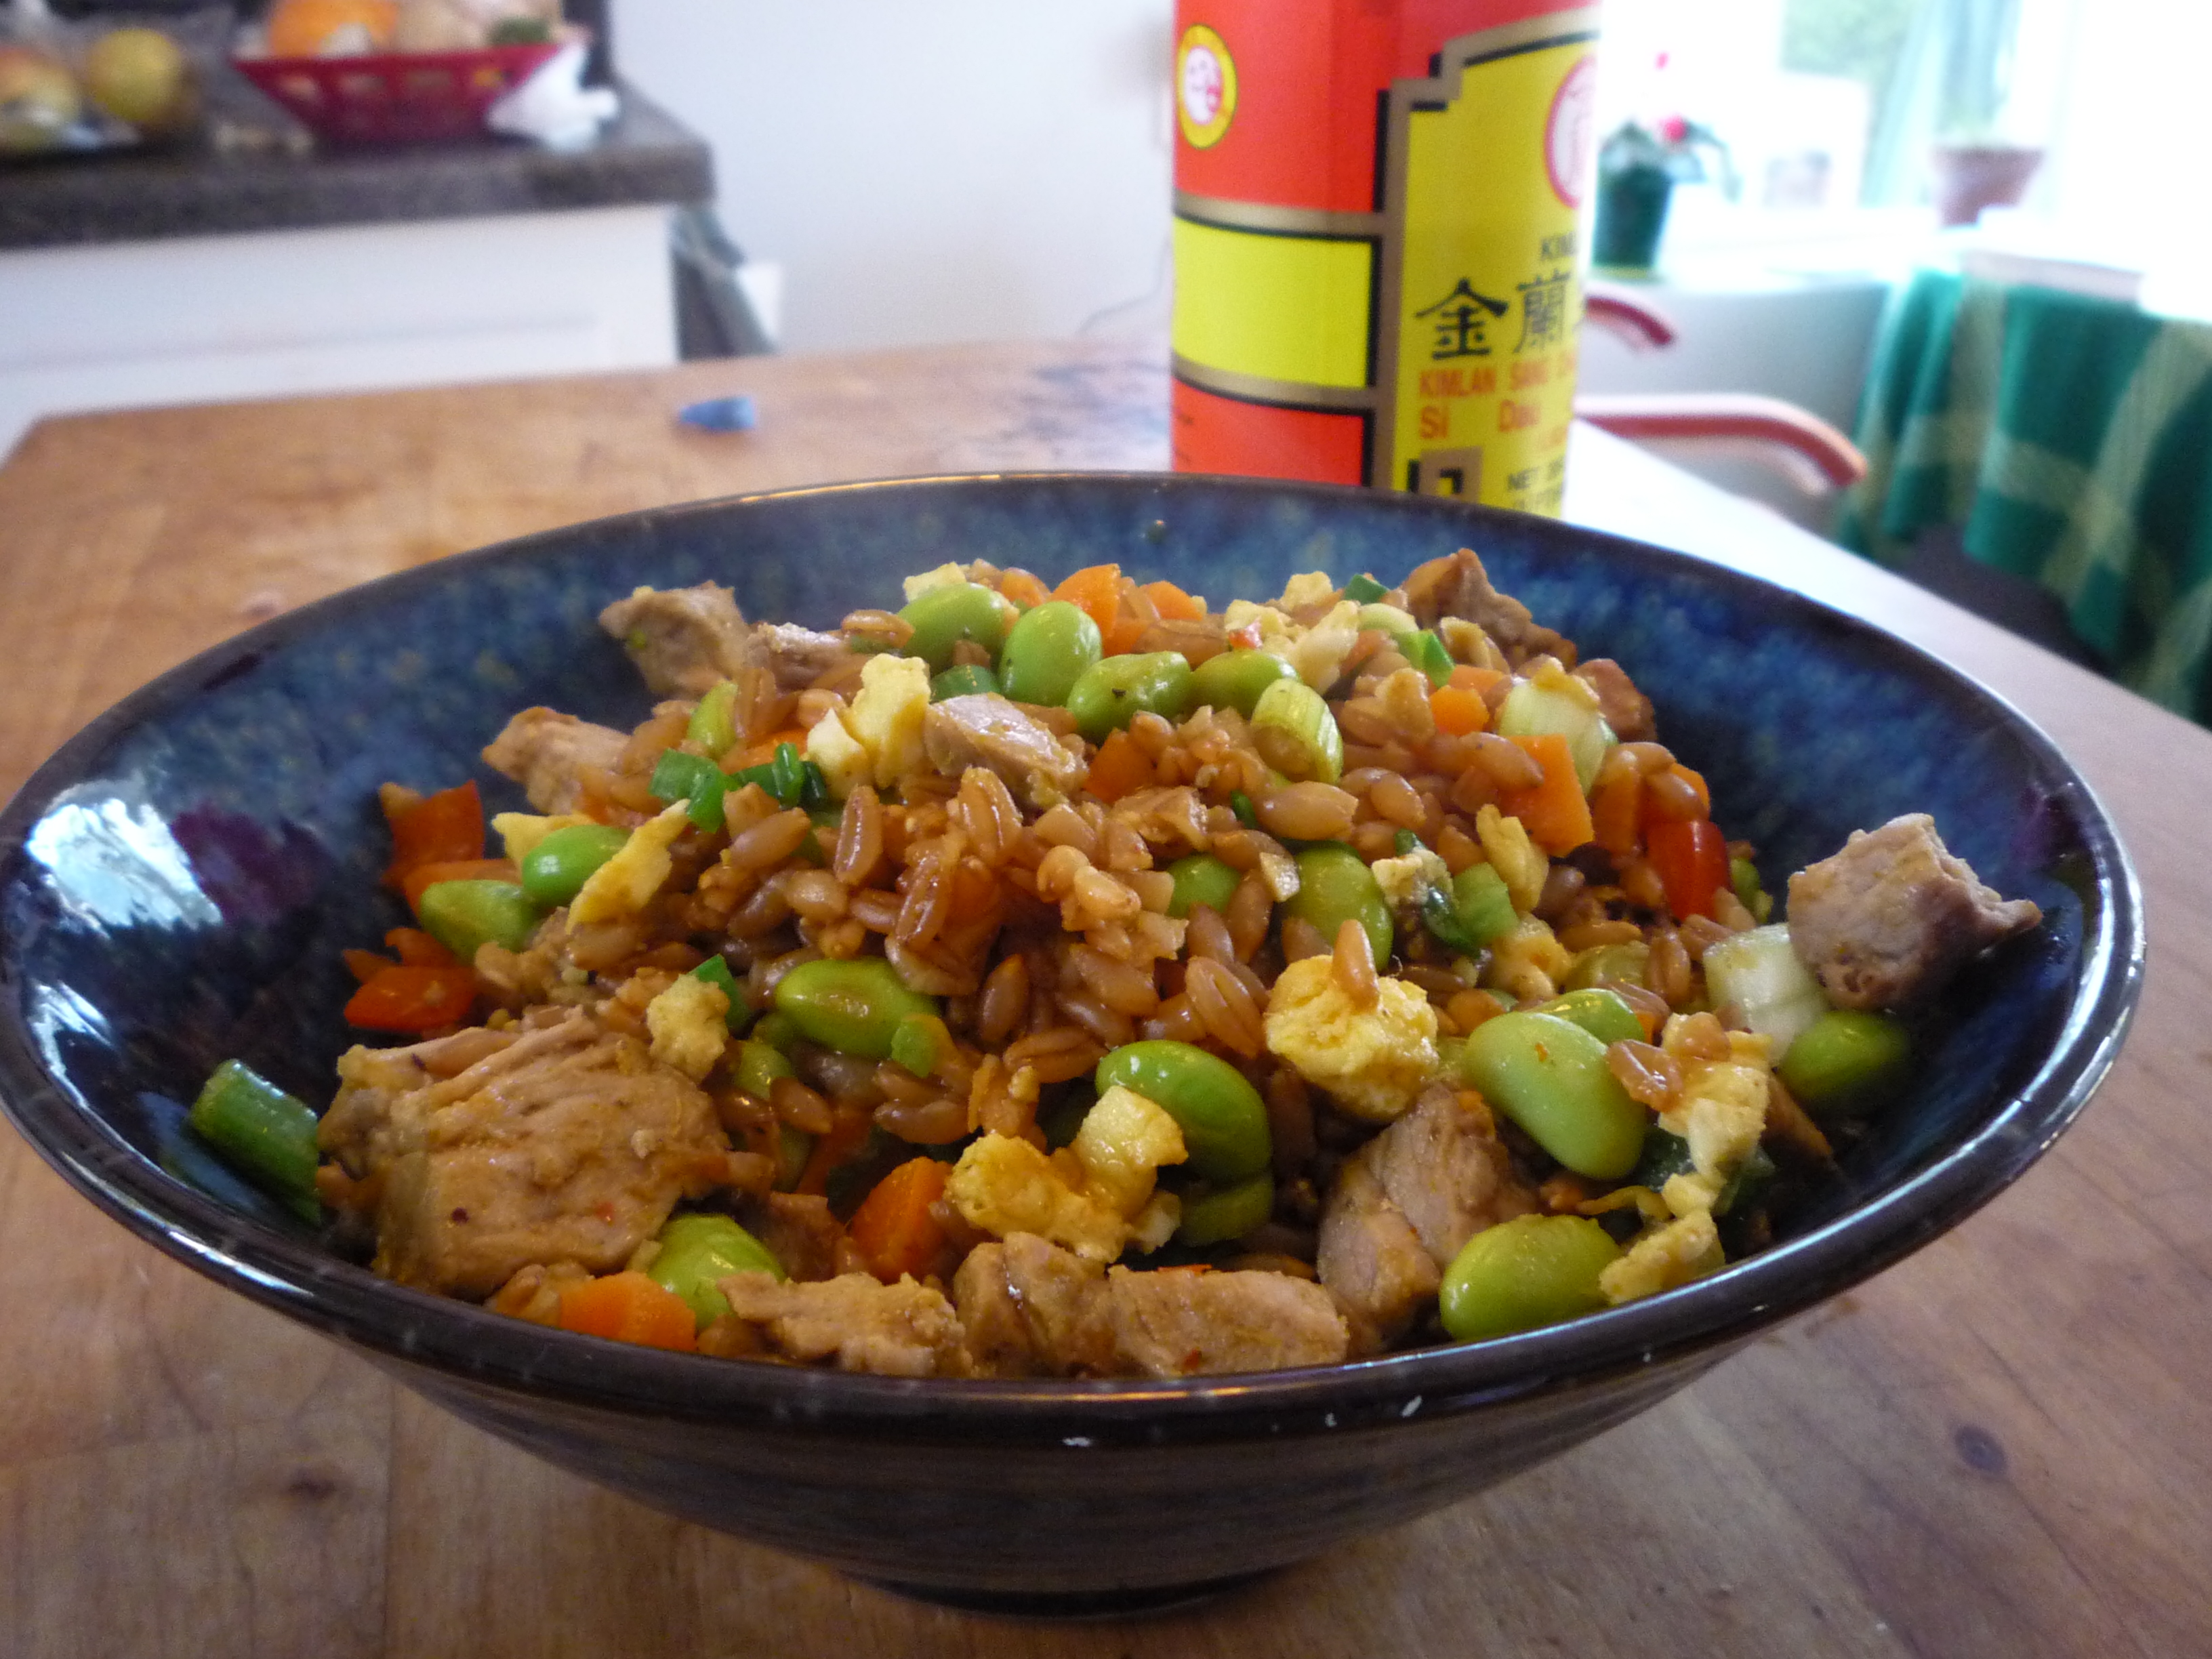 along with a few veggies, is always a good excuse to make pork fried rice. In fact, I often cook extra rice just for that purpose. Last night, I found myself with the pork and the vegetables, but the leftover grain was farro. Farro is an old Italian grain that’s similar to wheat. However, farro cooks much more quickly than wheat berries. Just put them in a sauce pan with enough water to cover by about and inch and a half and simmer for about 15 minutes. Farro is a nice alternative to rice as a side dish and is great in soups and salads. I’ve even been known to eat cold leftover farro for breakfast with a little yogurt and some fresh berries. I think the word “toothsome” is a little overused as a food descriptor, but the term hits the mark with farro. It’s tender to the bite, but definitely holds its shape. It has a light nutty flavor with a hint of barley (but without that sliminess that comes with barley). It’s texture and flavor make it a natural for a fried rice style preparation.
4 tspns Canola Oil
1 large Egg
1 Tblspn Garlic—minced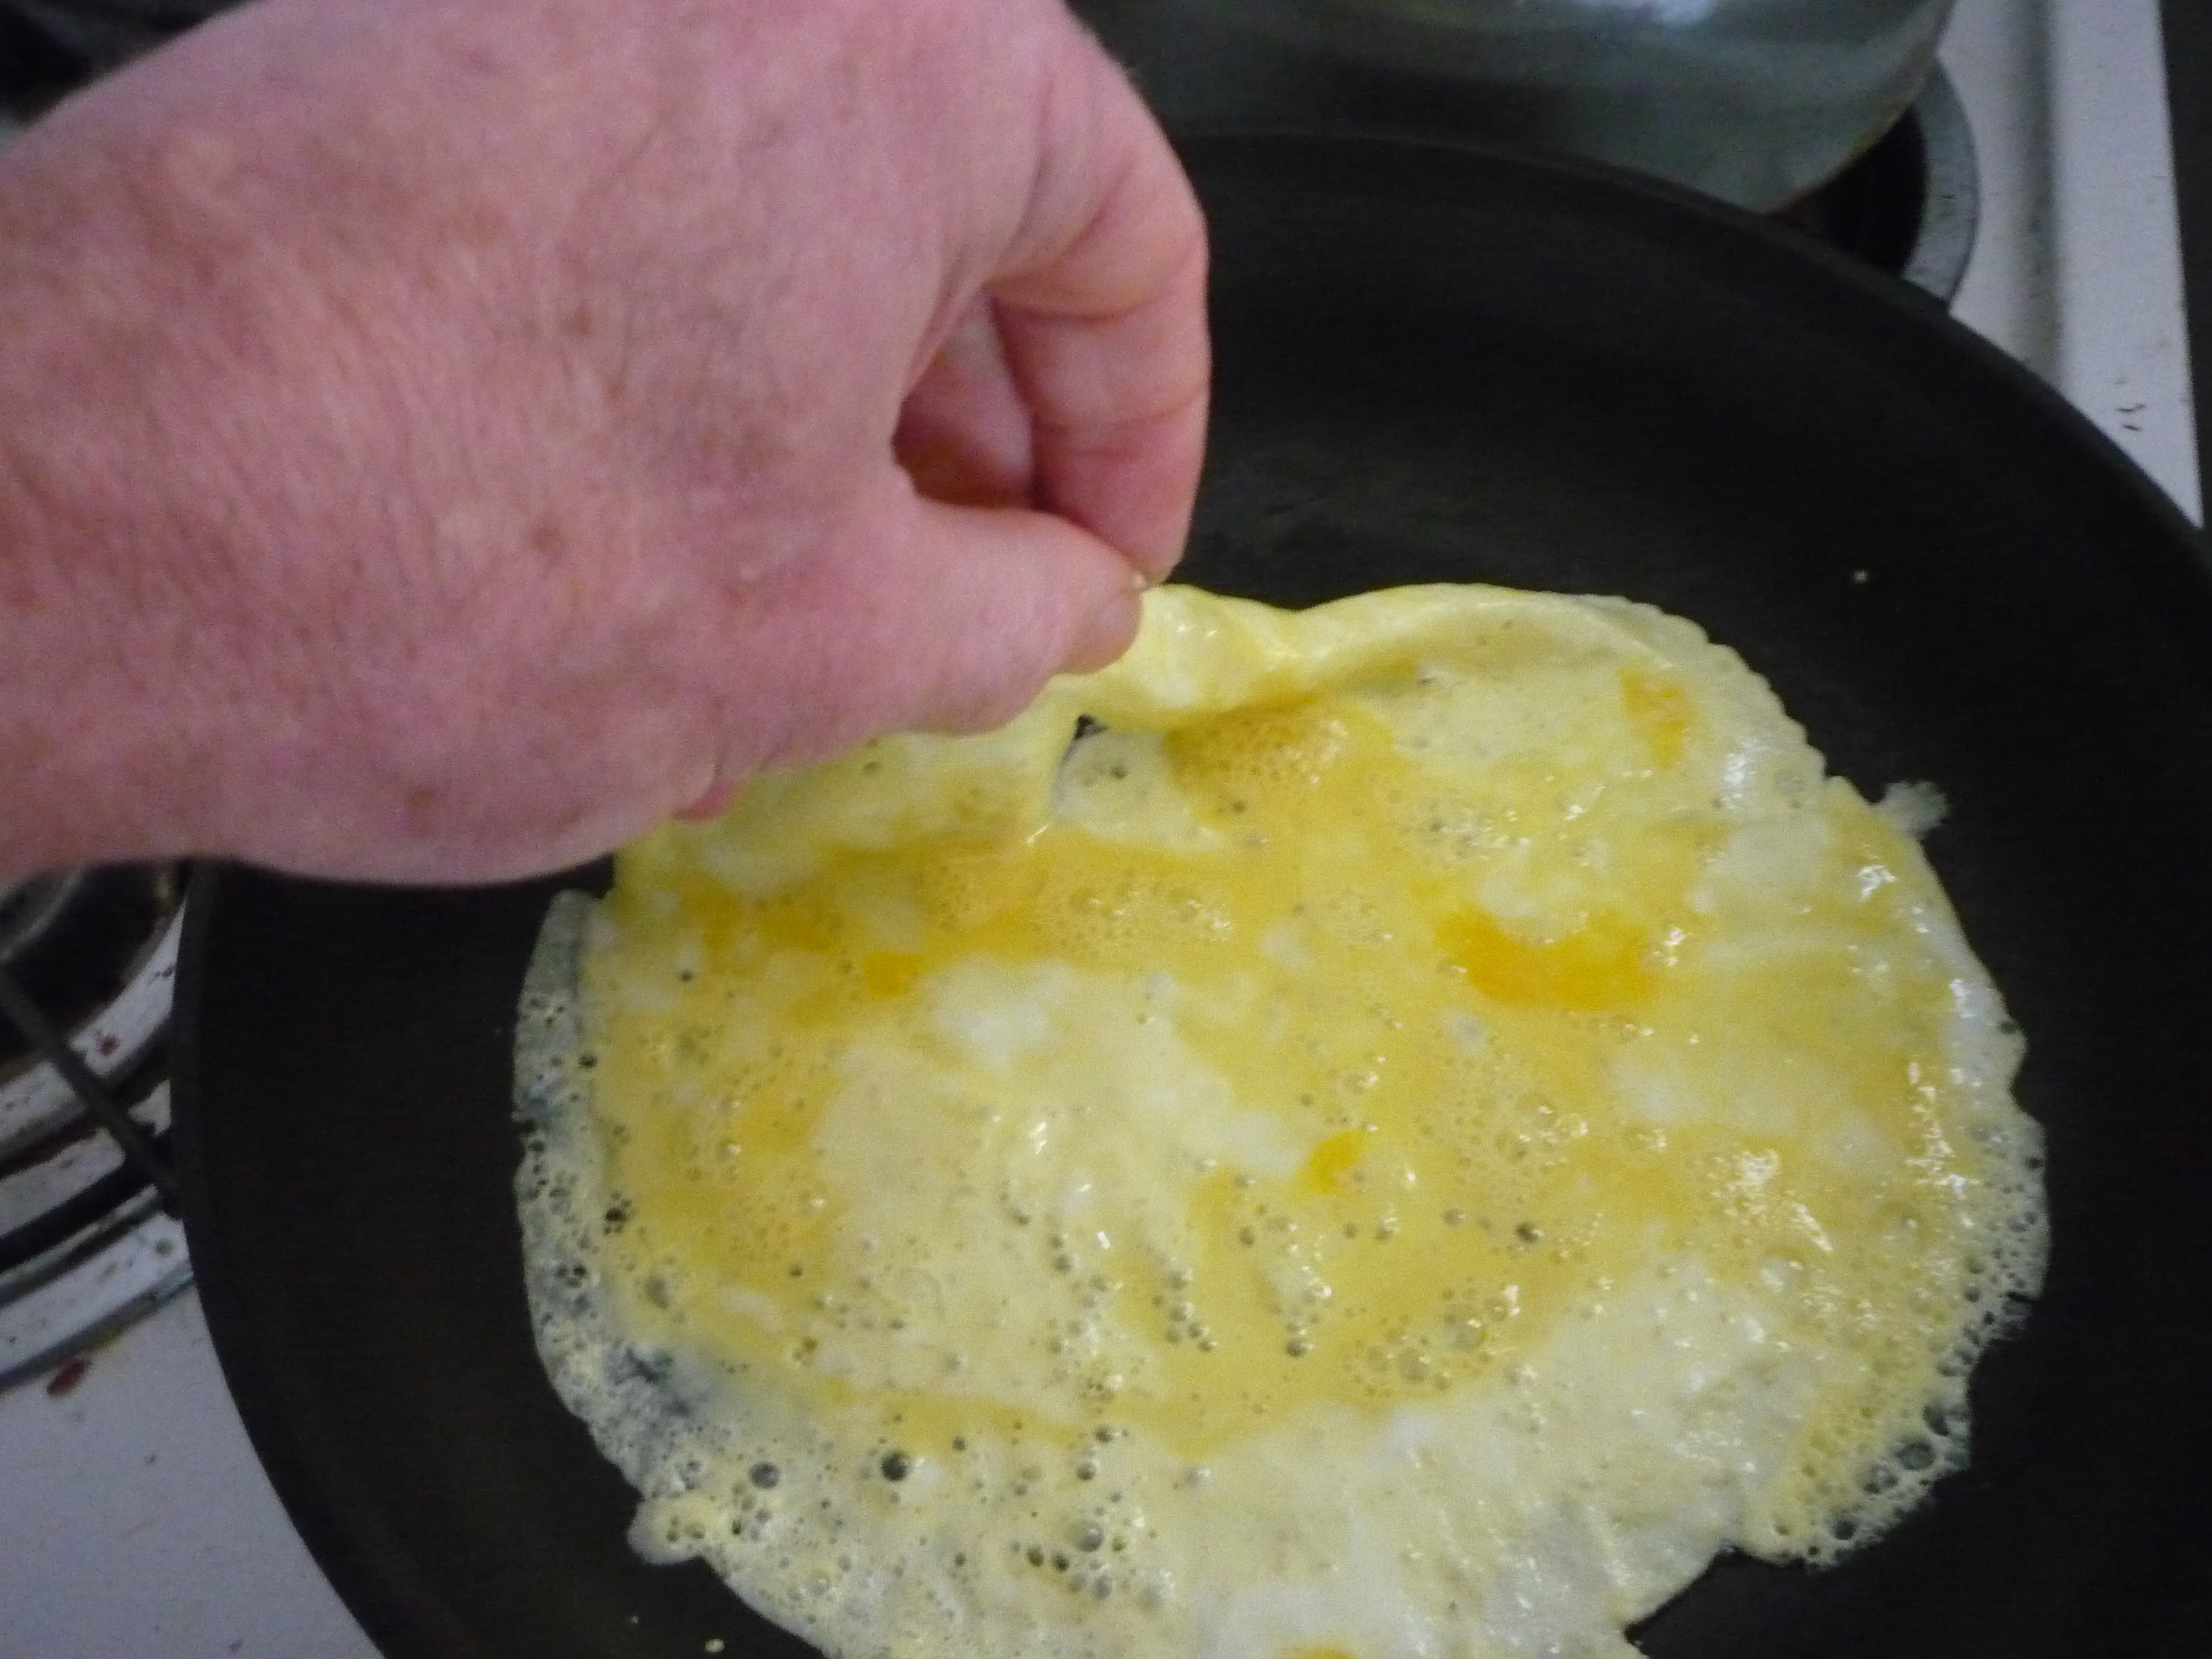
1 Tblspn Ginger–minced
½ medium Red Pepper—small dice
1 medium Carrot—small dice
2 cups Farro—cooked
1 cup Edamame Beans (frozen, shelled)
1 cup Pork—cooked and diced
4 each Green Onions—thinly sliced
1 Tblspn Sambal (optional)
3 Tblspns Soy Sauce
- Heat 2 teaspoons of the oil in a large non-stick sauté pan or wok over medium-high heat.
- Scramble egg with about a teaspoon of water. When oil shimmers, add egg to pan and swirl around the pan (crepe style) until bottom is covered.
- As soon as the “crepe” is set (about 15-20 seconds), loosen with a silicone spatula and flip over to cook other side for another 15-20 seconds. Roll out onto a cutting board and chop into small pieces.
- Wipe out pan with a paper towel.
- Meanwhile, bring a quart of water to a boil in a small sauce pan. Add a generous amount of salt and the frozen edamame beans. Return a boil, reduce heat to a simmer and cook for a couple of minutes. Drain, run under cold water and set aside.
- Heat remaining 2 teaspoons of oil over high heat in the pan or wok until simmering. Add ginger and garlic and swirl around pan until fragrant—about 30 seconds. Add pepper and carrot and cook for a minute or two, until just beginning to soften.

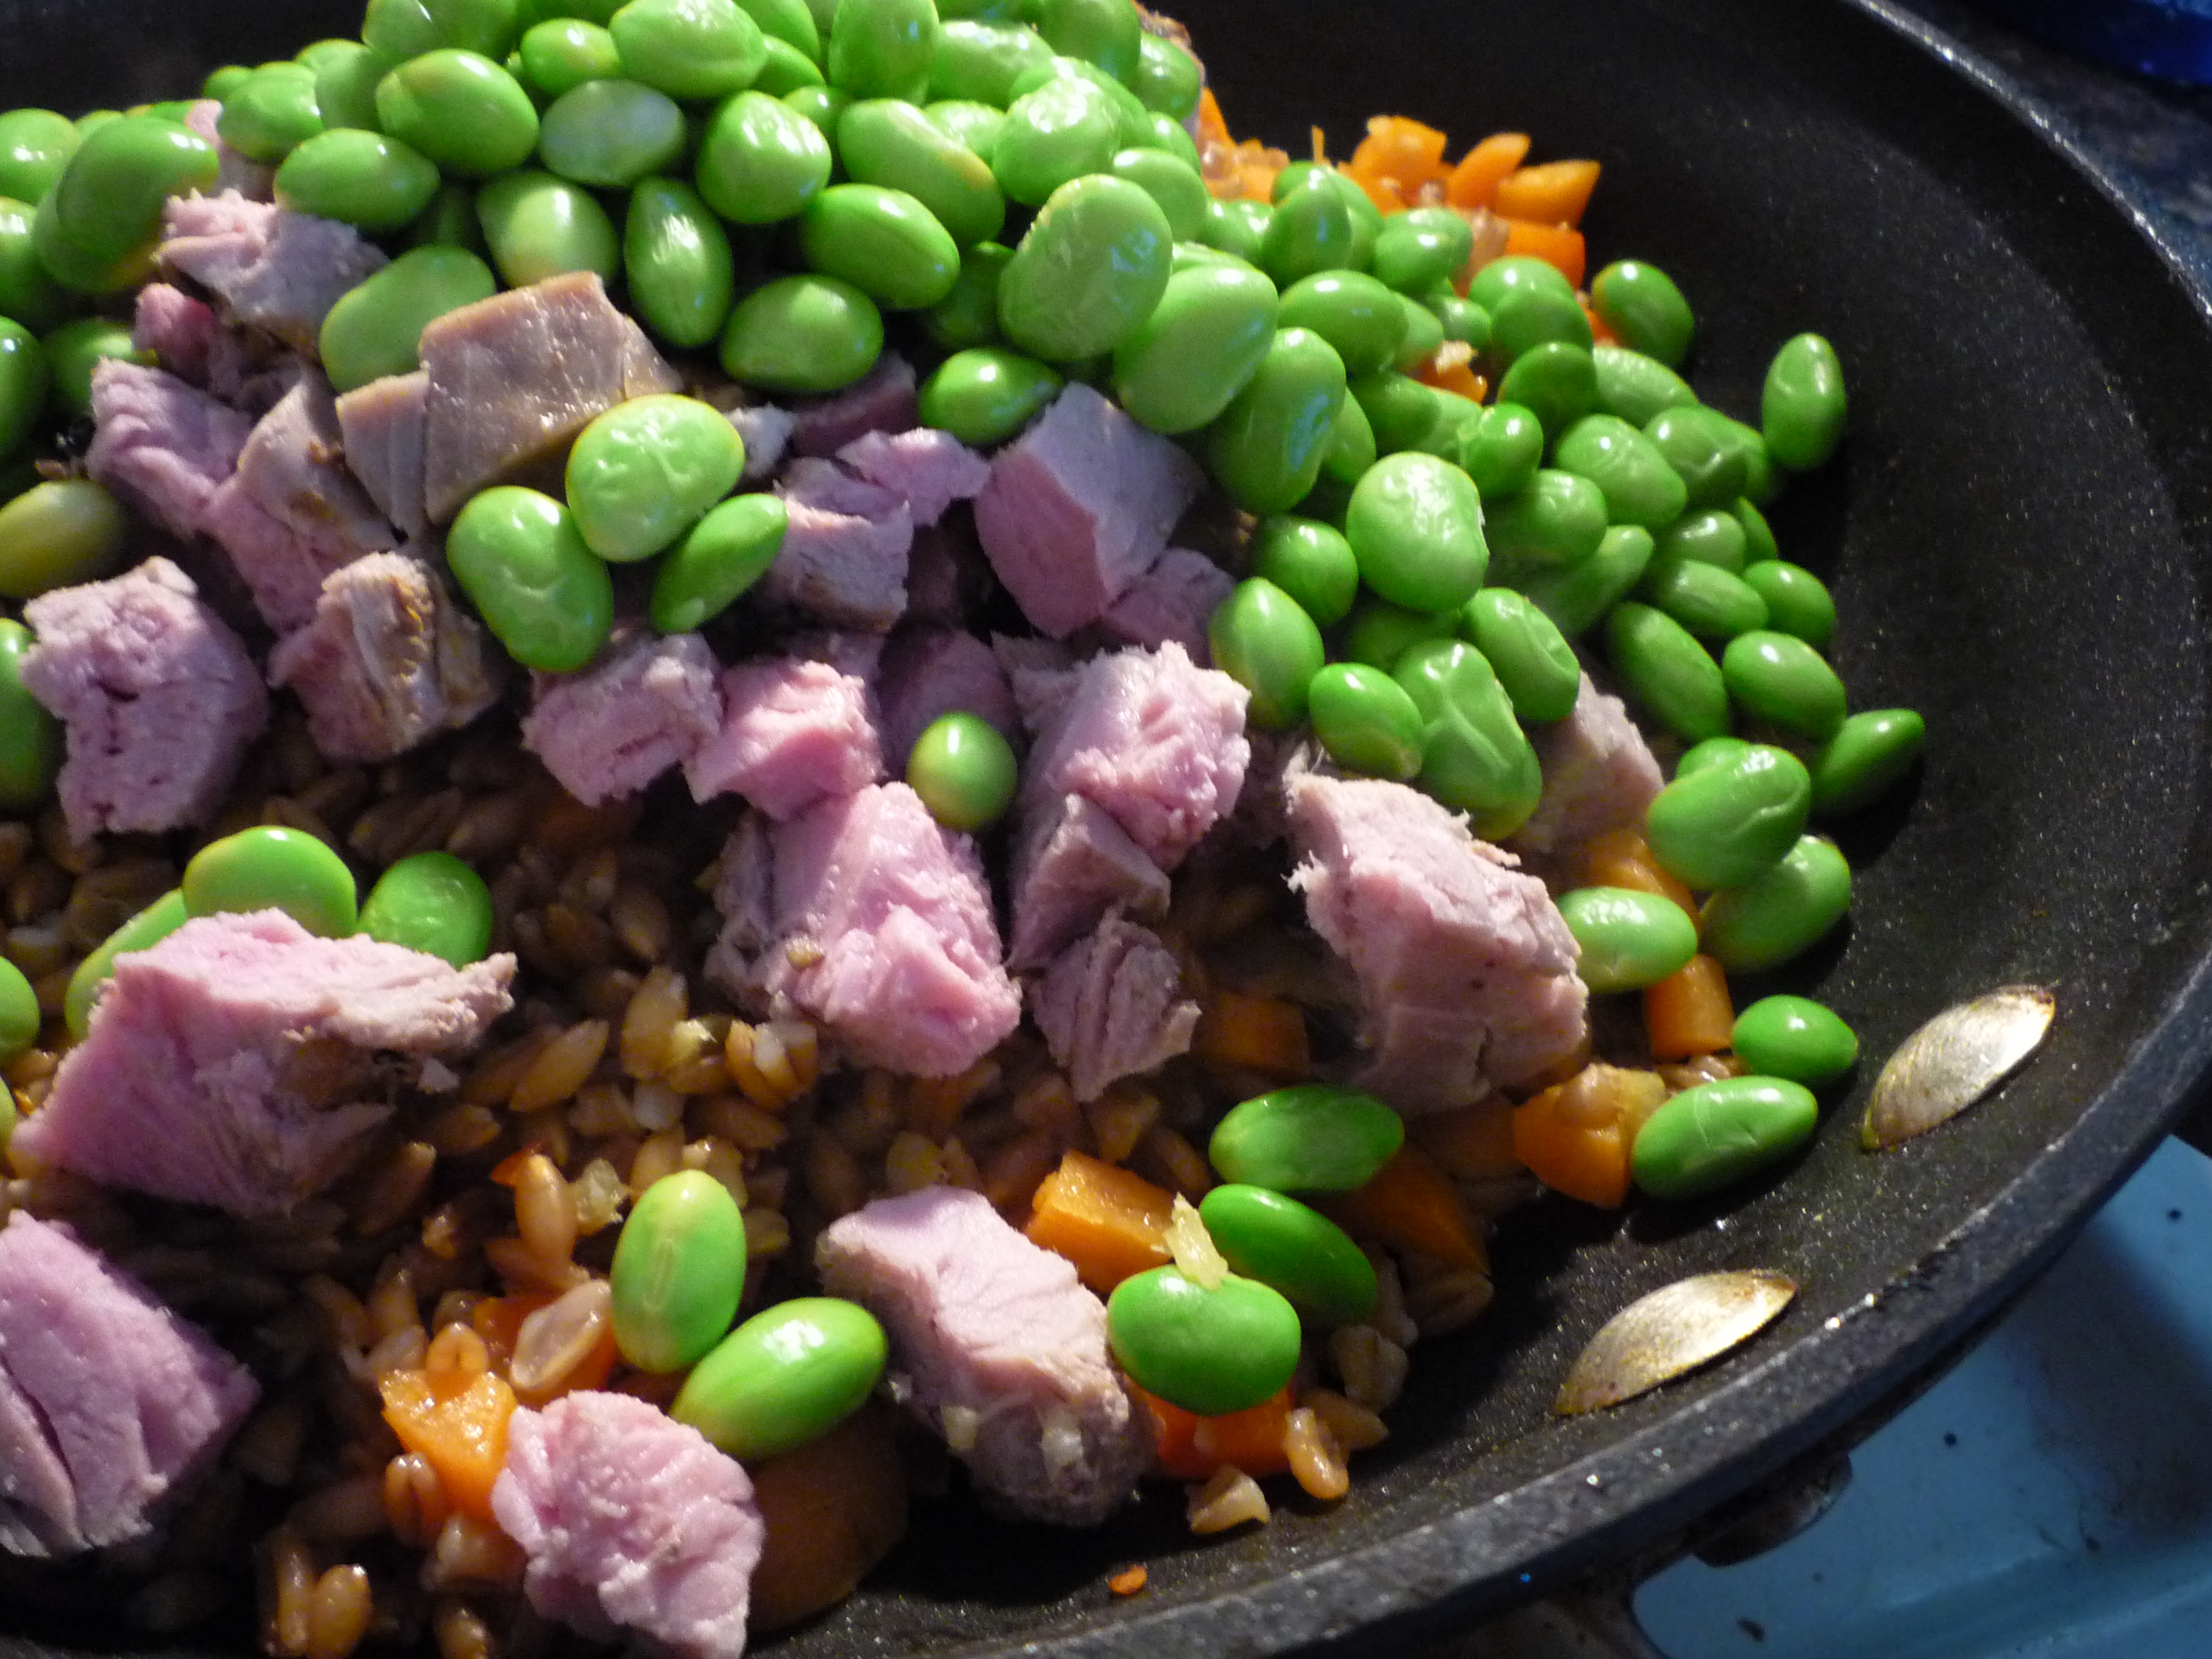
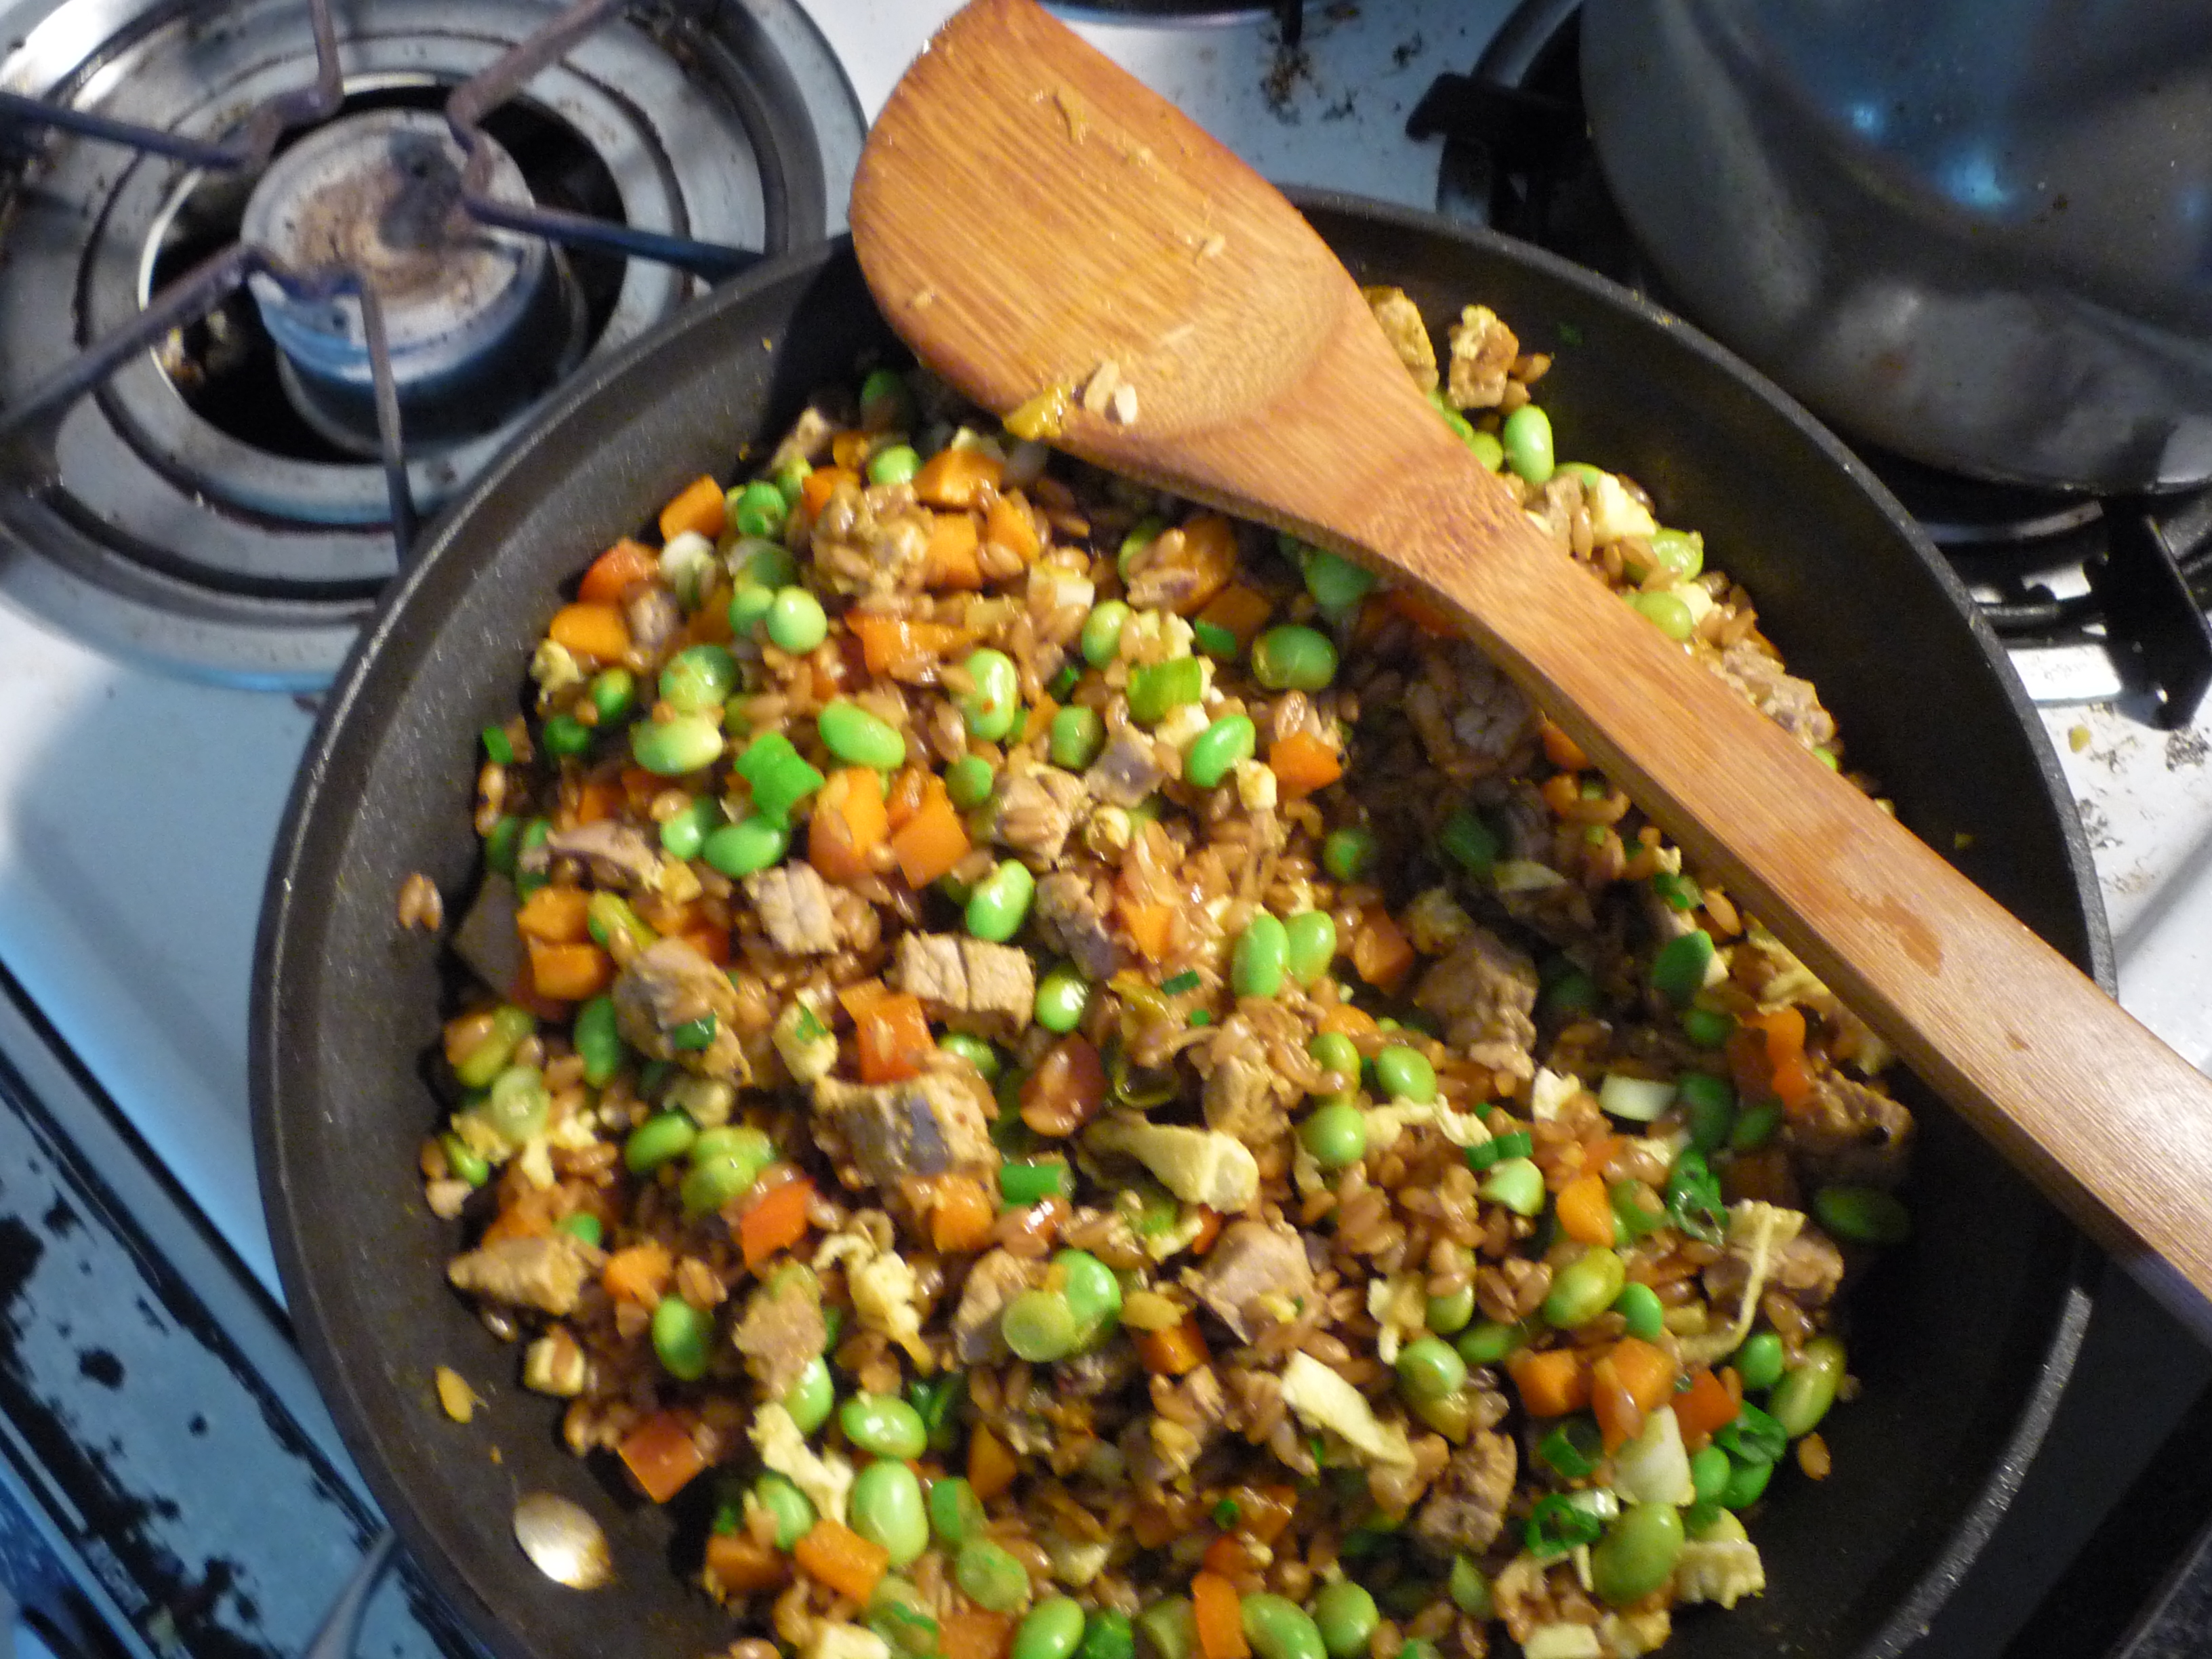
- Lower heat to medium and add farro. Stir around until farro is heated through—about 3 minutes. Add edamame, pork and soy sauce. If you’d like a little heat, add the sambal or an appropriate amount of your favorite hot condiment. Stir to combine.
- Add egg and green onions. Taste and add more soy or sambal if needed.

Fall Colors
 I always enter the food doldrums when fall rolls around. You see, I’m really passionate about the flavors and colors of spring and summer. Asparagus, peas, plums, corn, nectarines, blackberries, tomatoes, fava beans…well, you get the idea. I think it’s more the change of season (cooler weather and shorter days) that actually brings me down. Because when you think about it, autumn’s bounty isn’t just about the brown and earthy. There’s a lot of color and flavor right now, too. So bring on the winter squash, the blood oranges, the Brussels sprouts, the persimmons and the apples! And try this bright and tasty recipe for Braised Sweet & Sour Red Cabbage.
(serves 4 as a side dish)
2 tspns Canola Oil
½ medium Yellow Onion—thinly sliced
6 cups Red Cabbage (about 1 small or ¾ of a medium cabbage)
1 tspn Salt
½ tspn Ground Cardamom (optional)
½ cup Sherry or Cider Vinegar
¼ cup Maple Syrup
¼ cup Dried Cranberries or Cherries (optional)

- Heat oil in a medium sized sauce pan over medium heat. Add onions and sauté until softened—about 2-3 minutes.
- Meanwhile, cut cabbage into quarters and remove core. Cut into strips about ½” in width and add to the pan. Stir to combine. Cook for 8-10 minutes until cabbage has wilted a little.
- Add salt, vinegar, syrup and cardamom. If you’re not a fan of cardamom, try ground coriander seed or even a pinch of ground cloves or nutmeg. Just something to perk up the flavors a bit.
- Lower heat to simmer and cook until most of the liquid has evaporated, stirring occasionally—about 25 minutes.
 The longer you can cook this dish, the creamier the cabbage will be.
 - Add cranberries or cherries (or even some grated apple) and cook for 5 more minutes.
Works well as a side for roasted pork or braised short ribs or served over polenta.

Whole Wheat-Sage Rolls
 I love baking bread. So I was excited when I was asked to bring rolls to Thanksgiving dinner. I knew that I would make plain white pillowy dinner rolls using that tried-and-true Basic Rolls recipe from Craig Clayborne’s The New York Times Cookbook, but thought it would be nice to have a whole wheat option, too. After pulling several recipes from various cookbooks and the net, I came up with this version. These rolls were even better the next day as a vehicle for leftover turkey!
1 Tblspn Yeast
1 ¼ cup Water
¼ cup Butter
1 tspn Salt
2 Tblspns Fresh Sage–chopped
¼ cup Honey or Maple Syrup
1 large Egg
1 ½ cup Whole Wheat Flour
1 ½-2 cups All-Purpose Flour
Put water and butter in a microwave safe bowl and heat on high for 45 seconds. The water should be just warm to the touch. In a medium bowl, stir together all ingredients except all-purpose flour. Add a cup of all-purpose flour and stir. Add enough remaining flour to make a soft dough. Turn out onto a well floured pastry board or clean counter top. Knead dough until smooth and elastic–6-8 minutes. Place in a lightly greased bowl and cover. Let dough rise in a warm spot until doubled in size–about an hour should do.
Punch down dough and turn out onto a lightly floured board. Divide dough in half, then divide each half into 8 equal pieces. If you have a kitchen scale, each piece should be about 2 ounces. Roll each piece on the board using a circular motion with your hand in a claw position. Use your palm and fingers to form a tight skin on each roll. If the rolls are slipping on the surface, use a dab of water to help them stick a little to form that tight skin.
Place rolls evenly apart in a lightly greased 8″ x 13″ brownie pan or quarter sheet pan. 15 rolls fit perfectly, so you decide what to do with that extra roll. Cover and let rise for about 30 minutes. Meanwhile, pre-heat oven to 350. Bake for 25-30 minutes until golden brown on the top. For even baking, turn the pan half way through cooking. Remove from oven and let rest for 5 minutes, then remove from pan to a wire rack to prevent the rolls from getting soggy on the bottom. If not serving immediately, put the rolls back in the pan, cover with foil and re-heat in a 350 oven for 5 minutes.
